
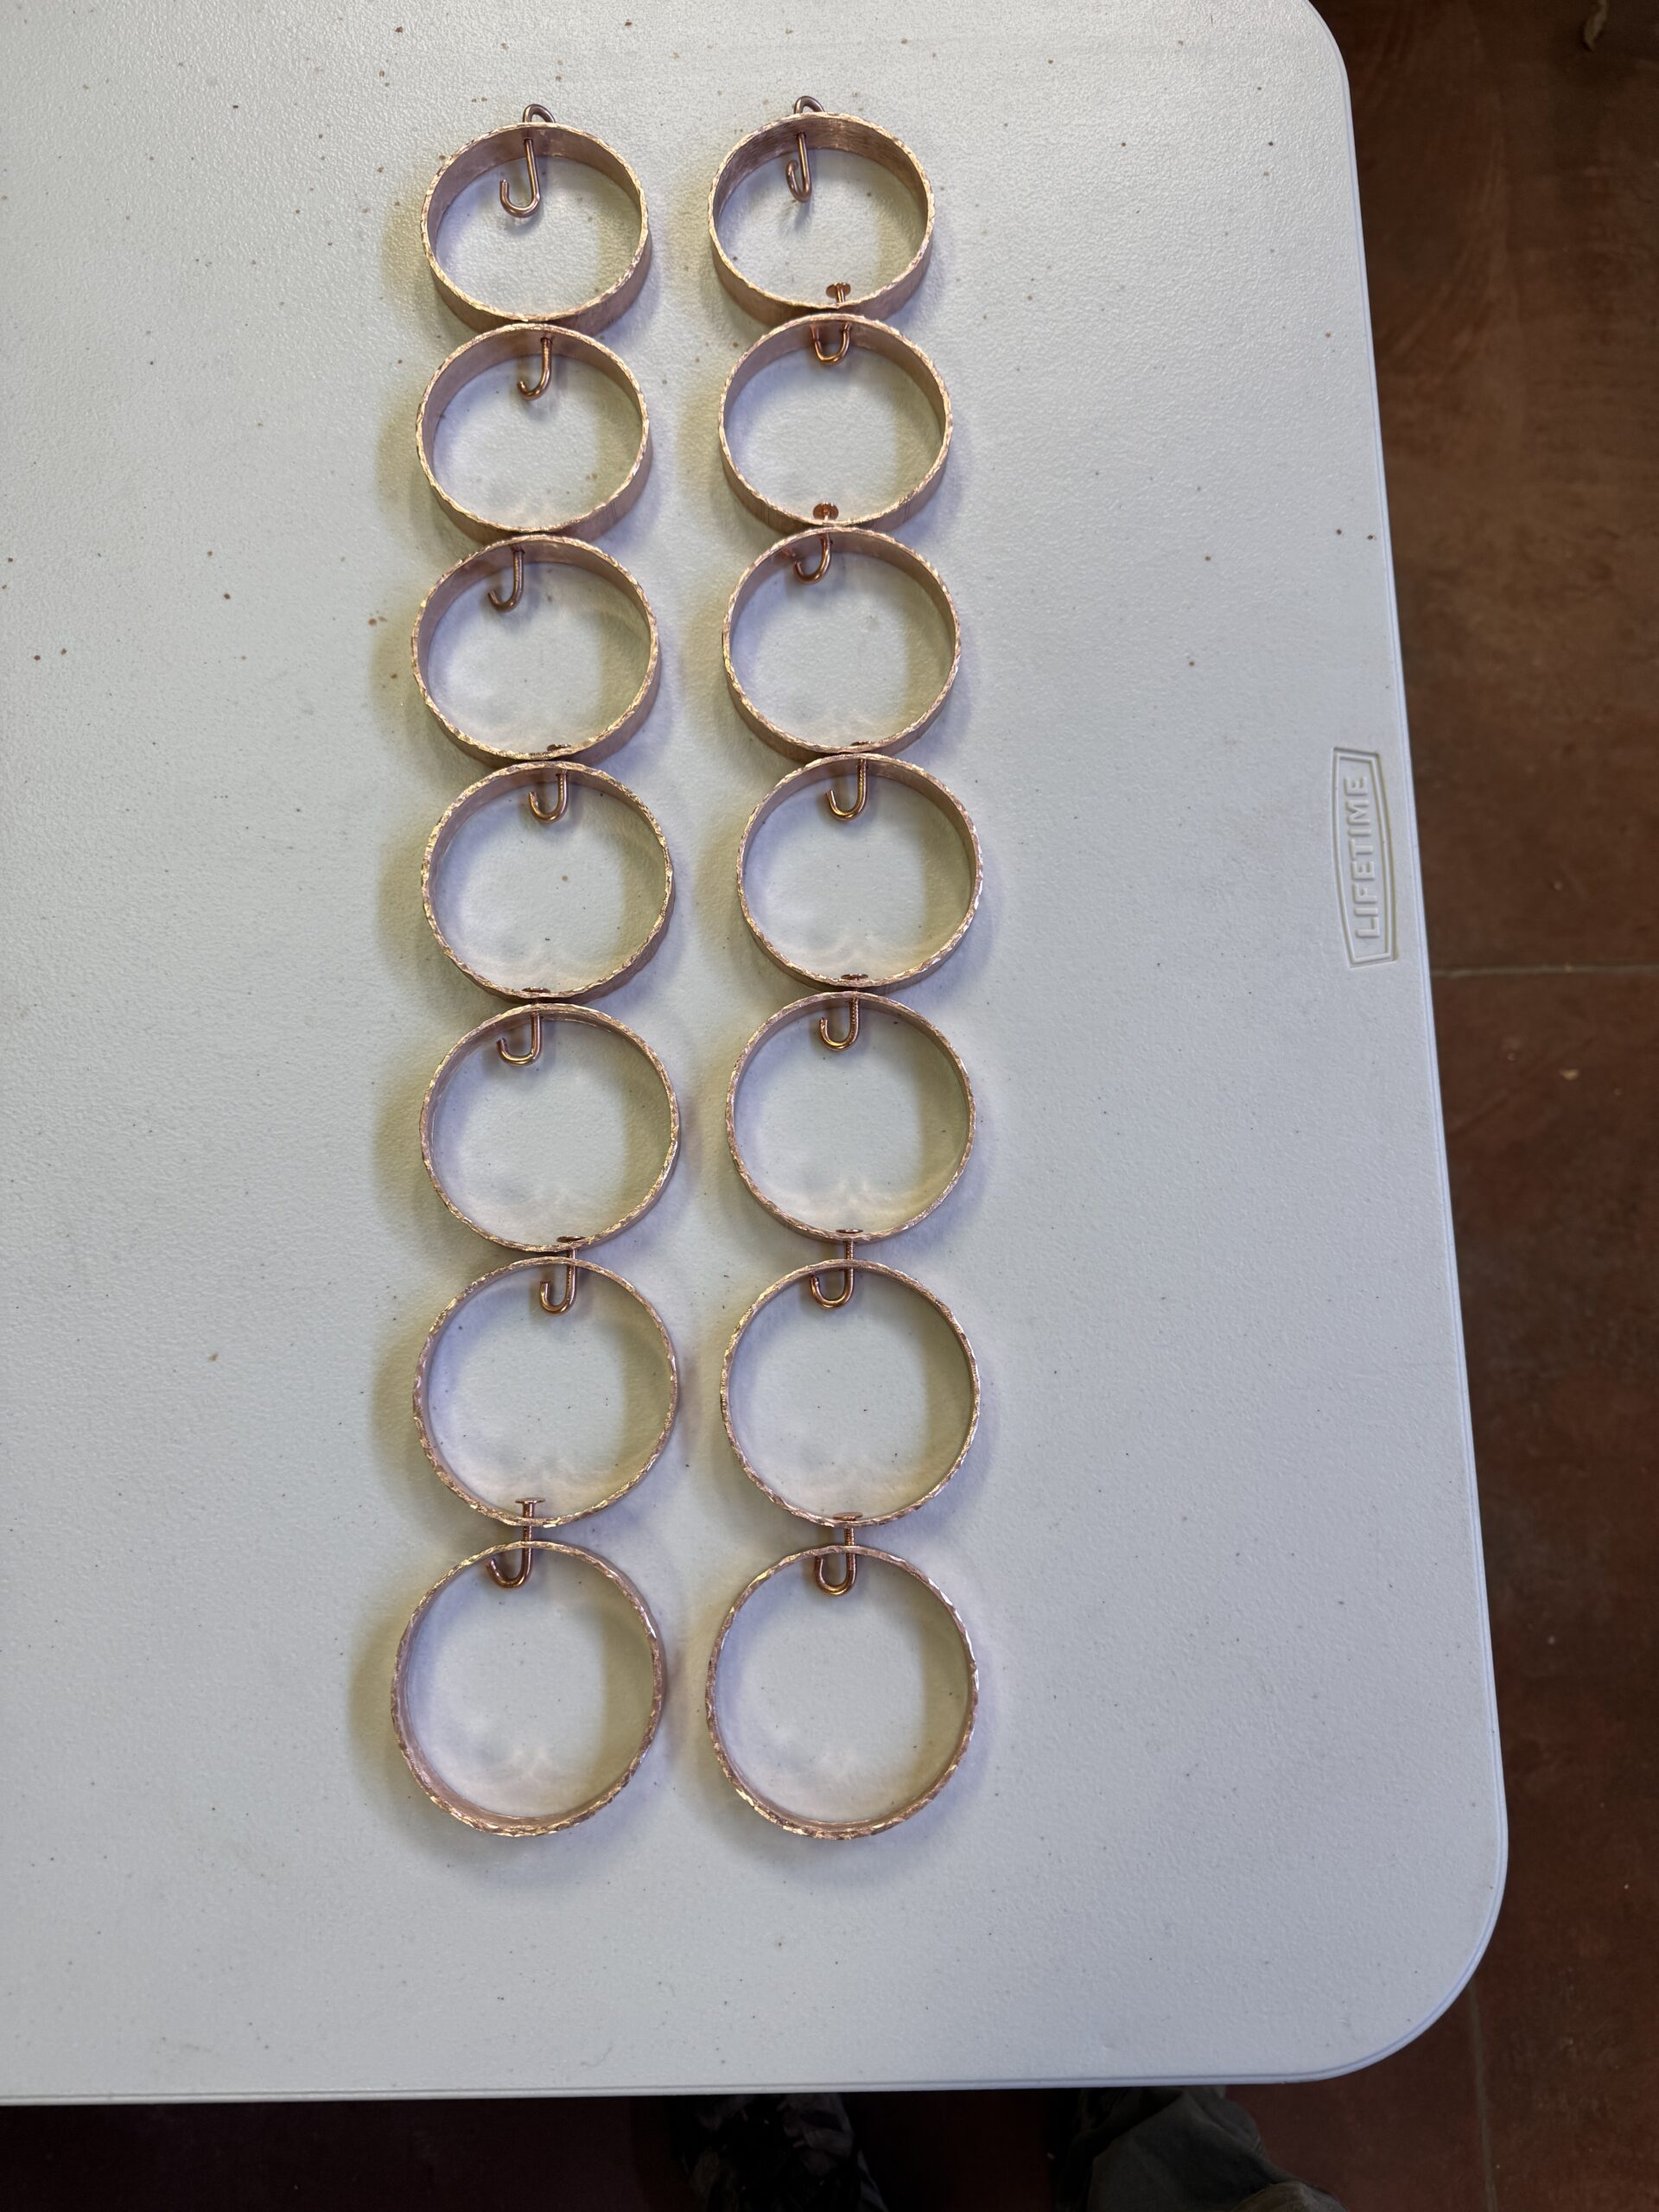
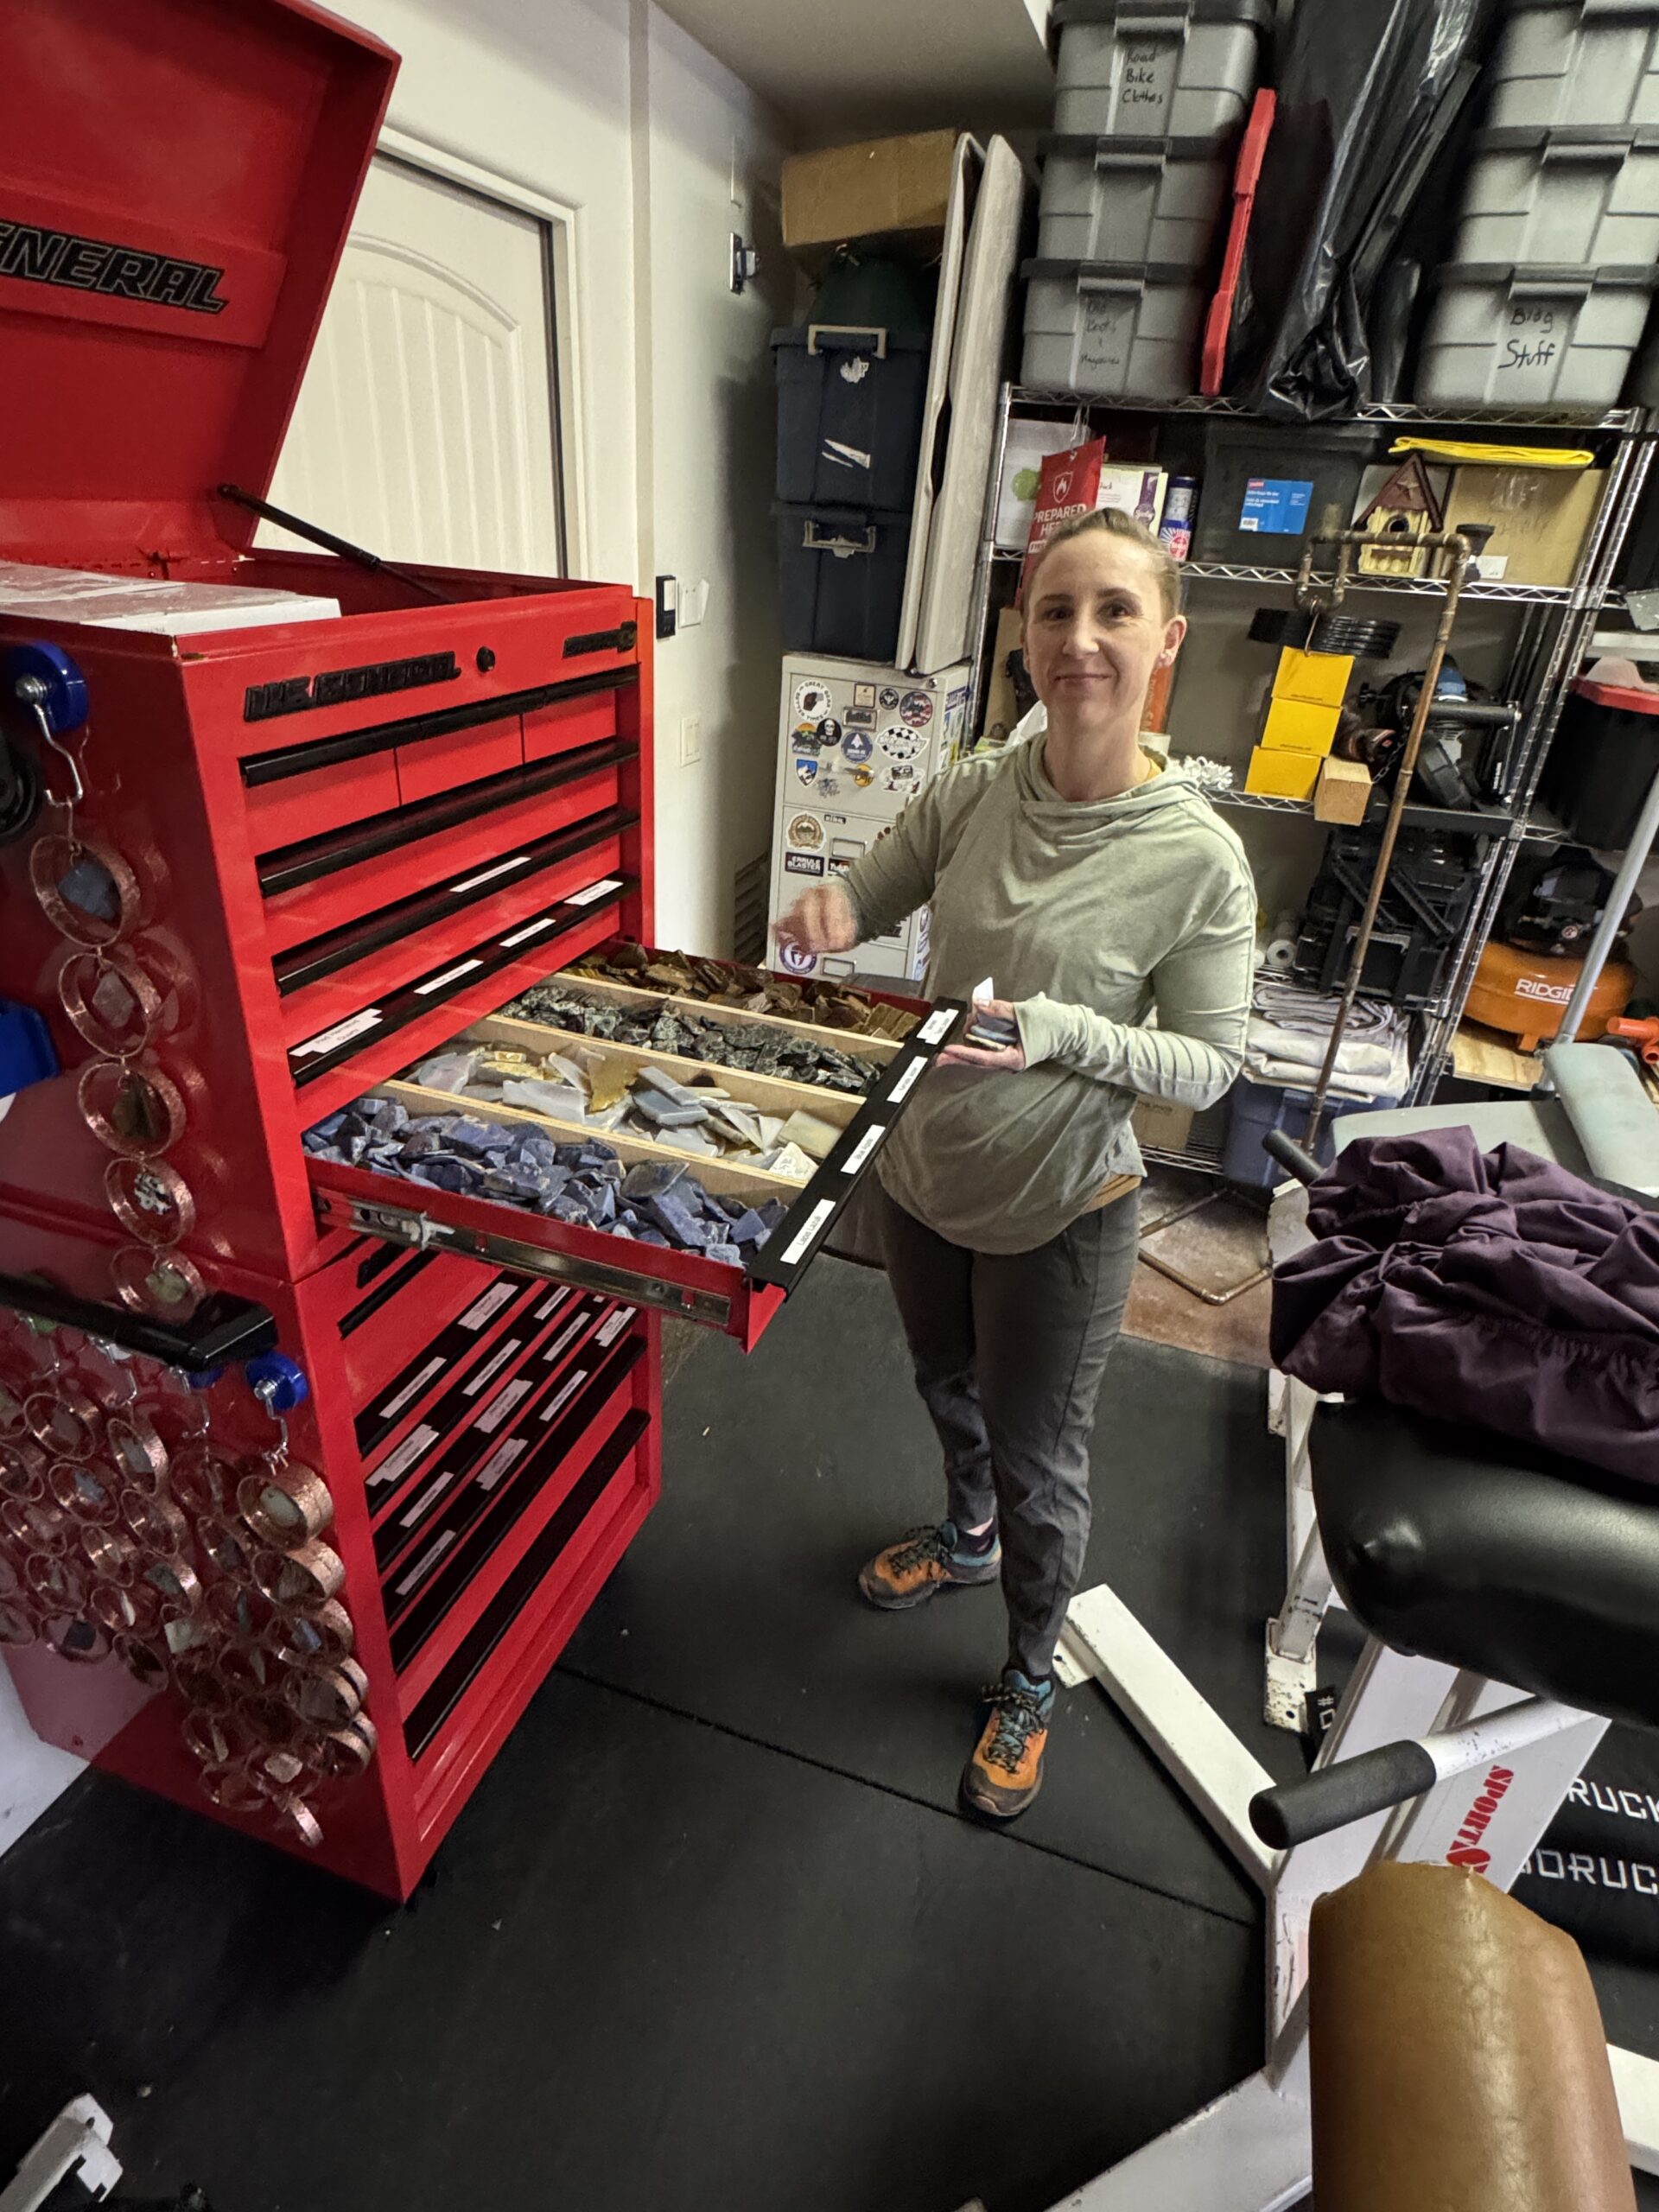
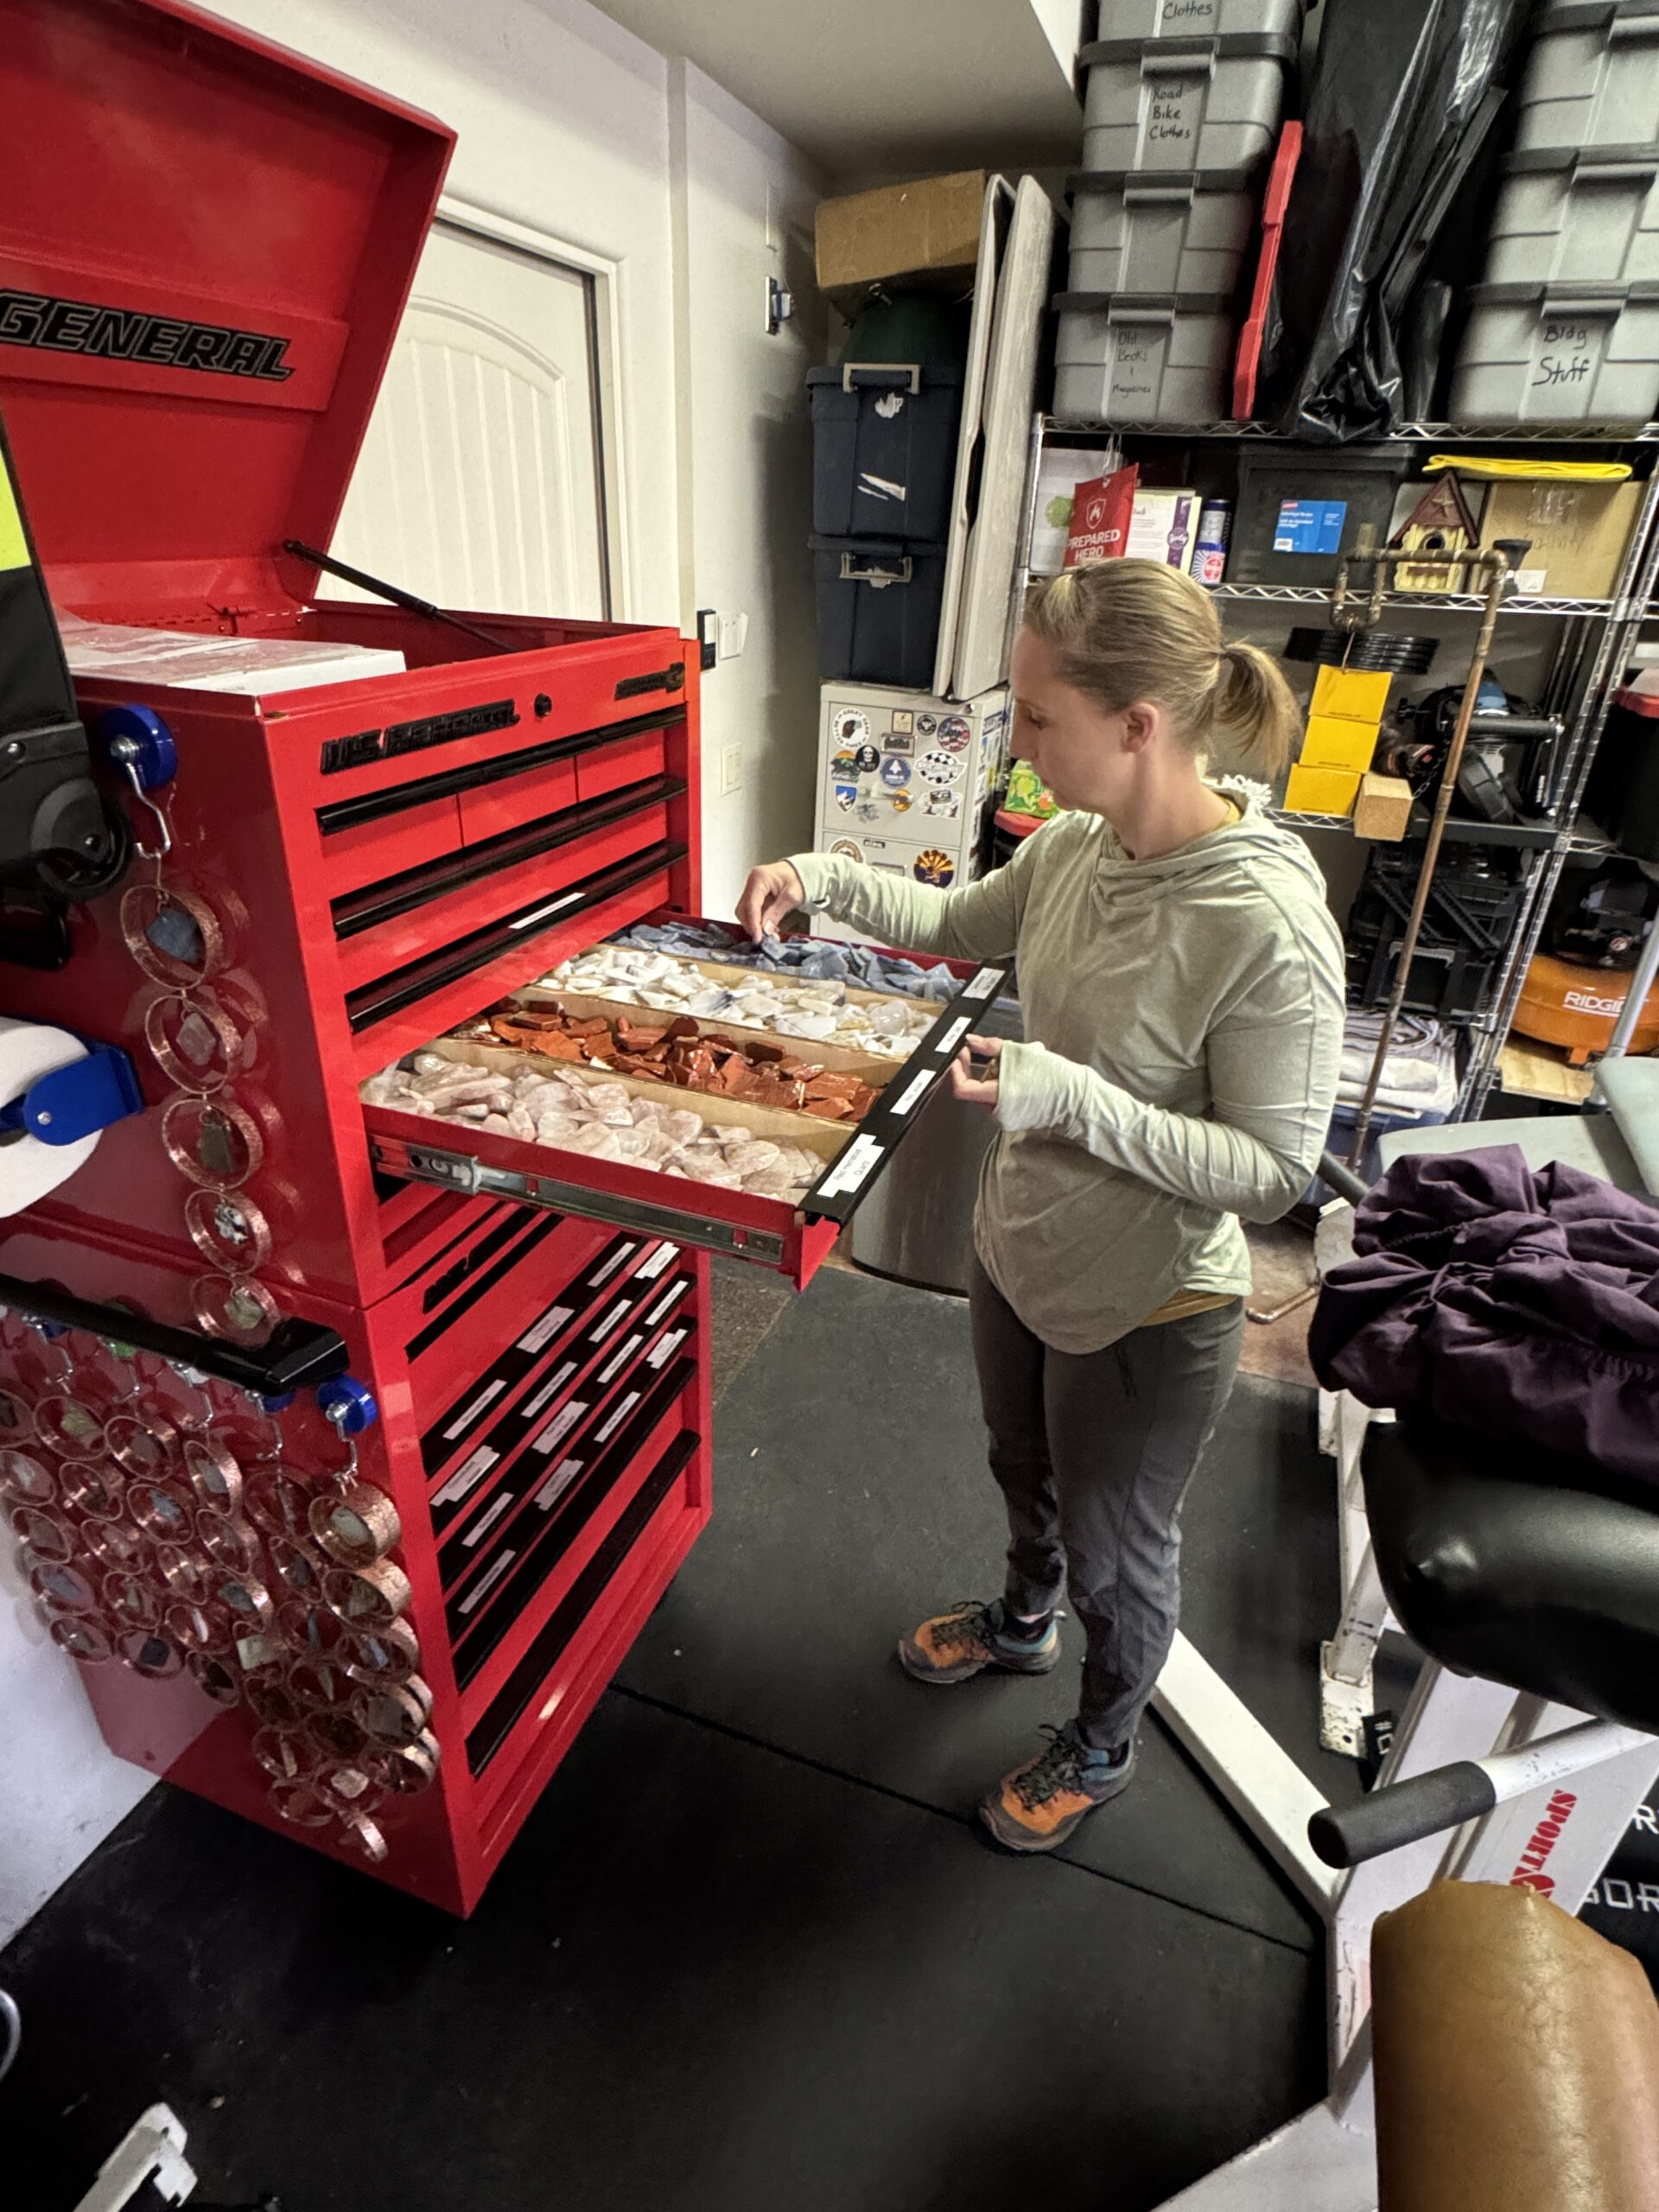
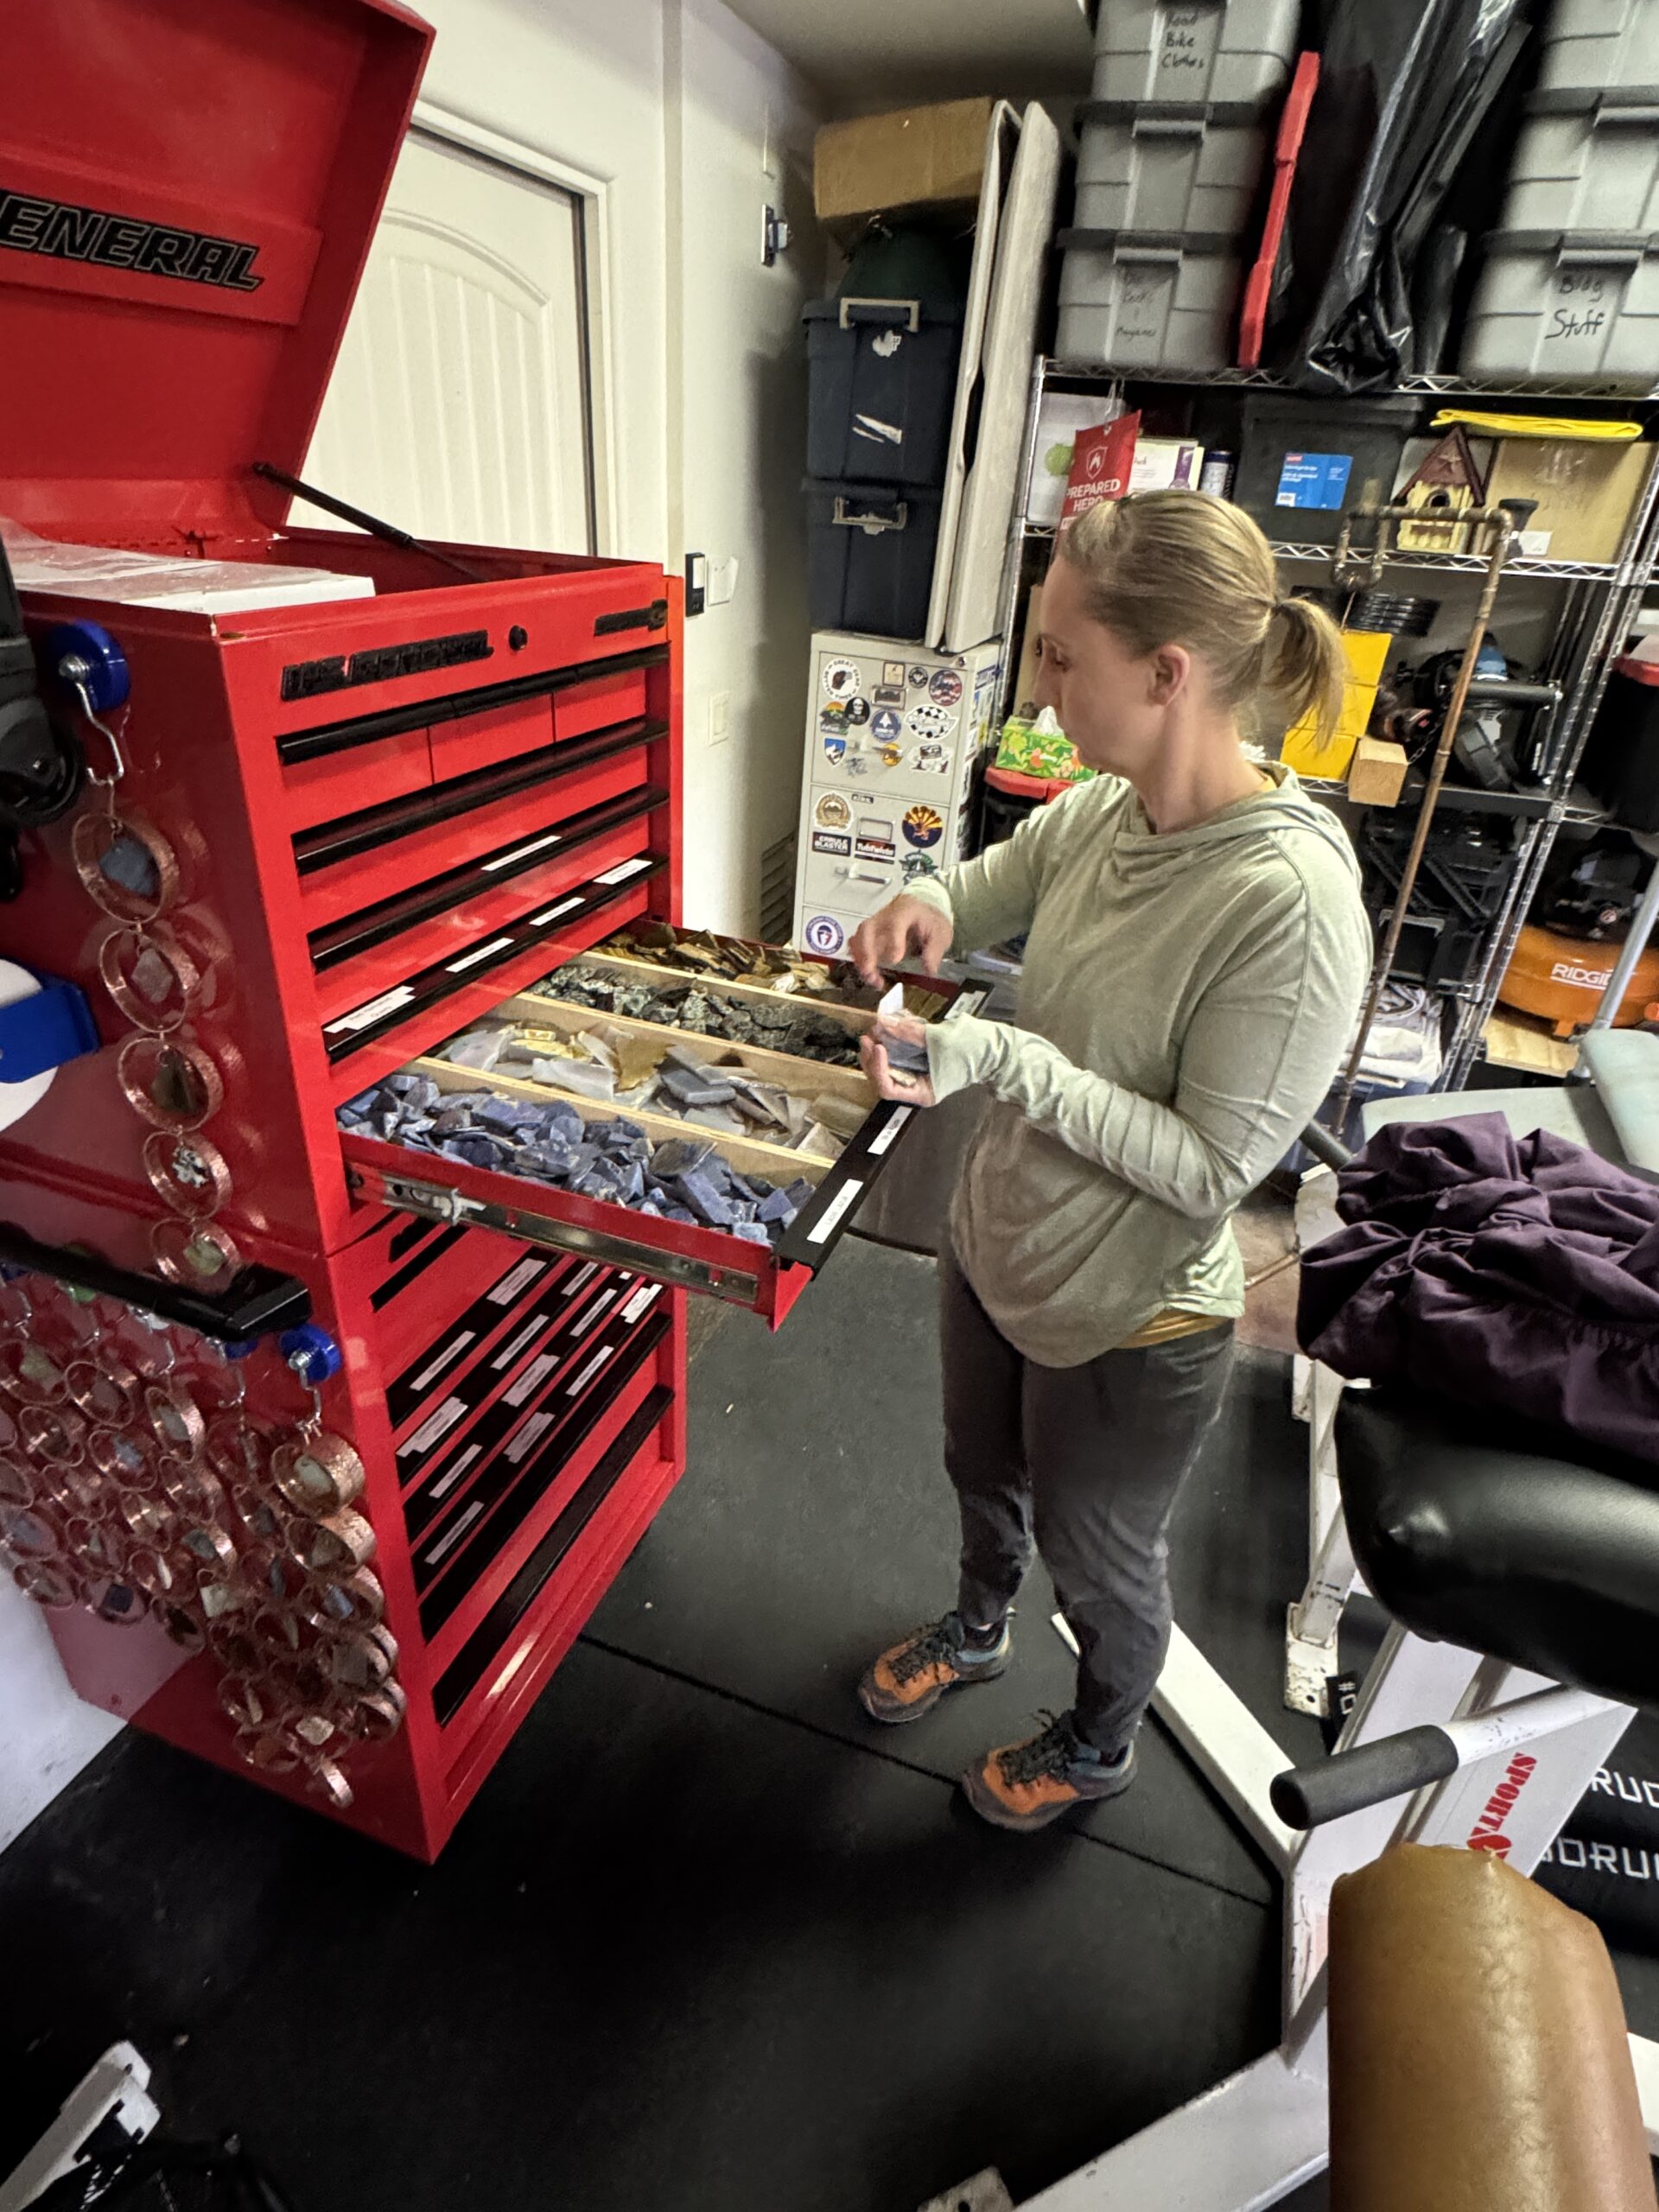
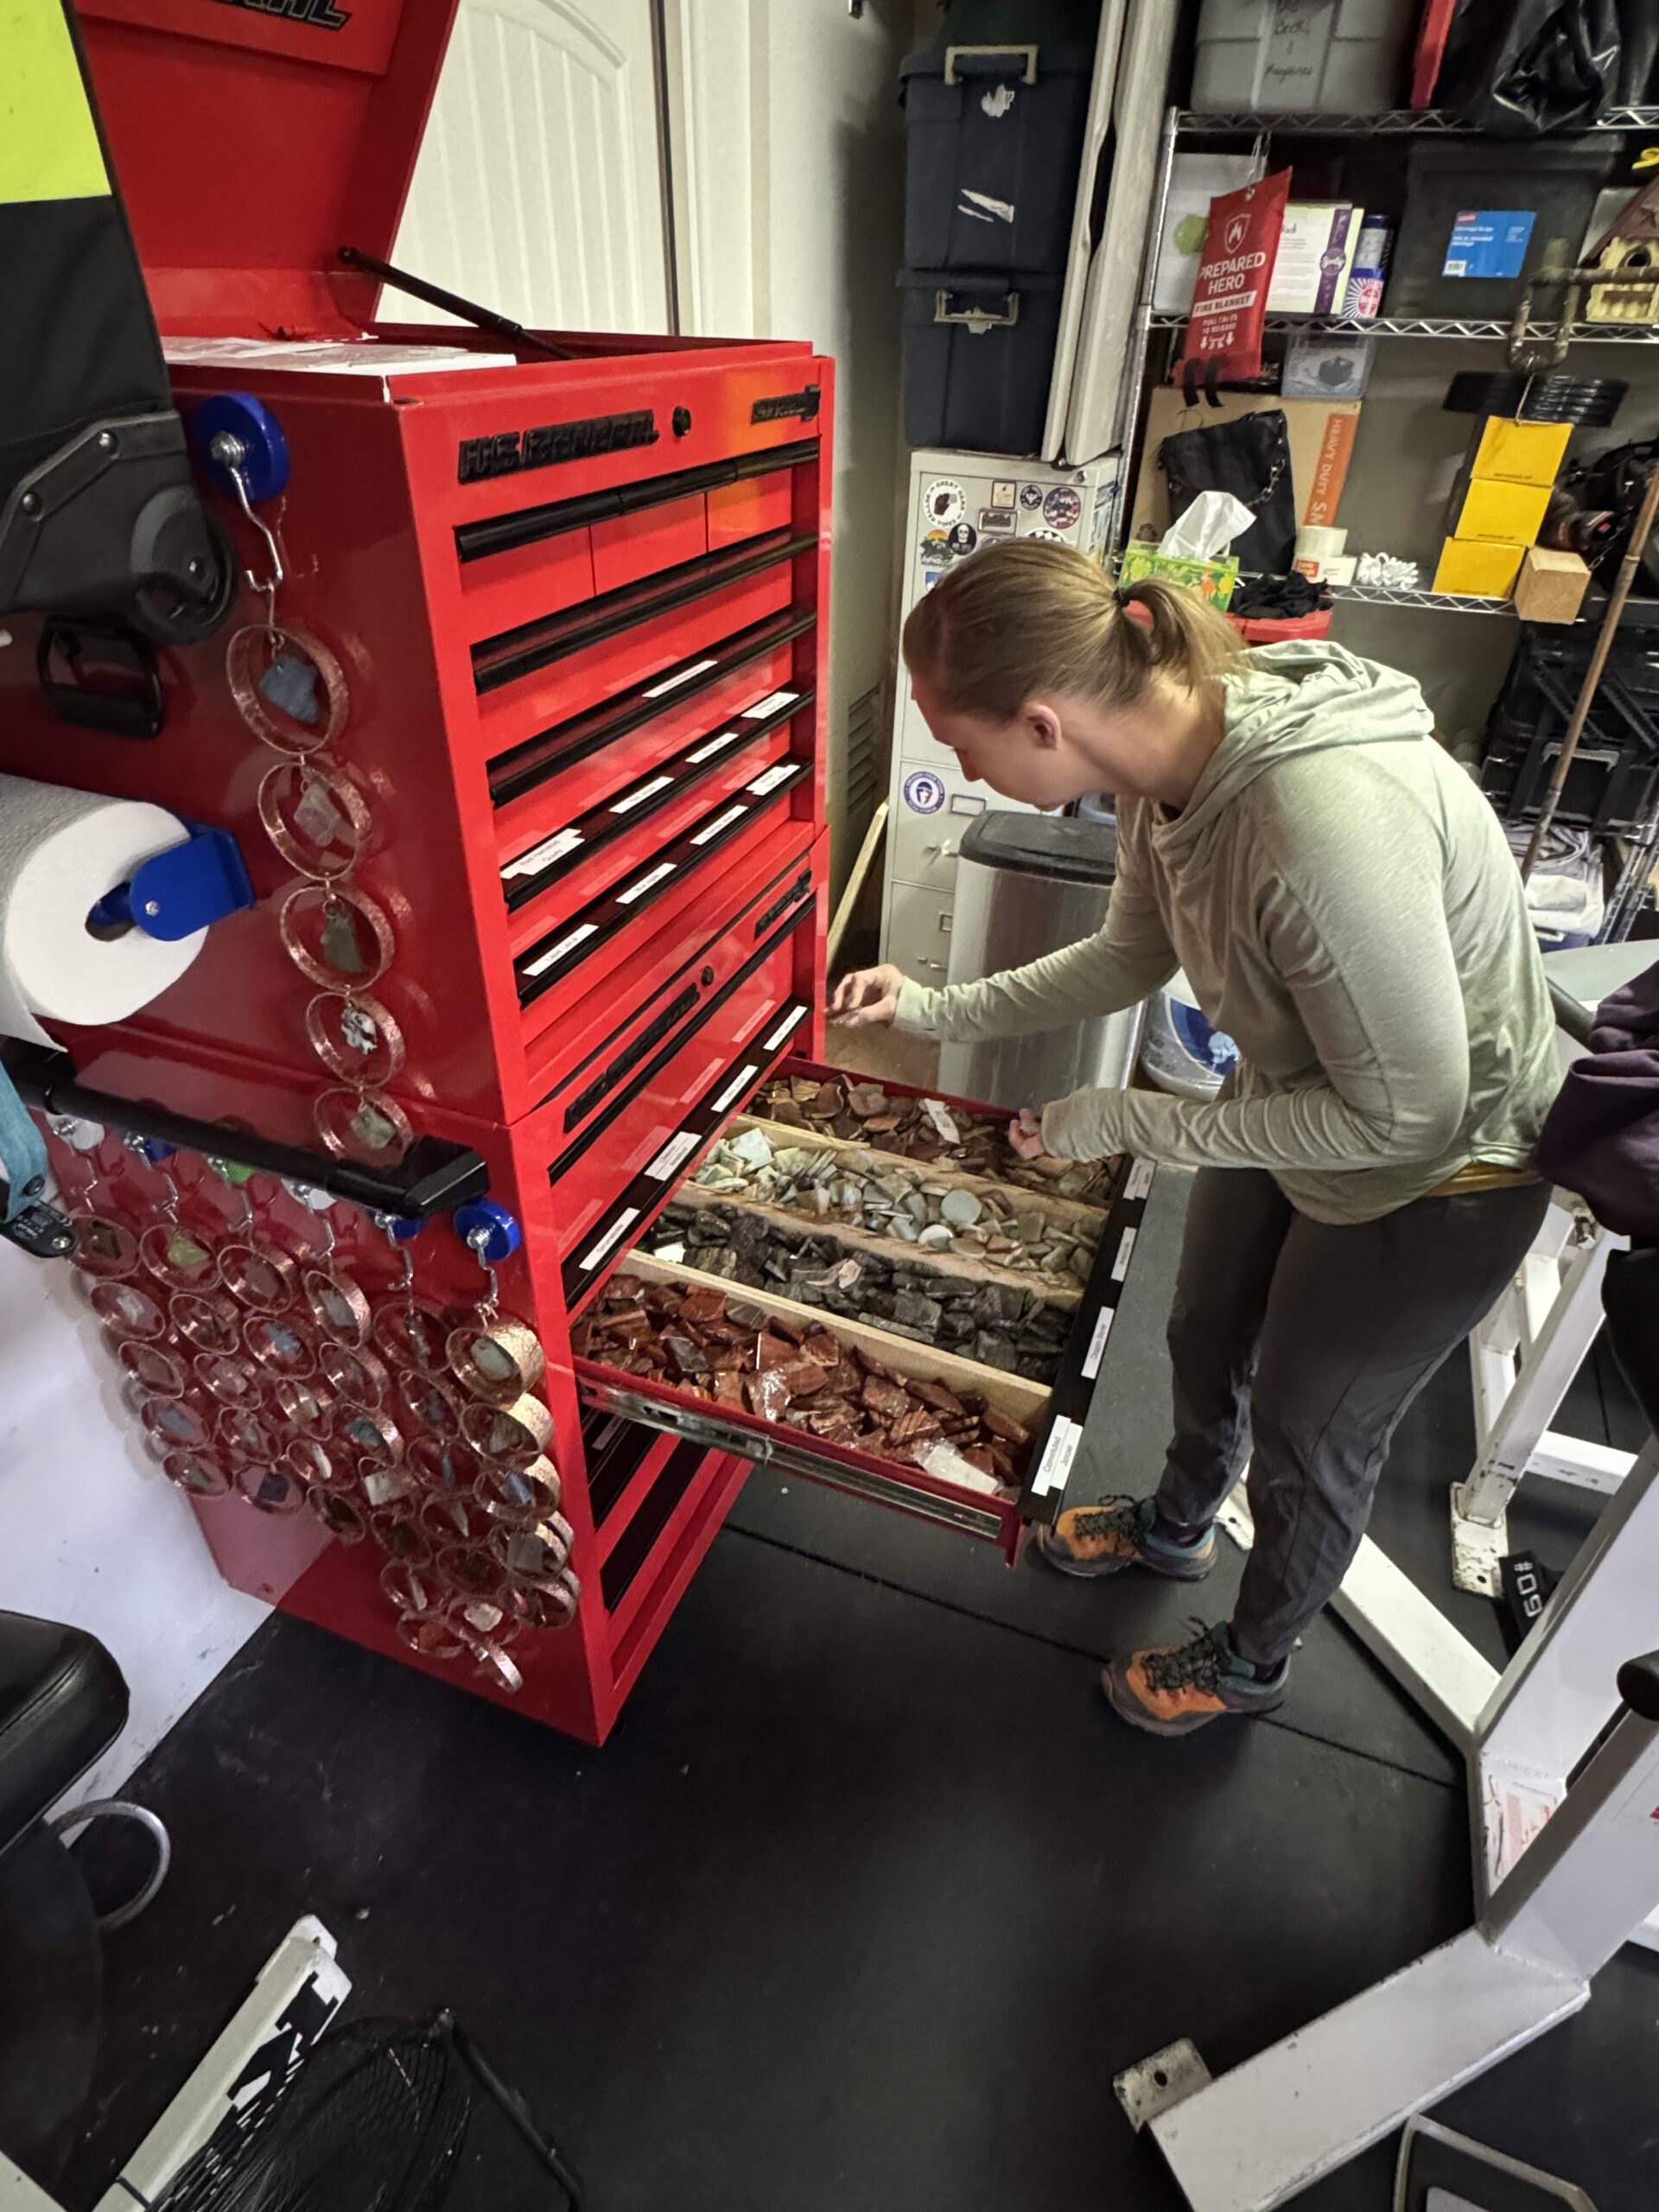
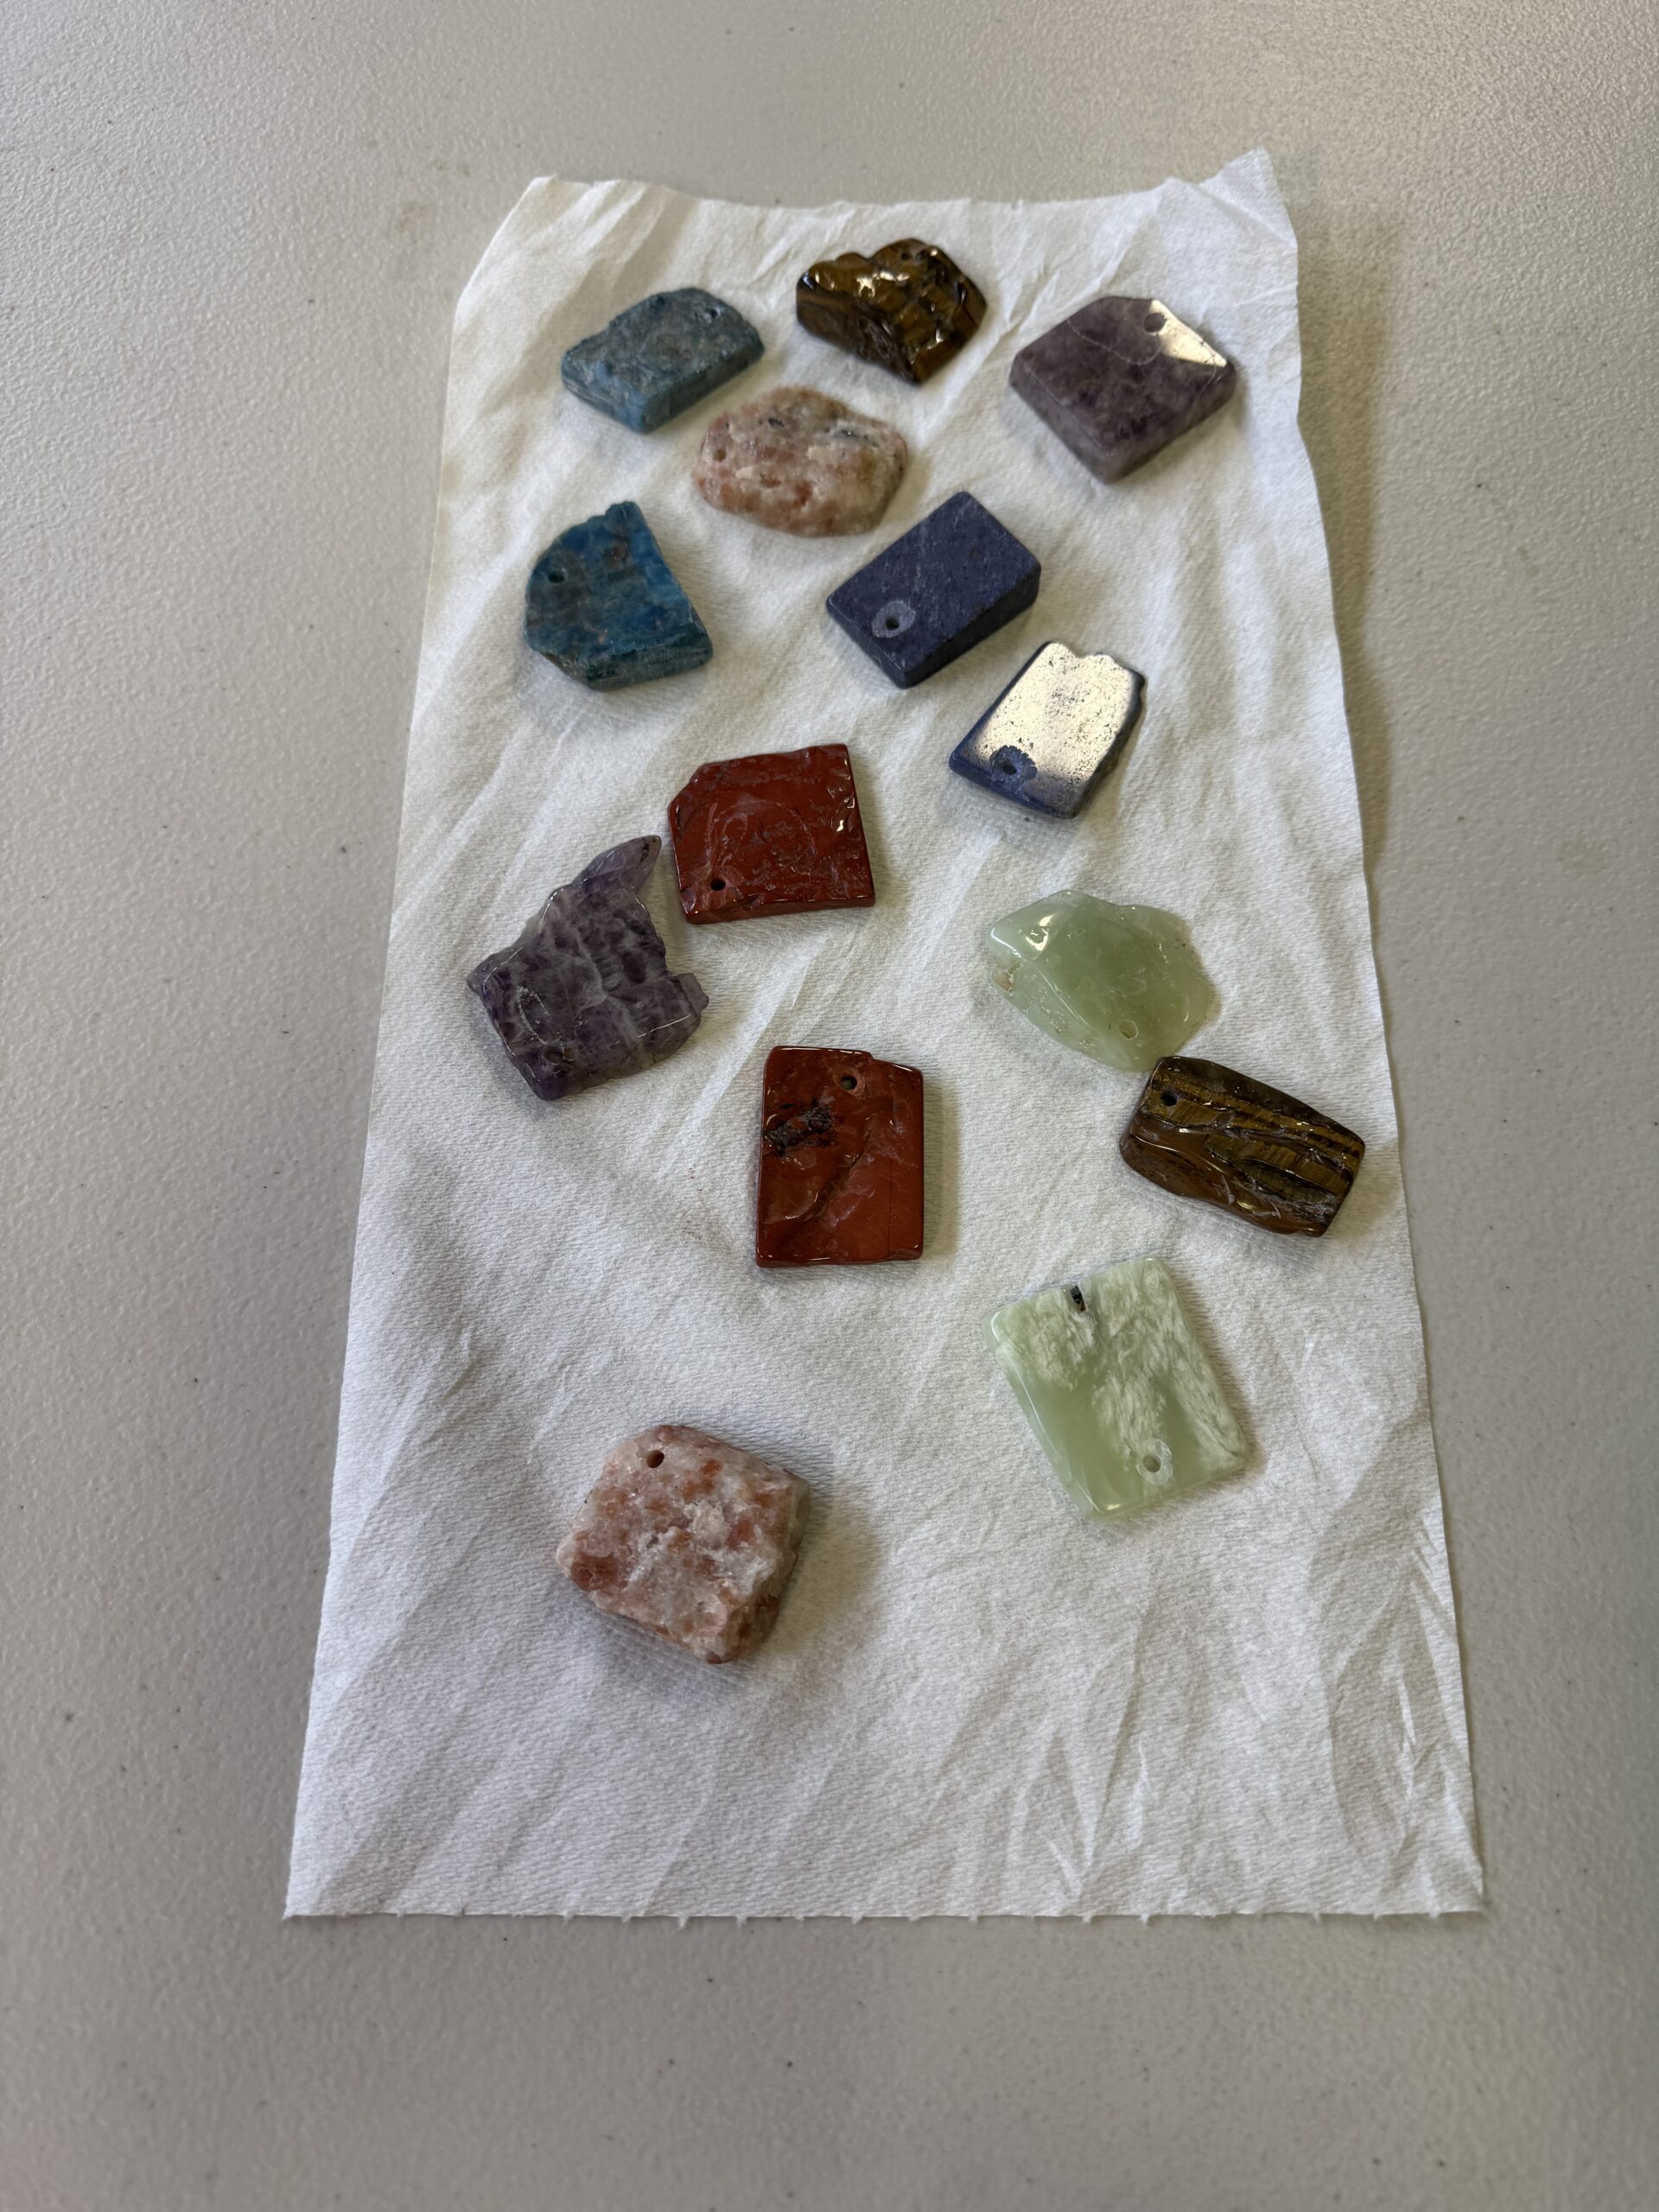
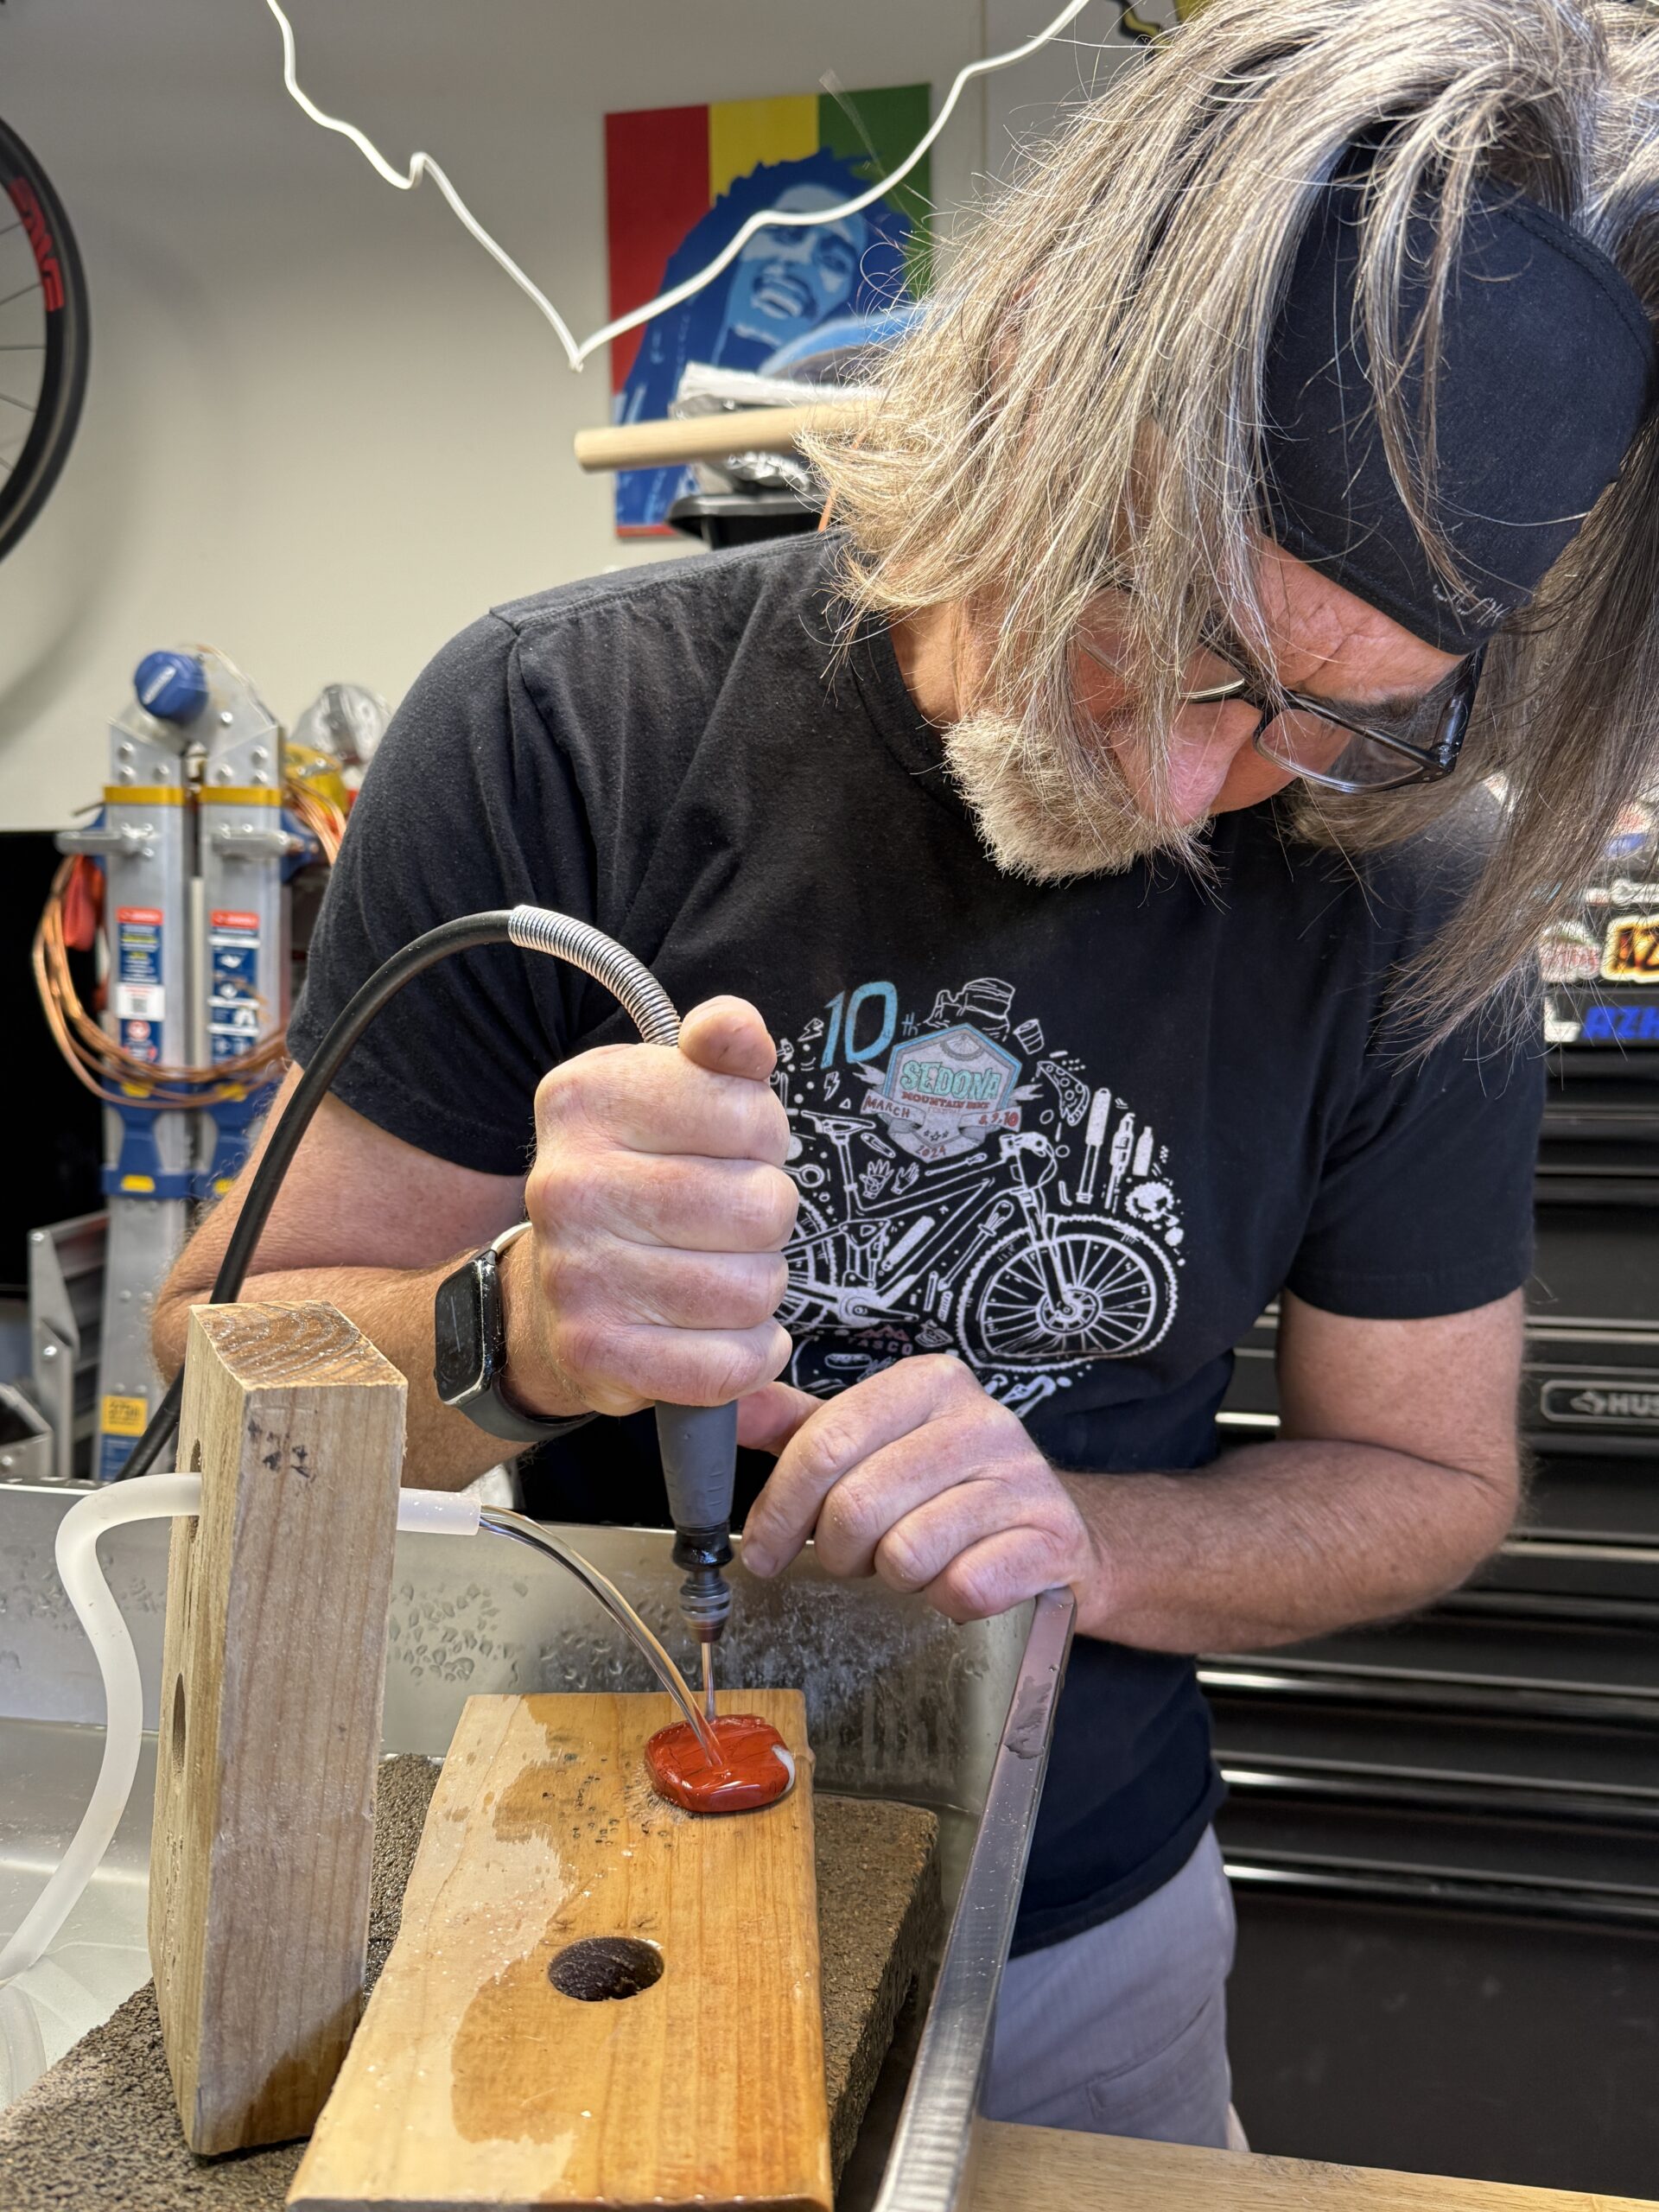
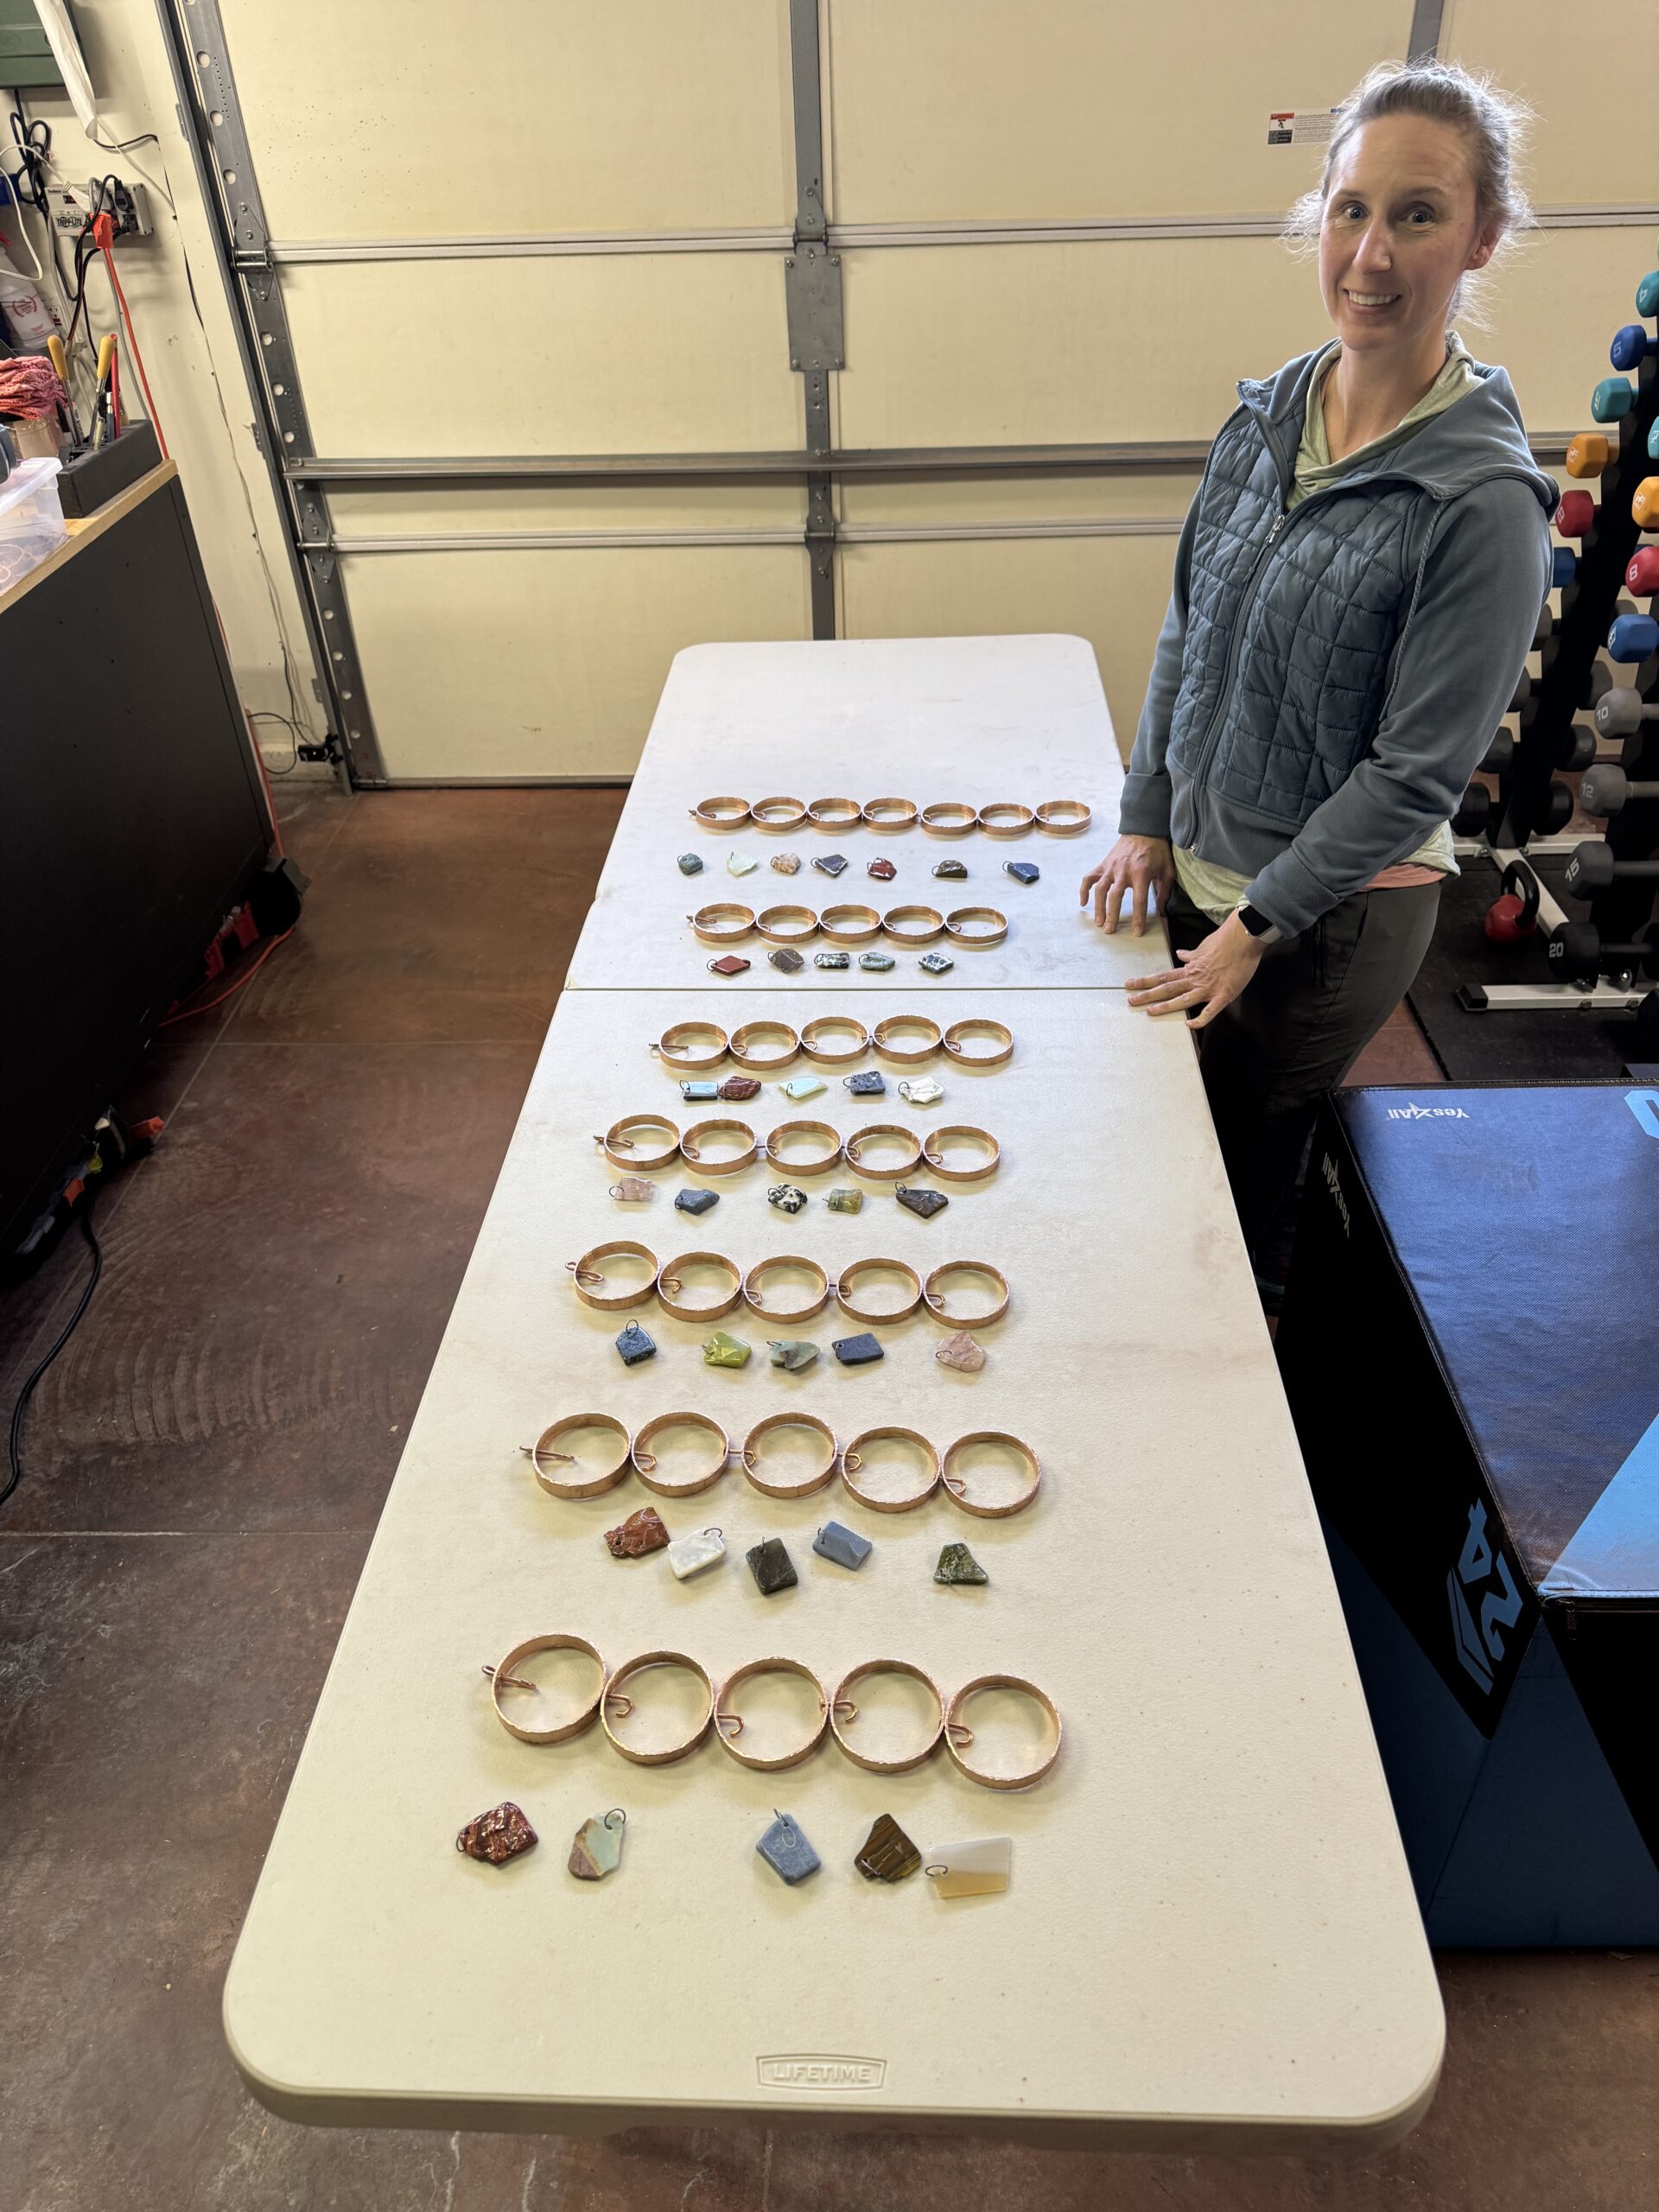
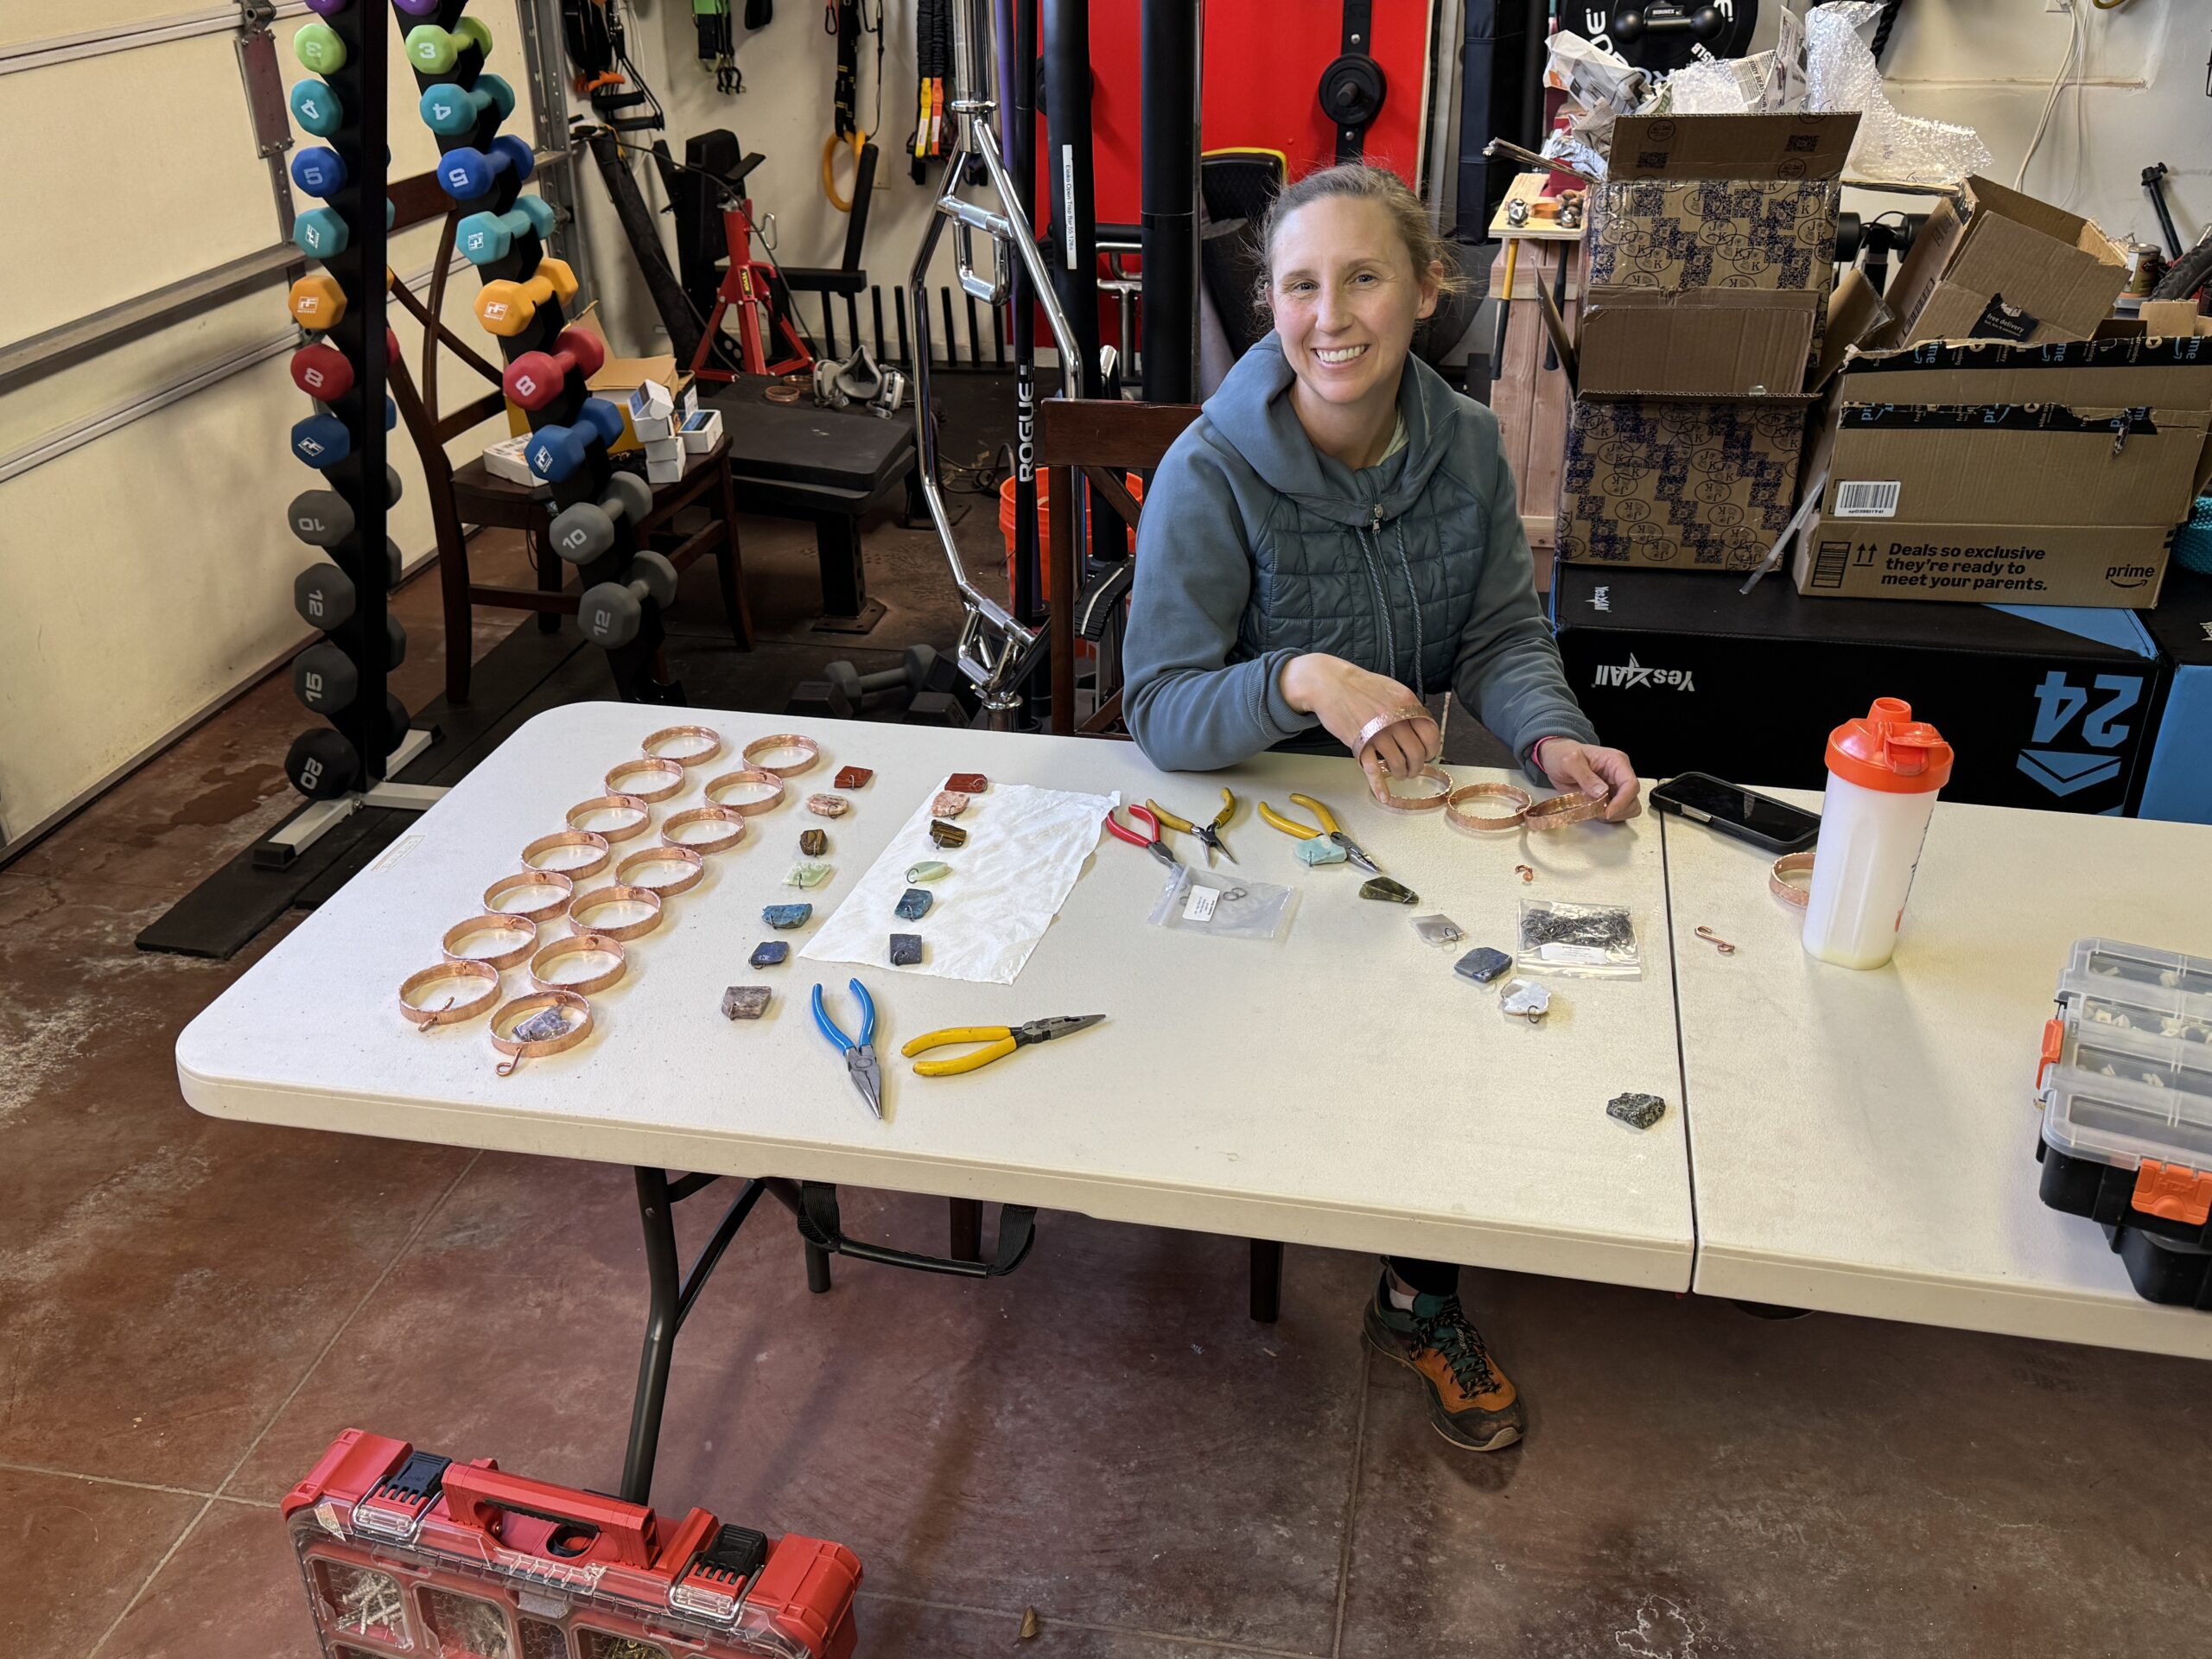
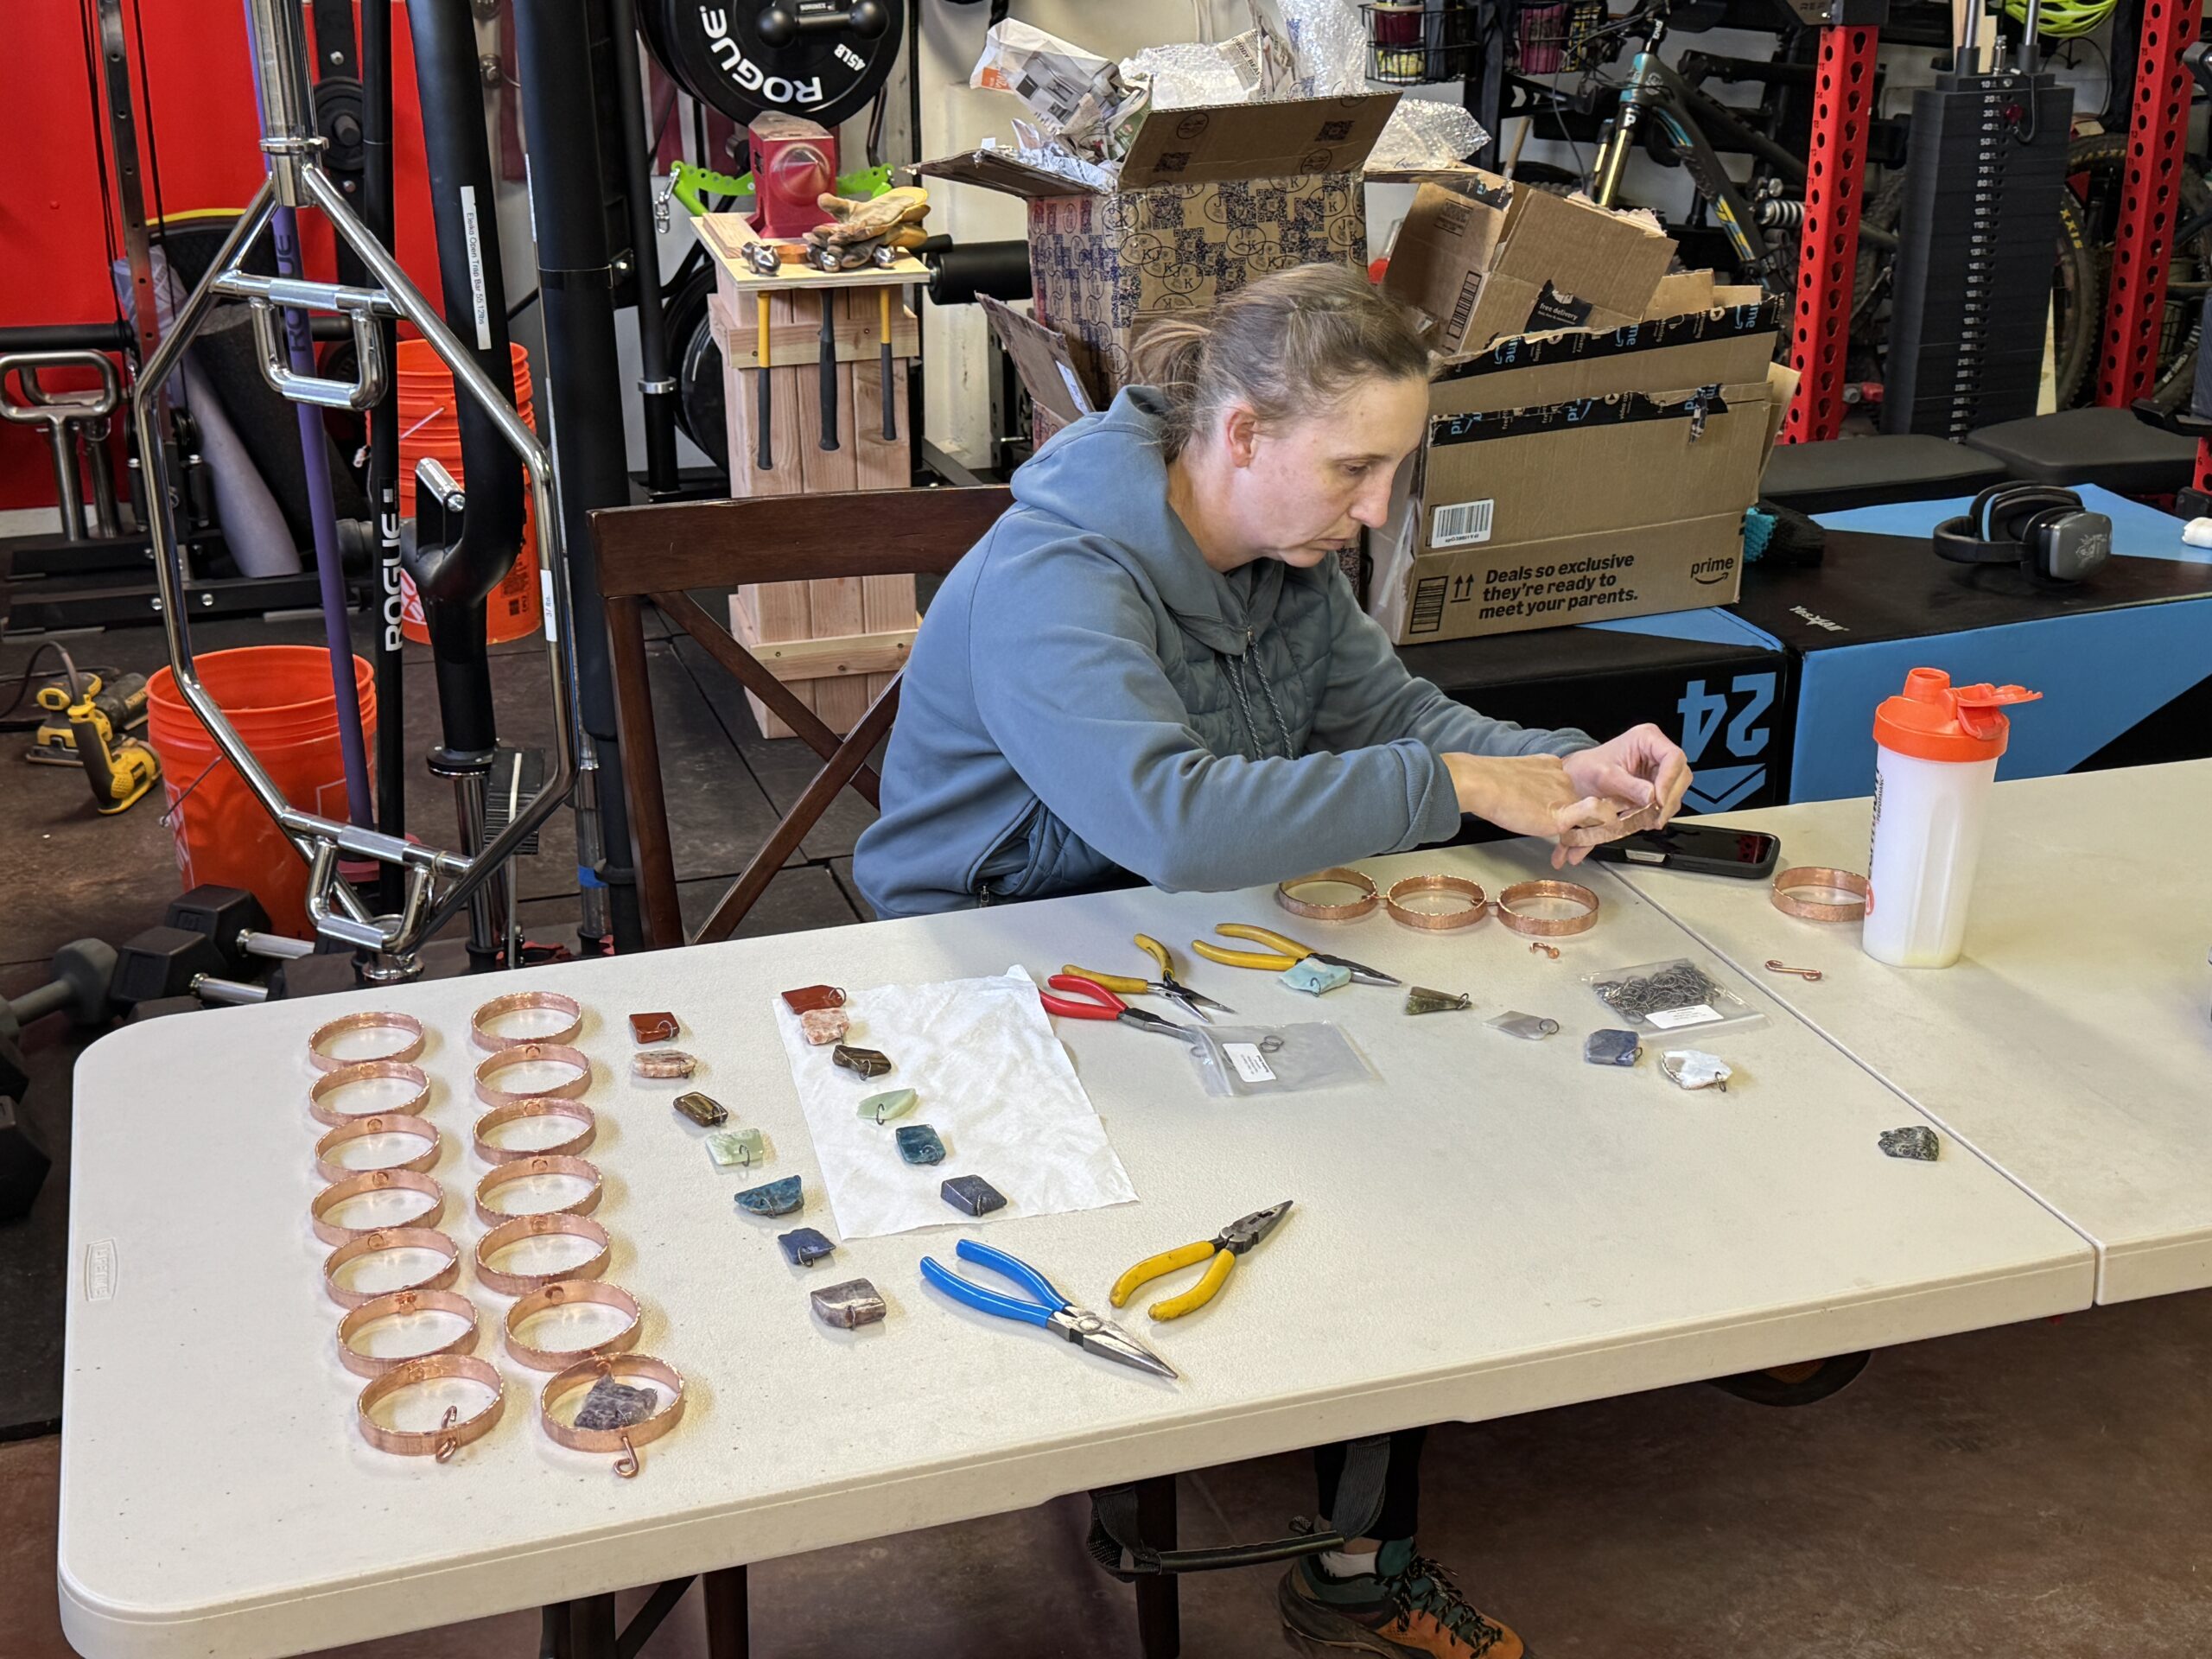
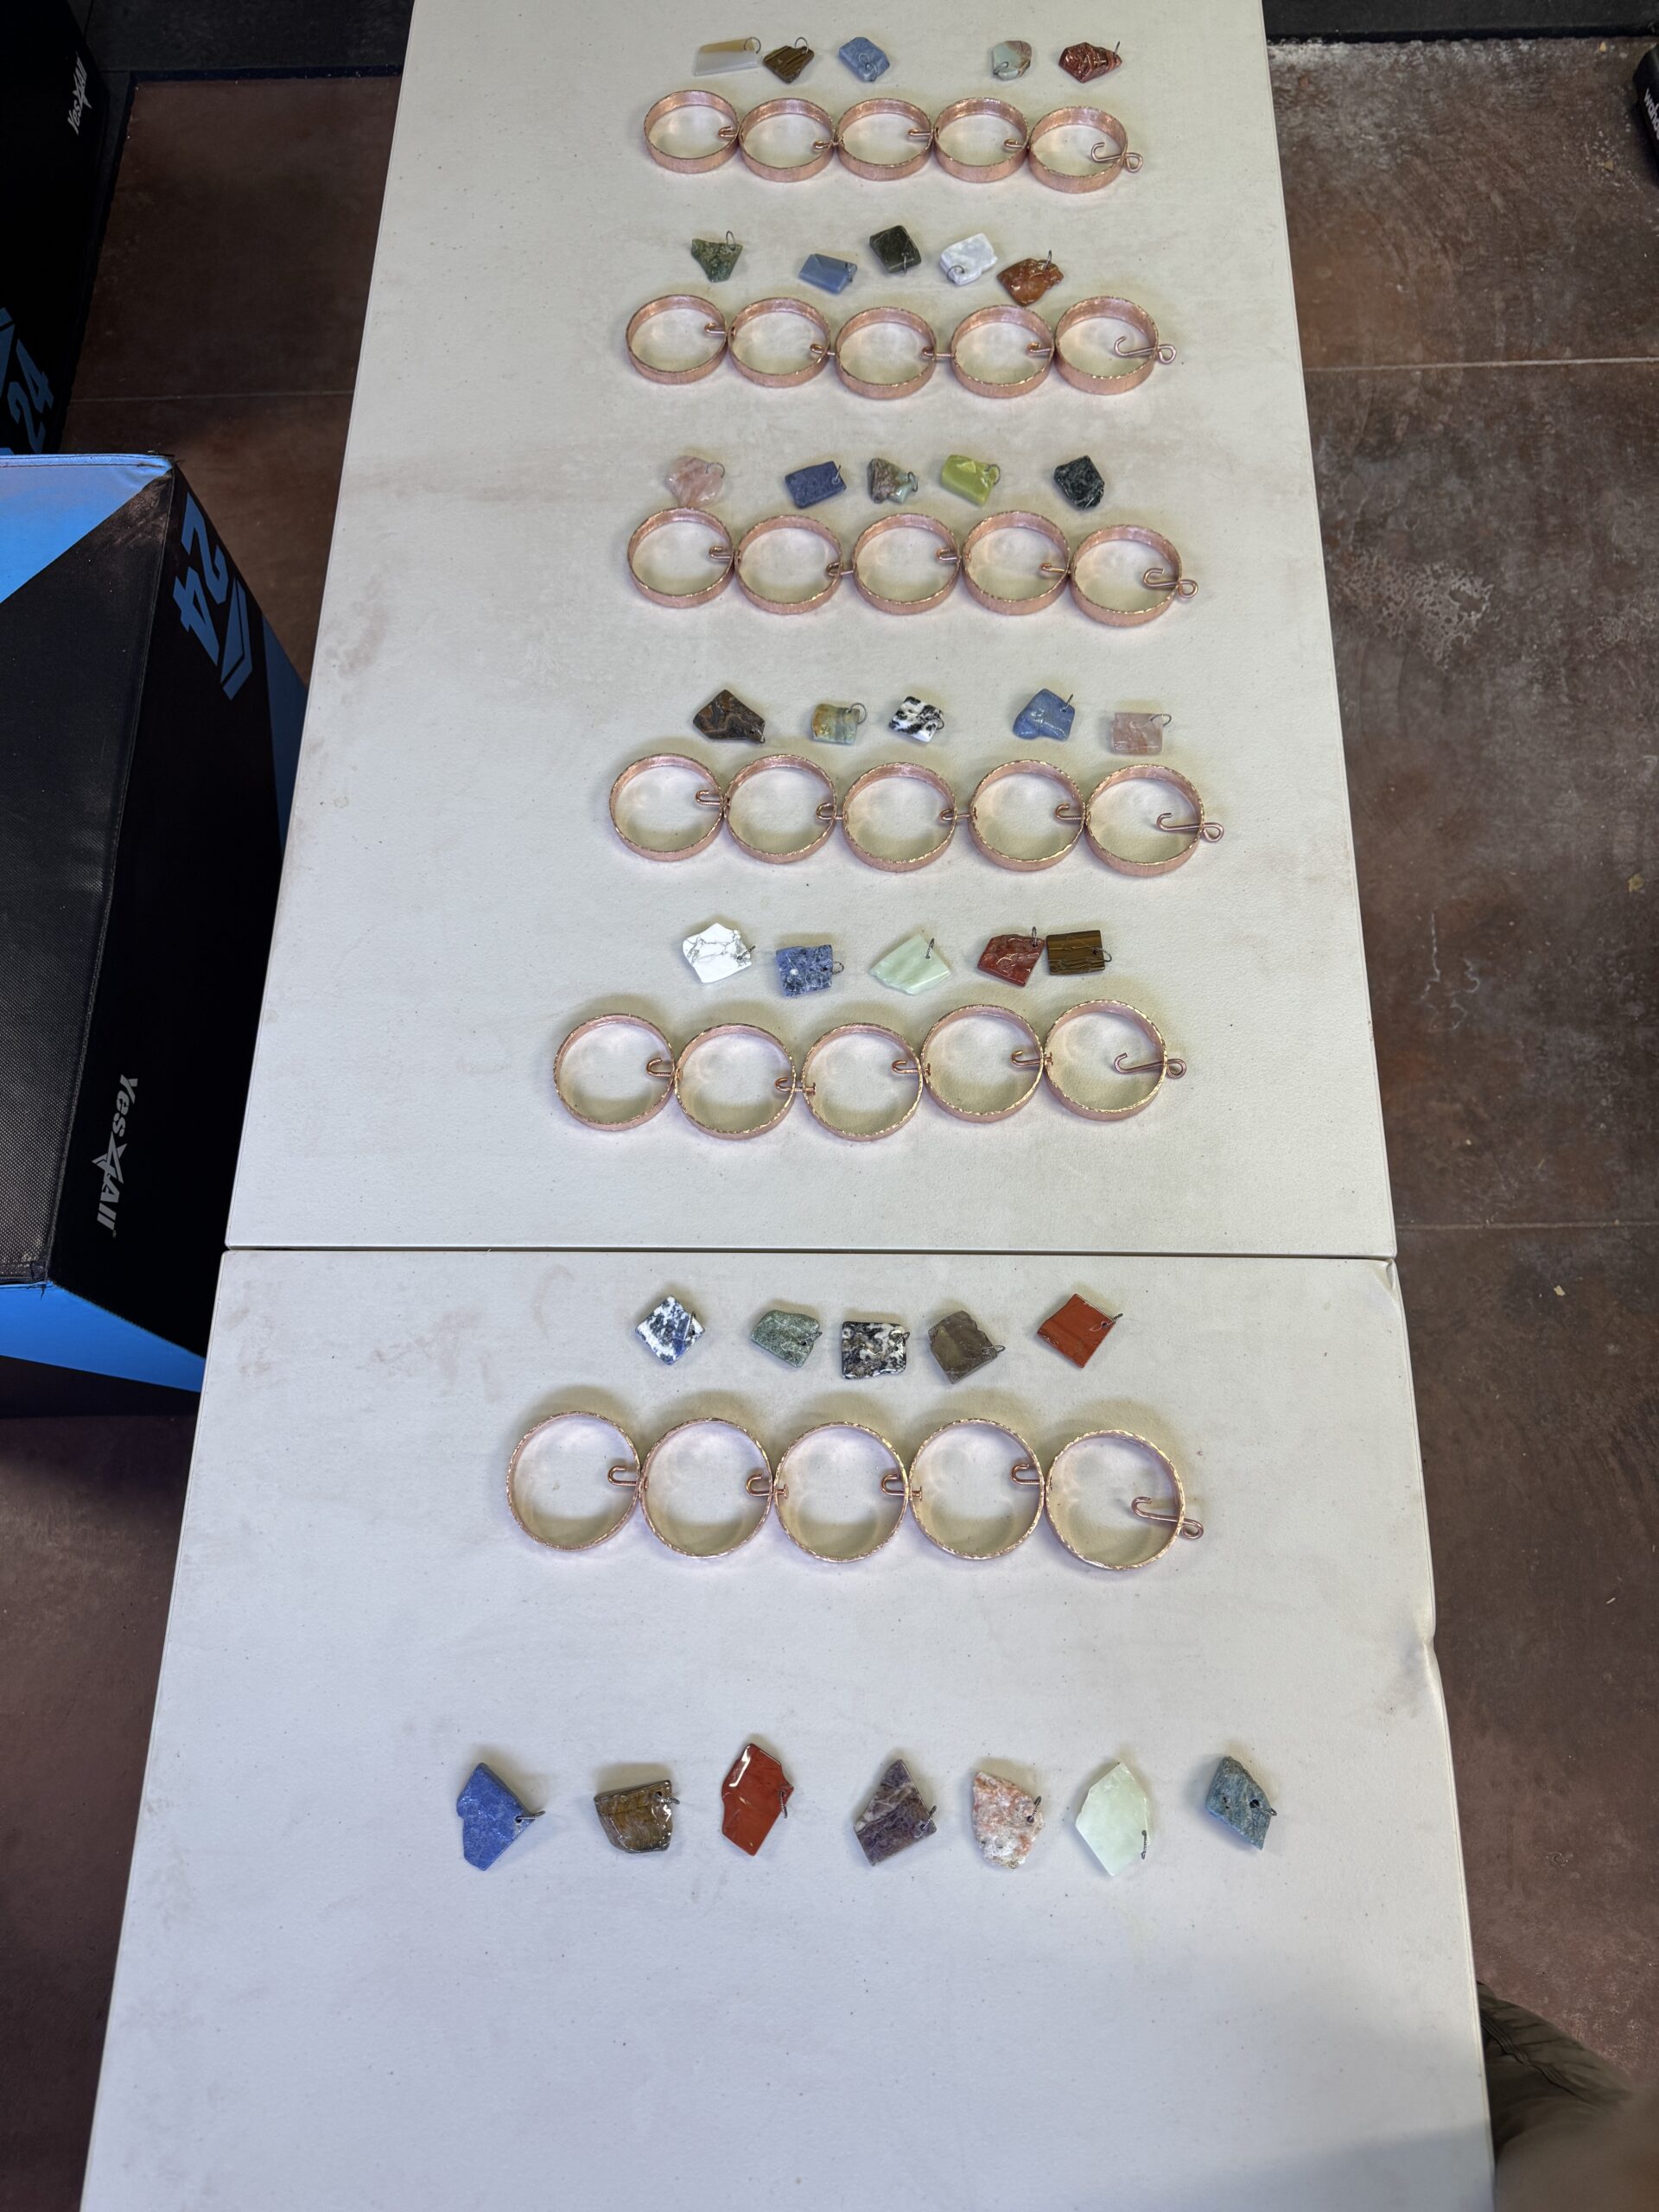
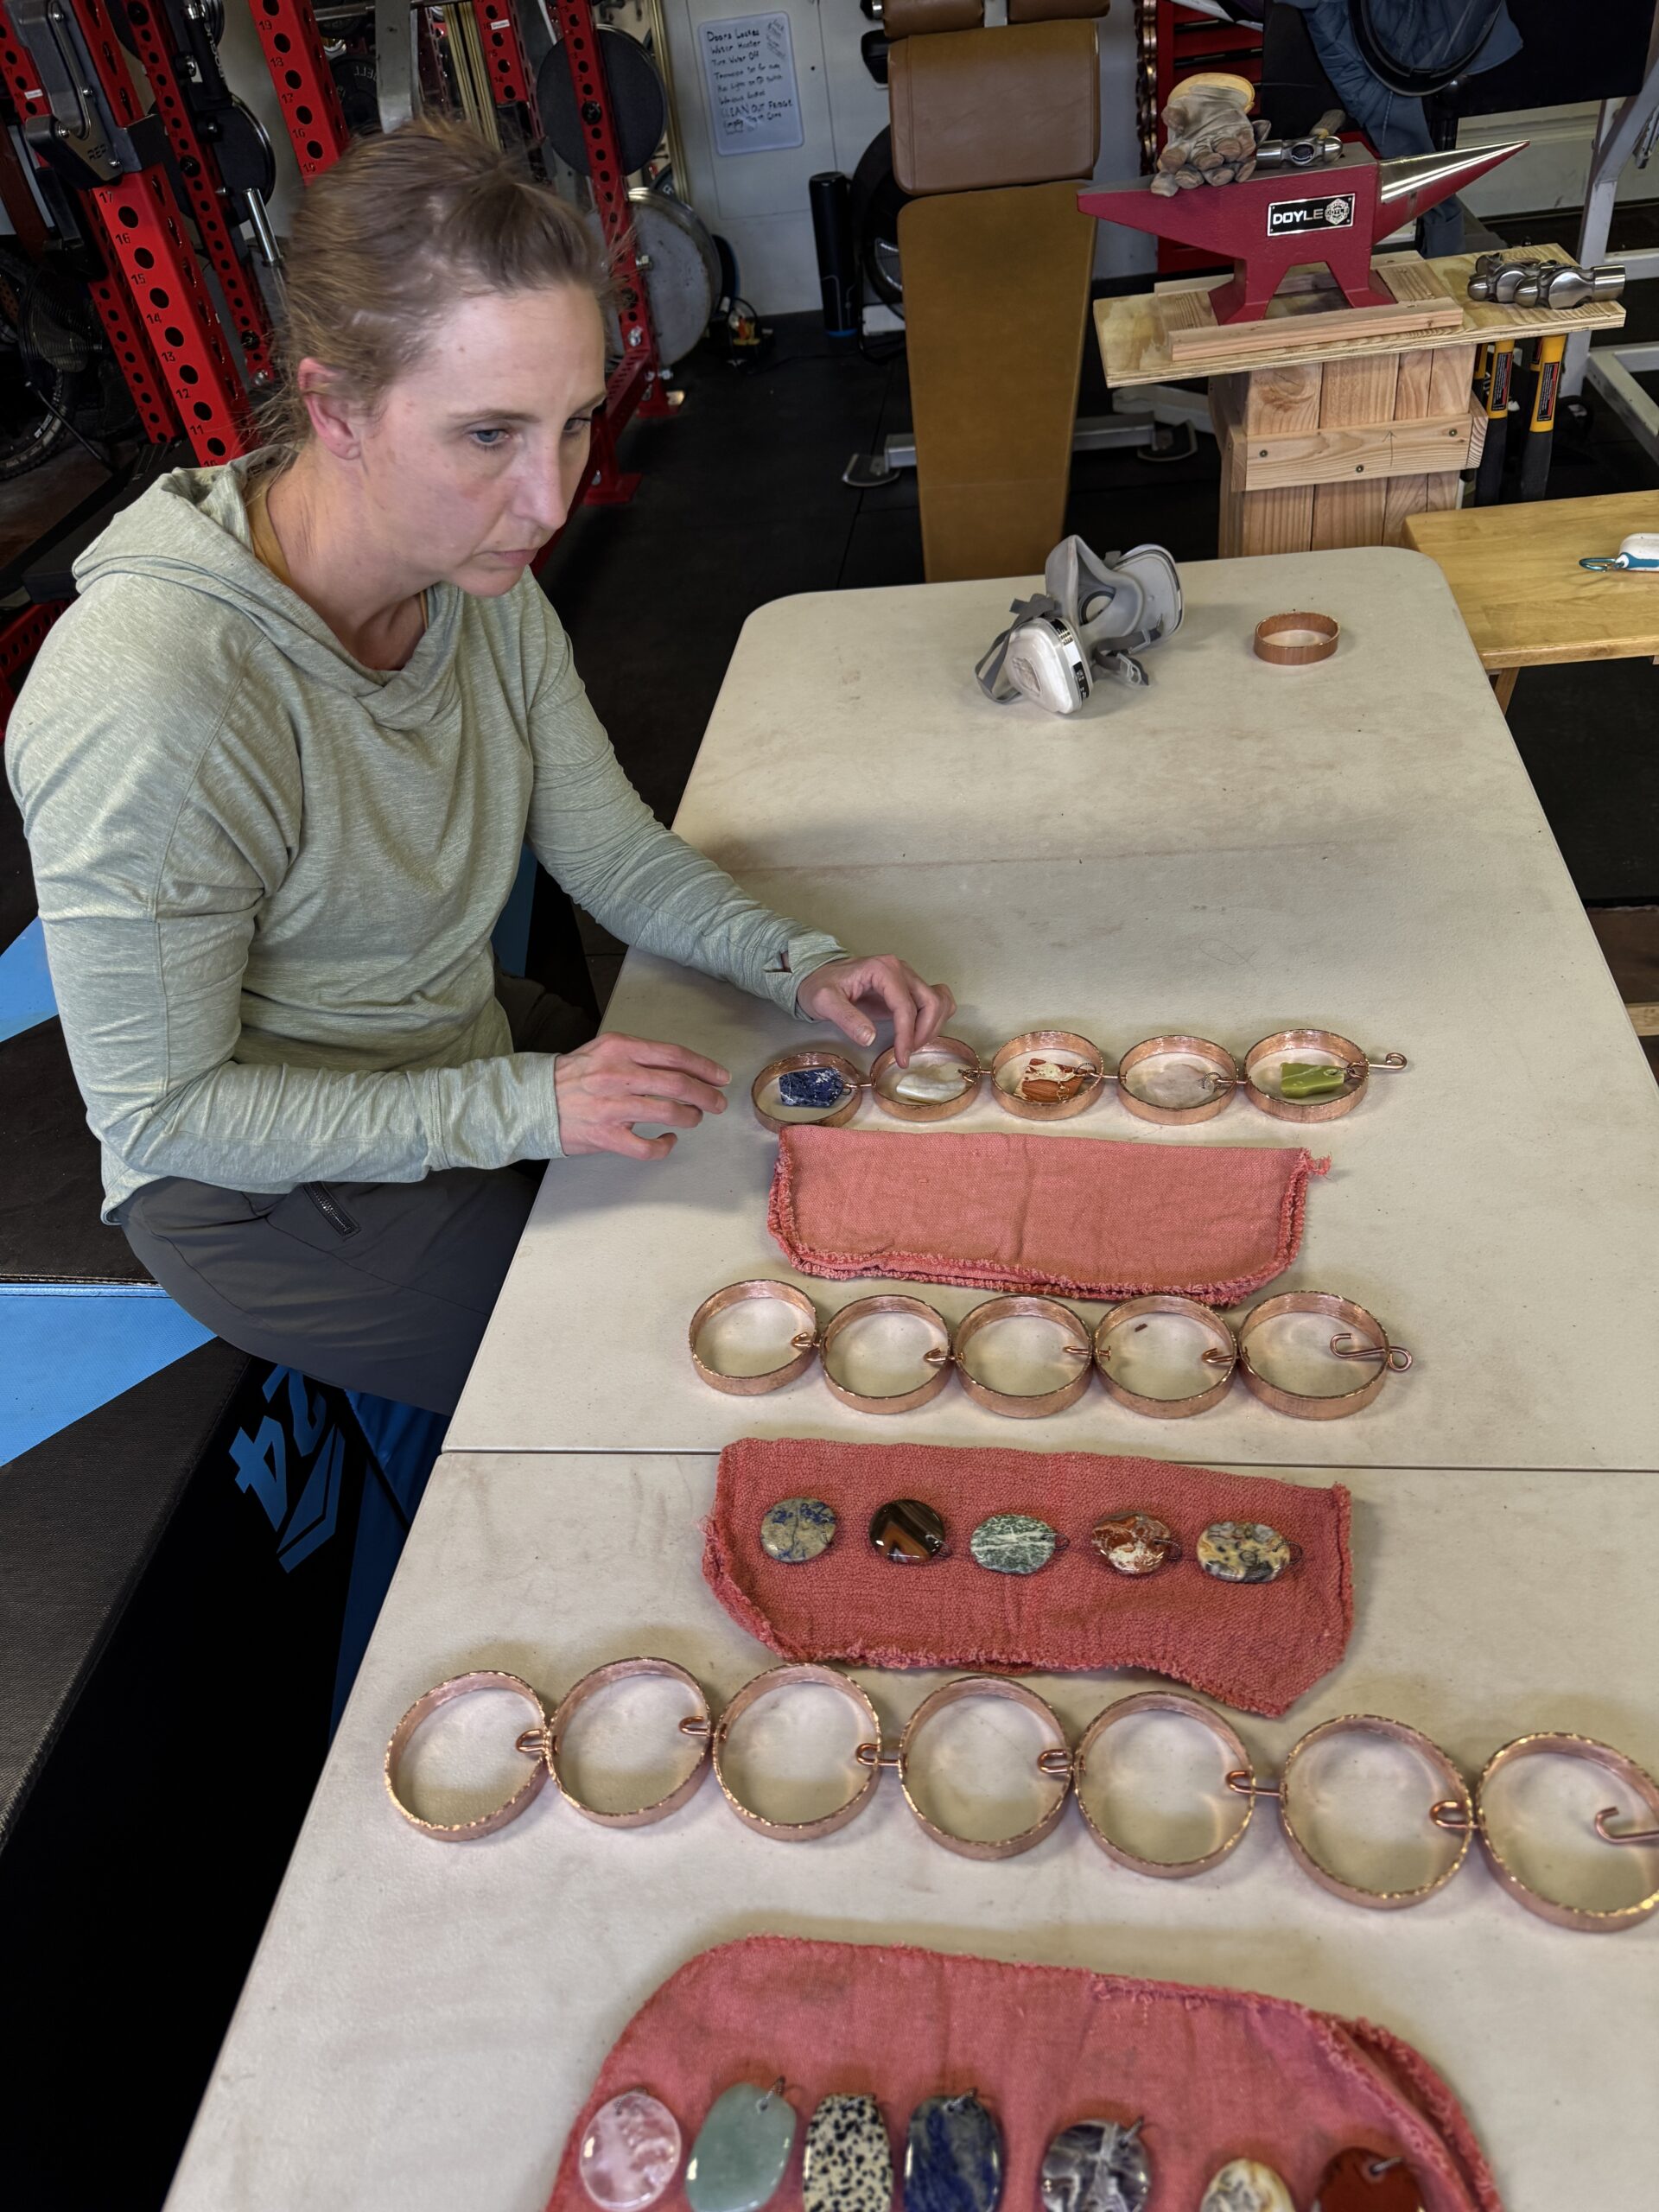
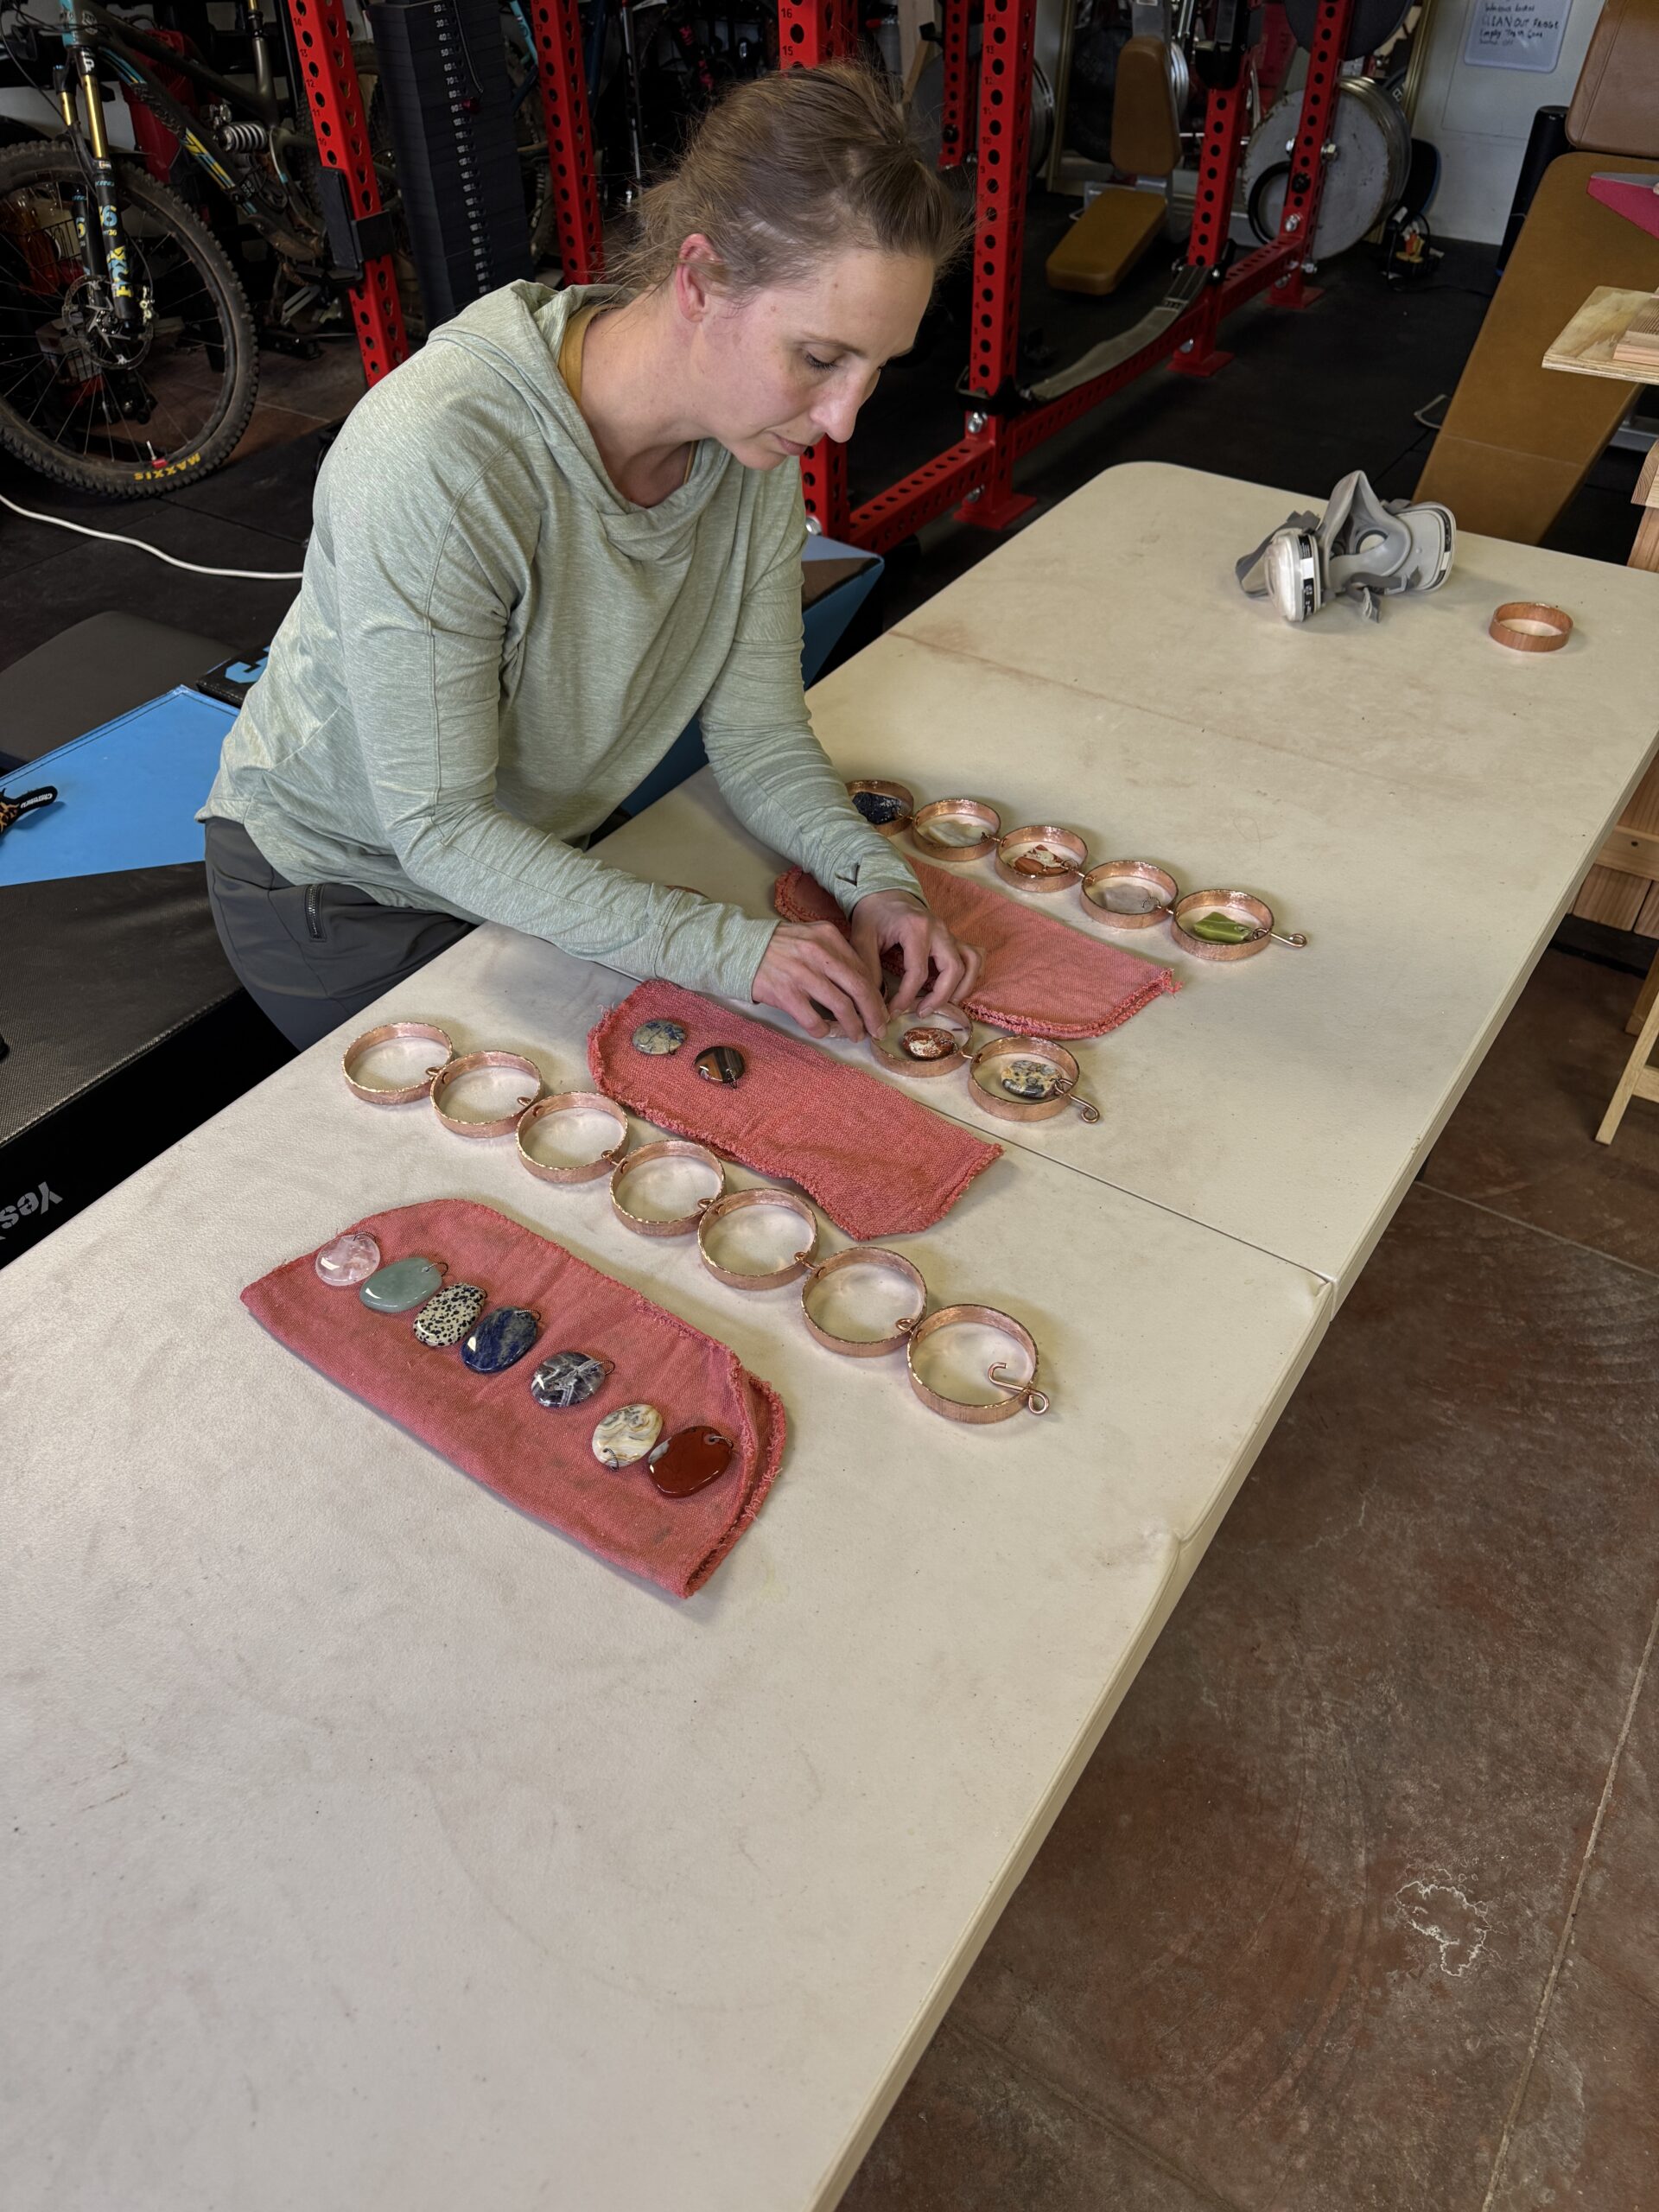
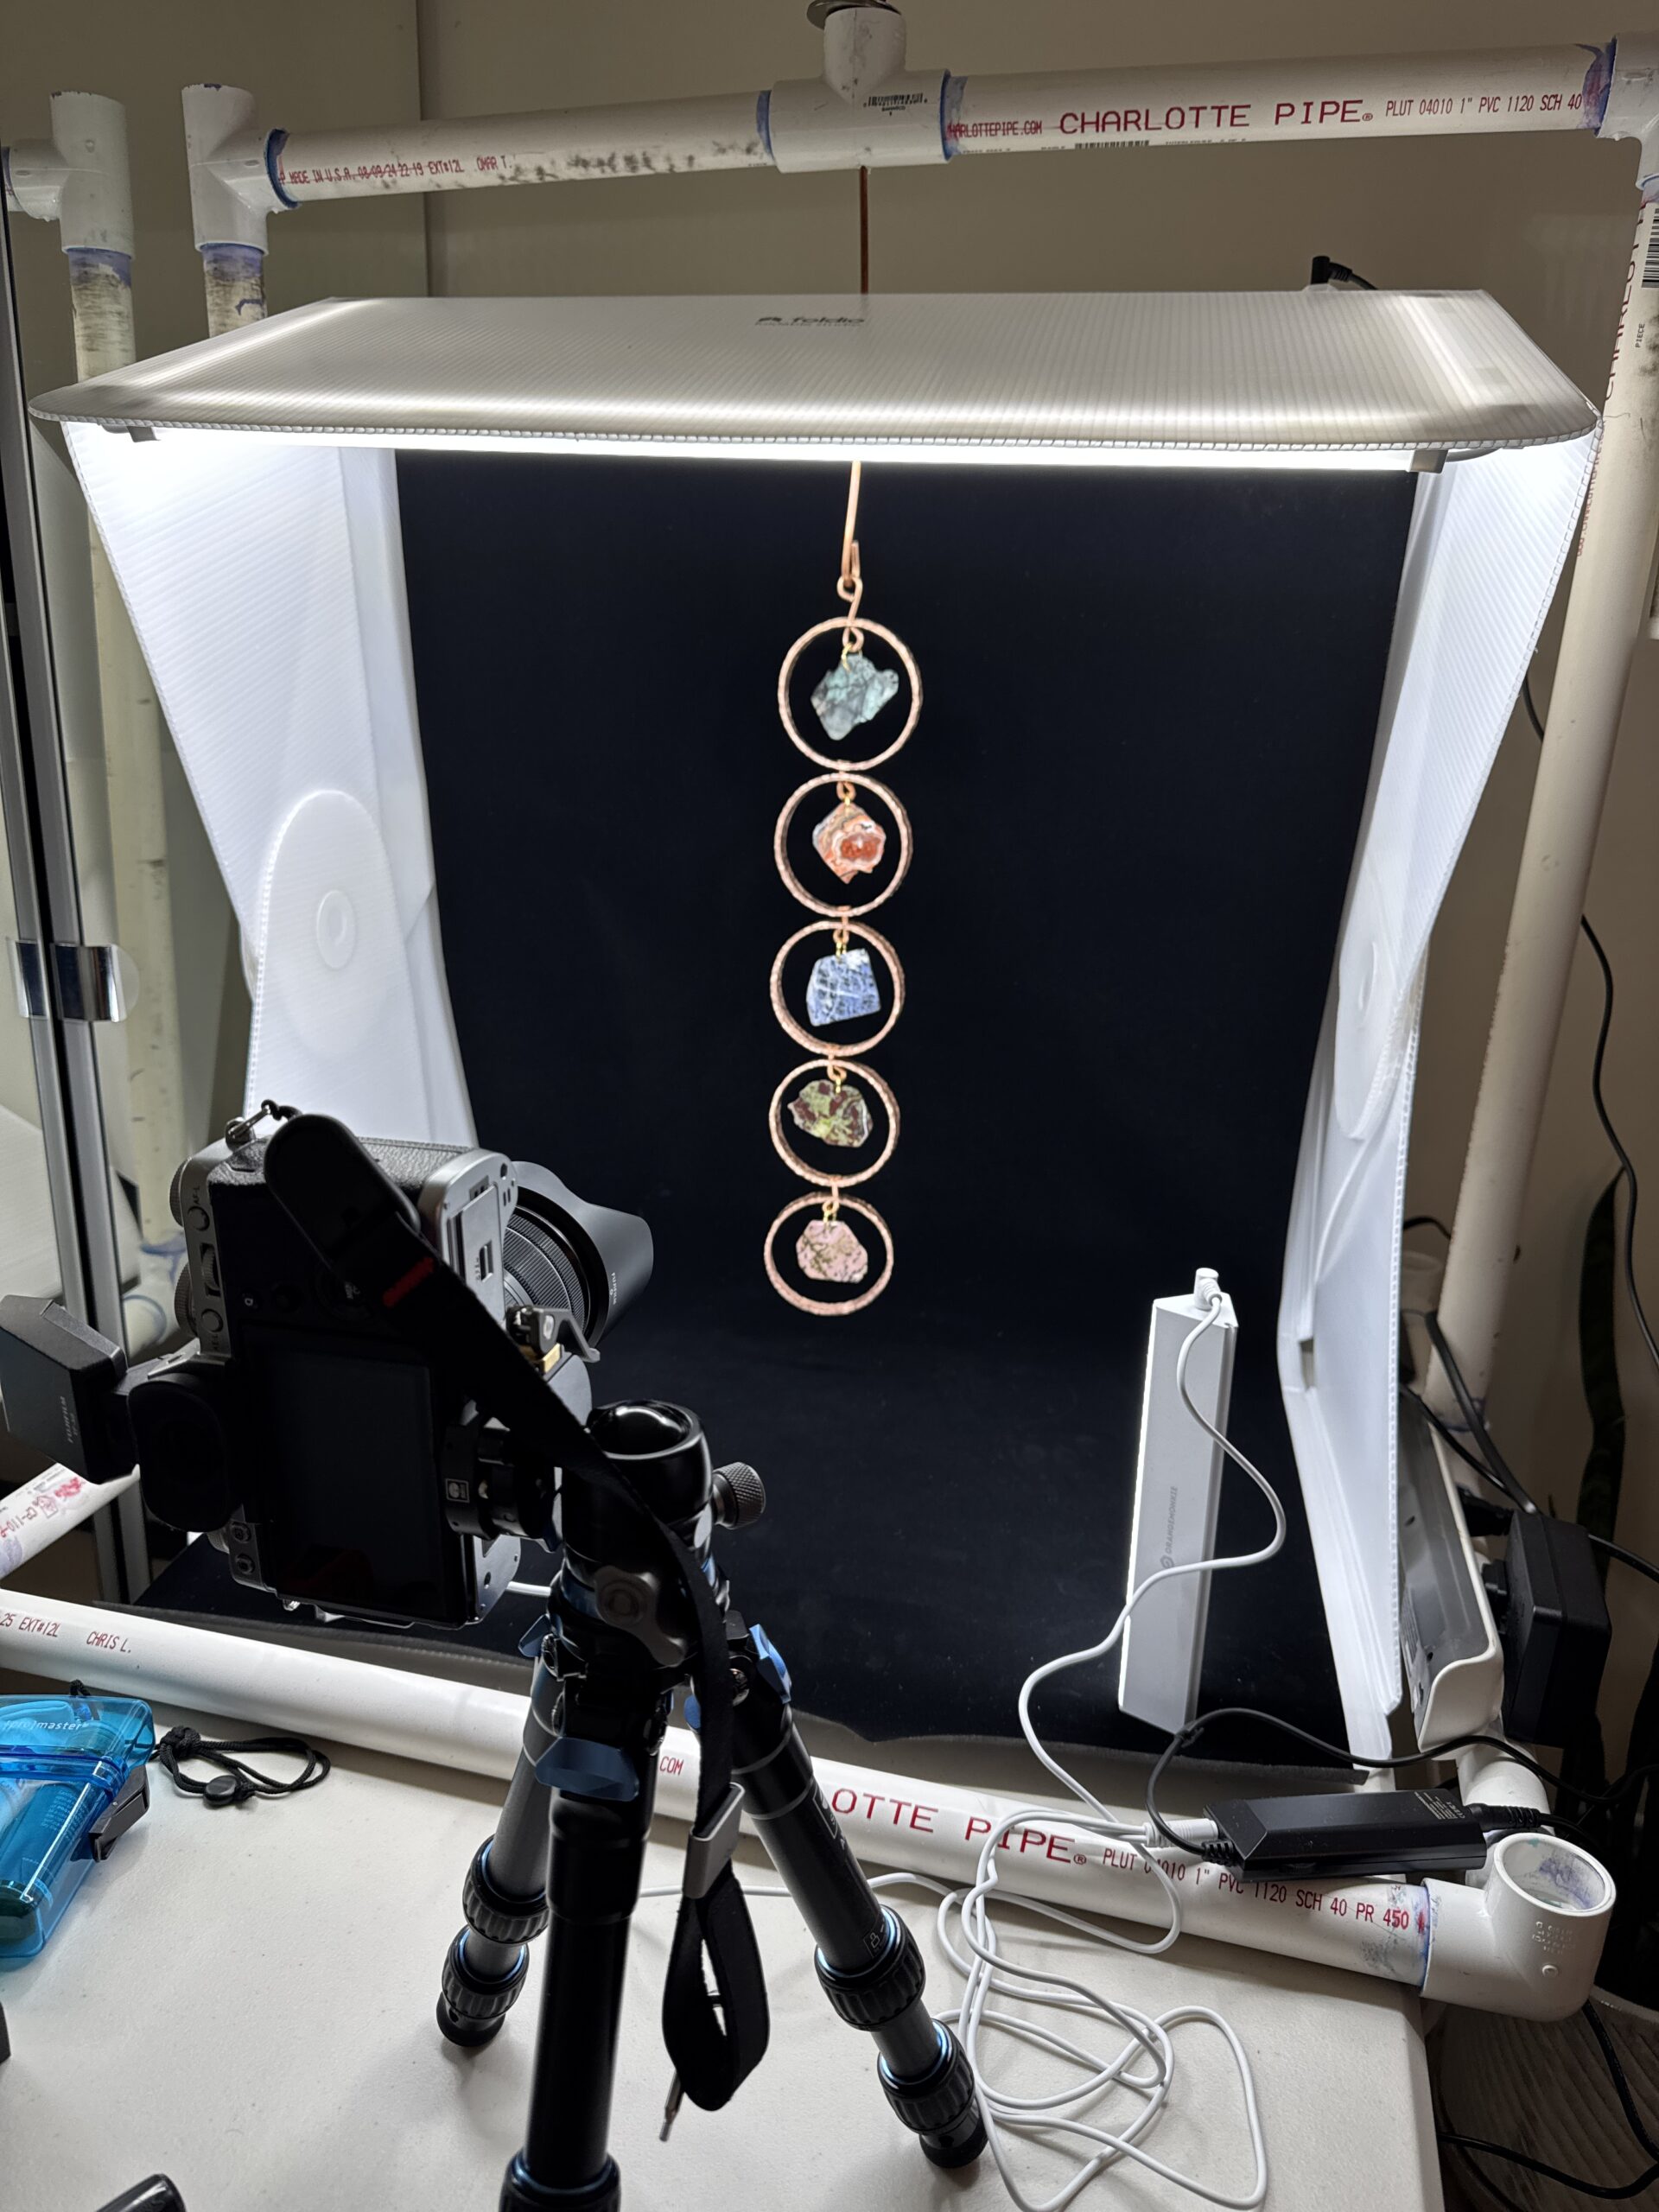
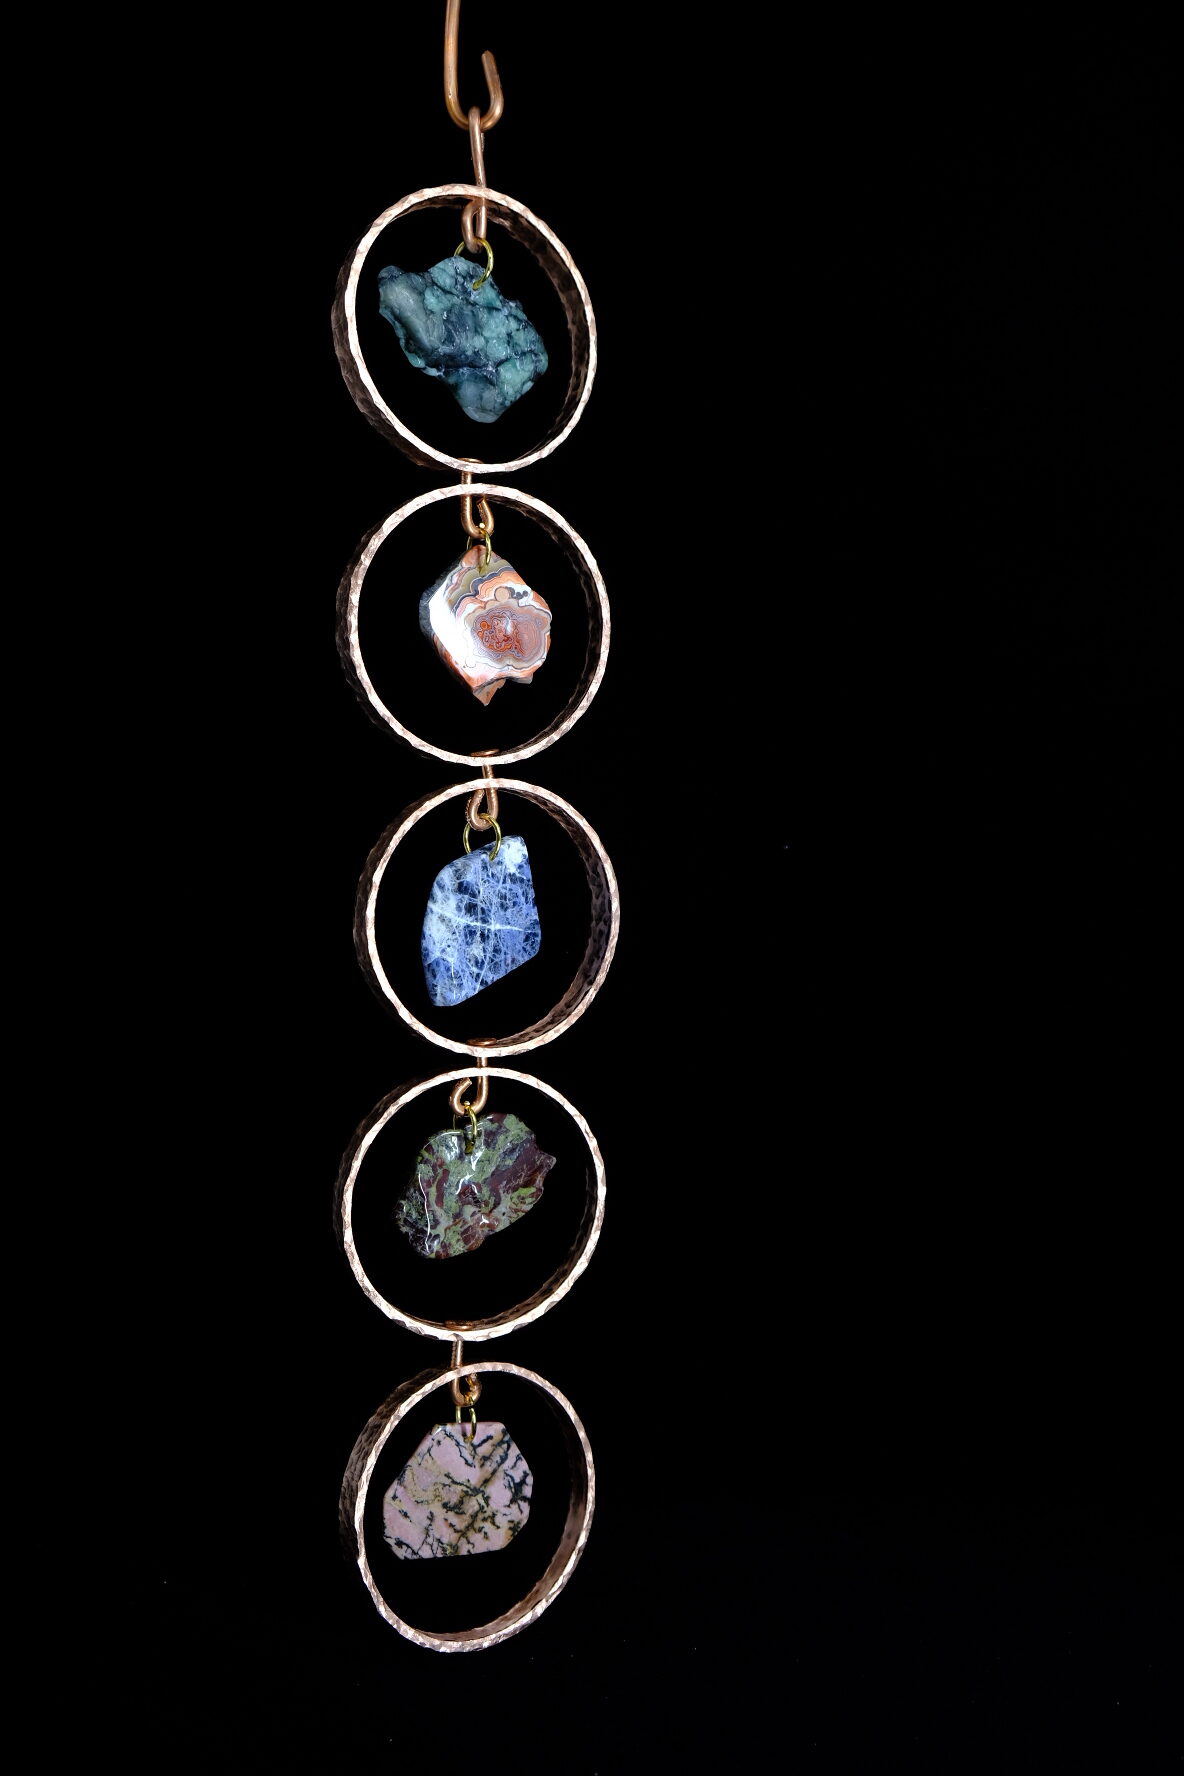
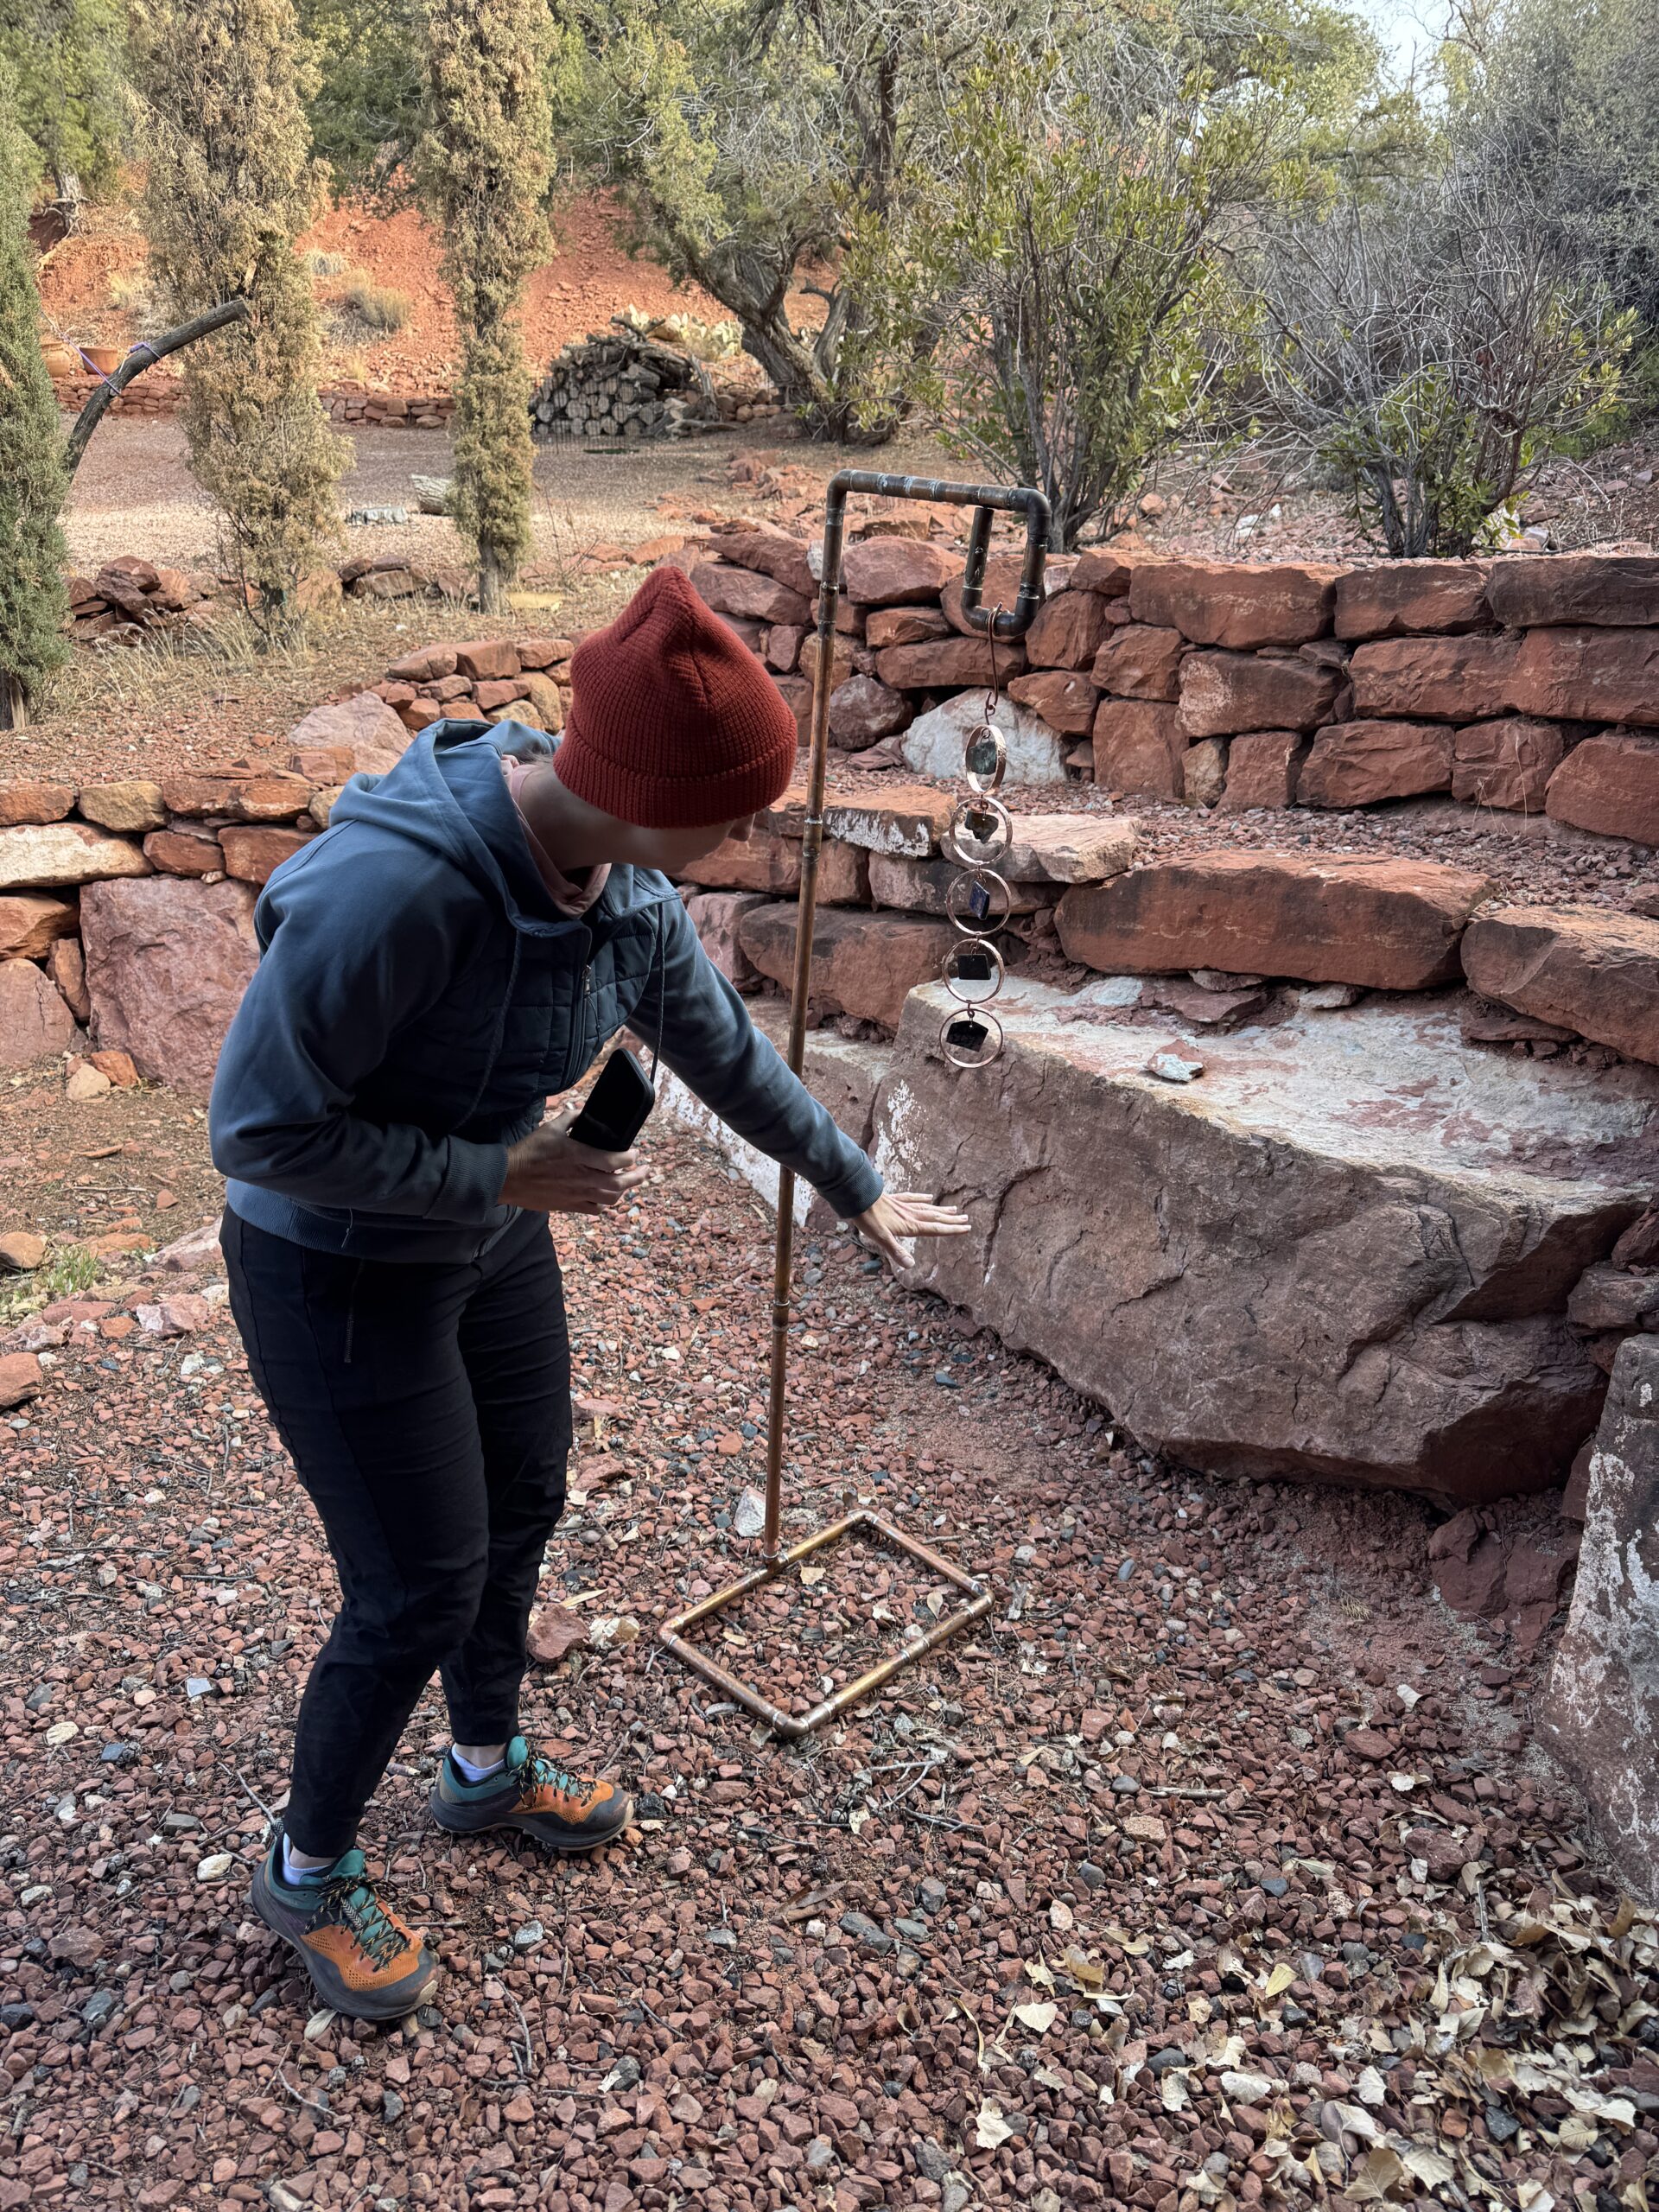
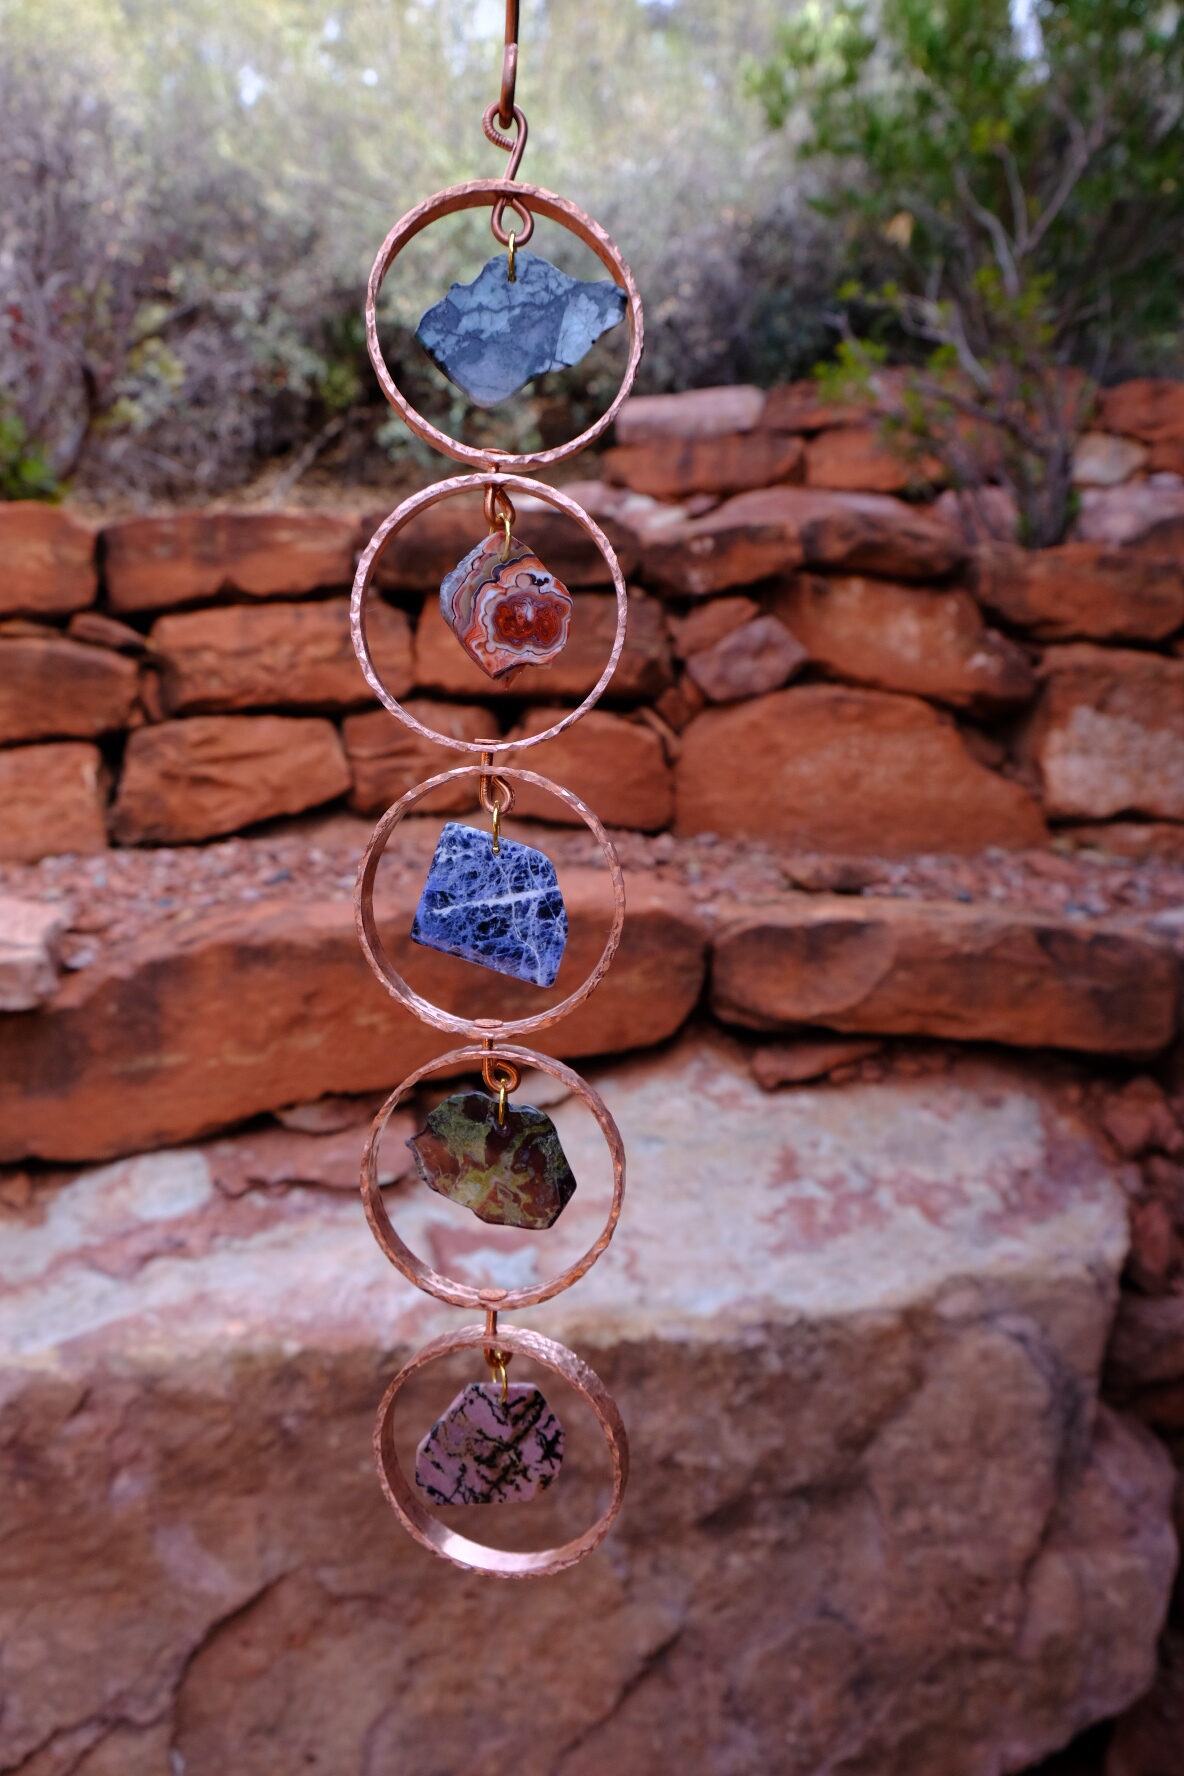
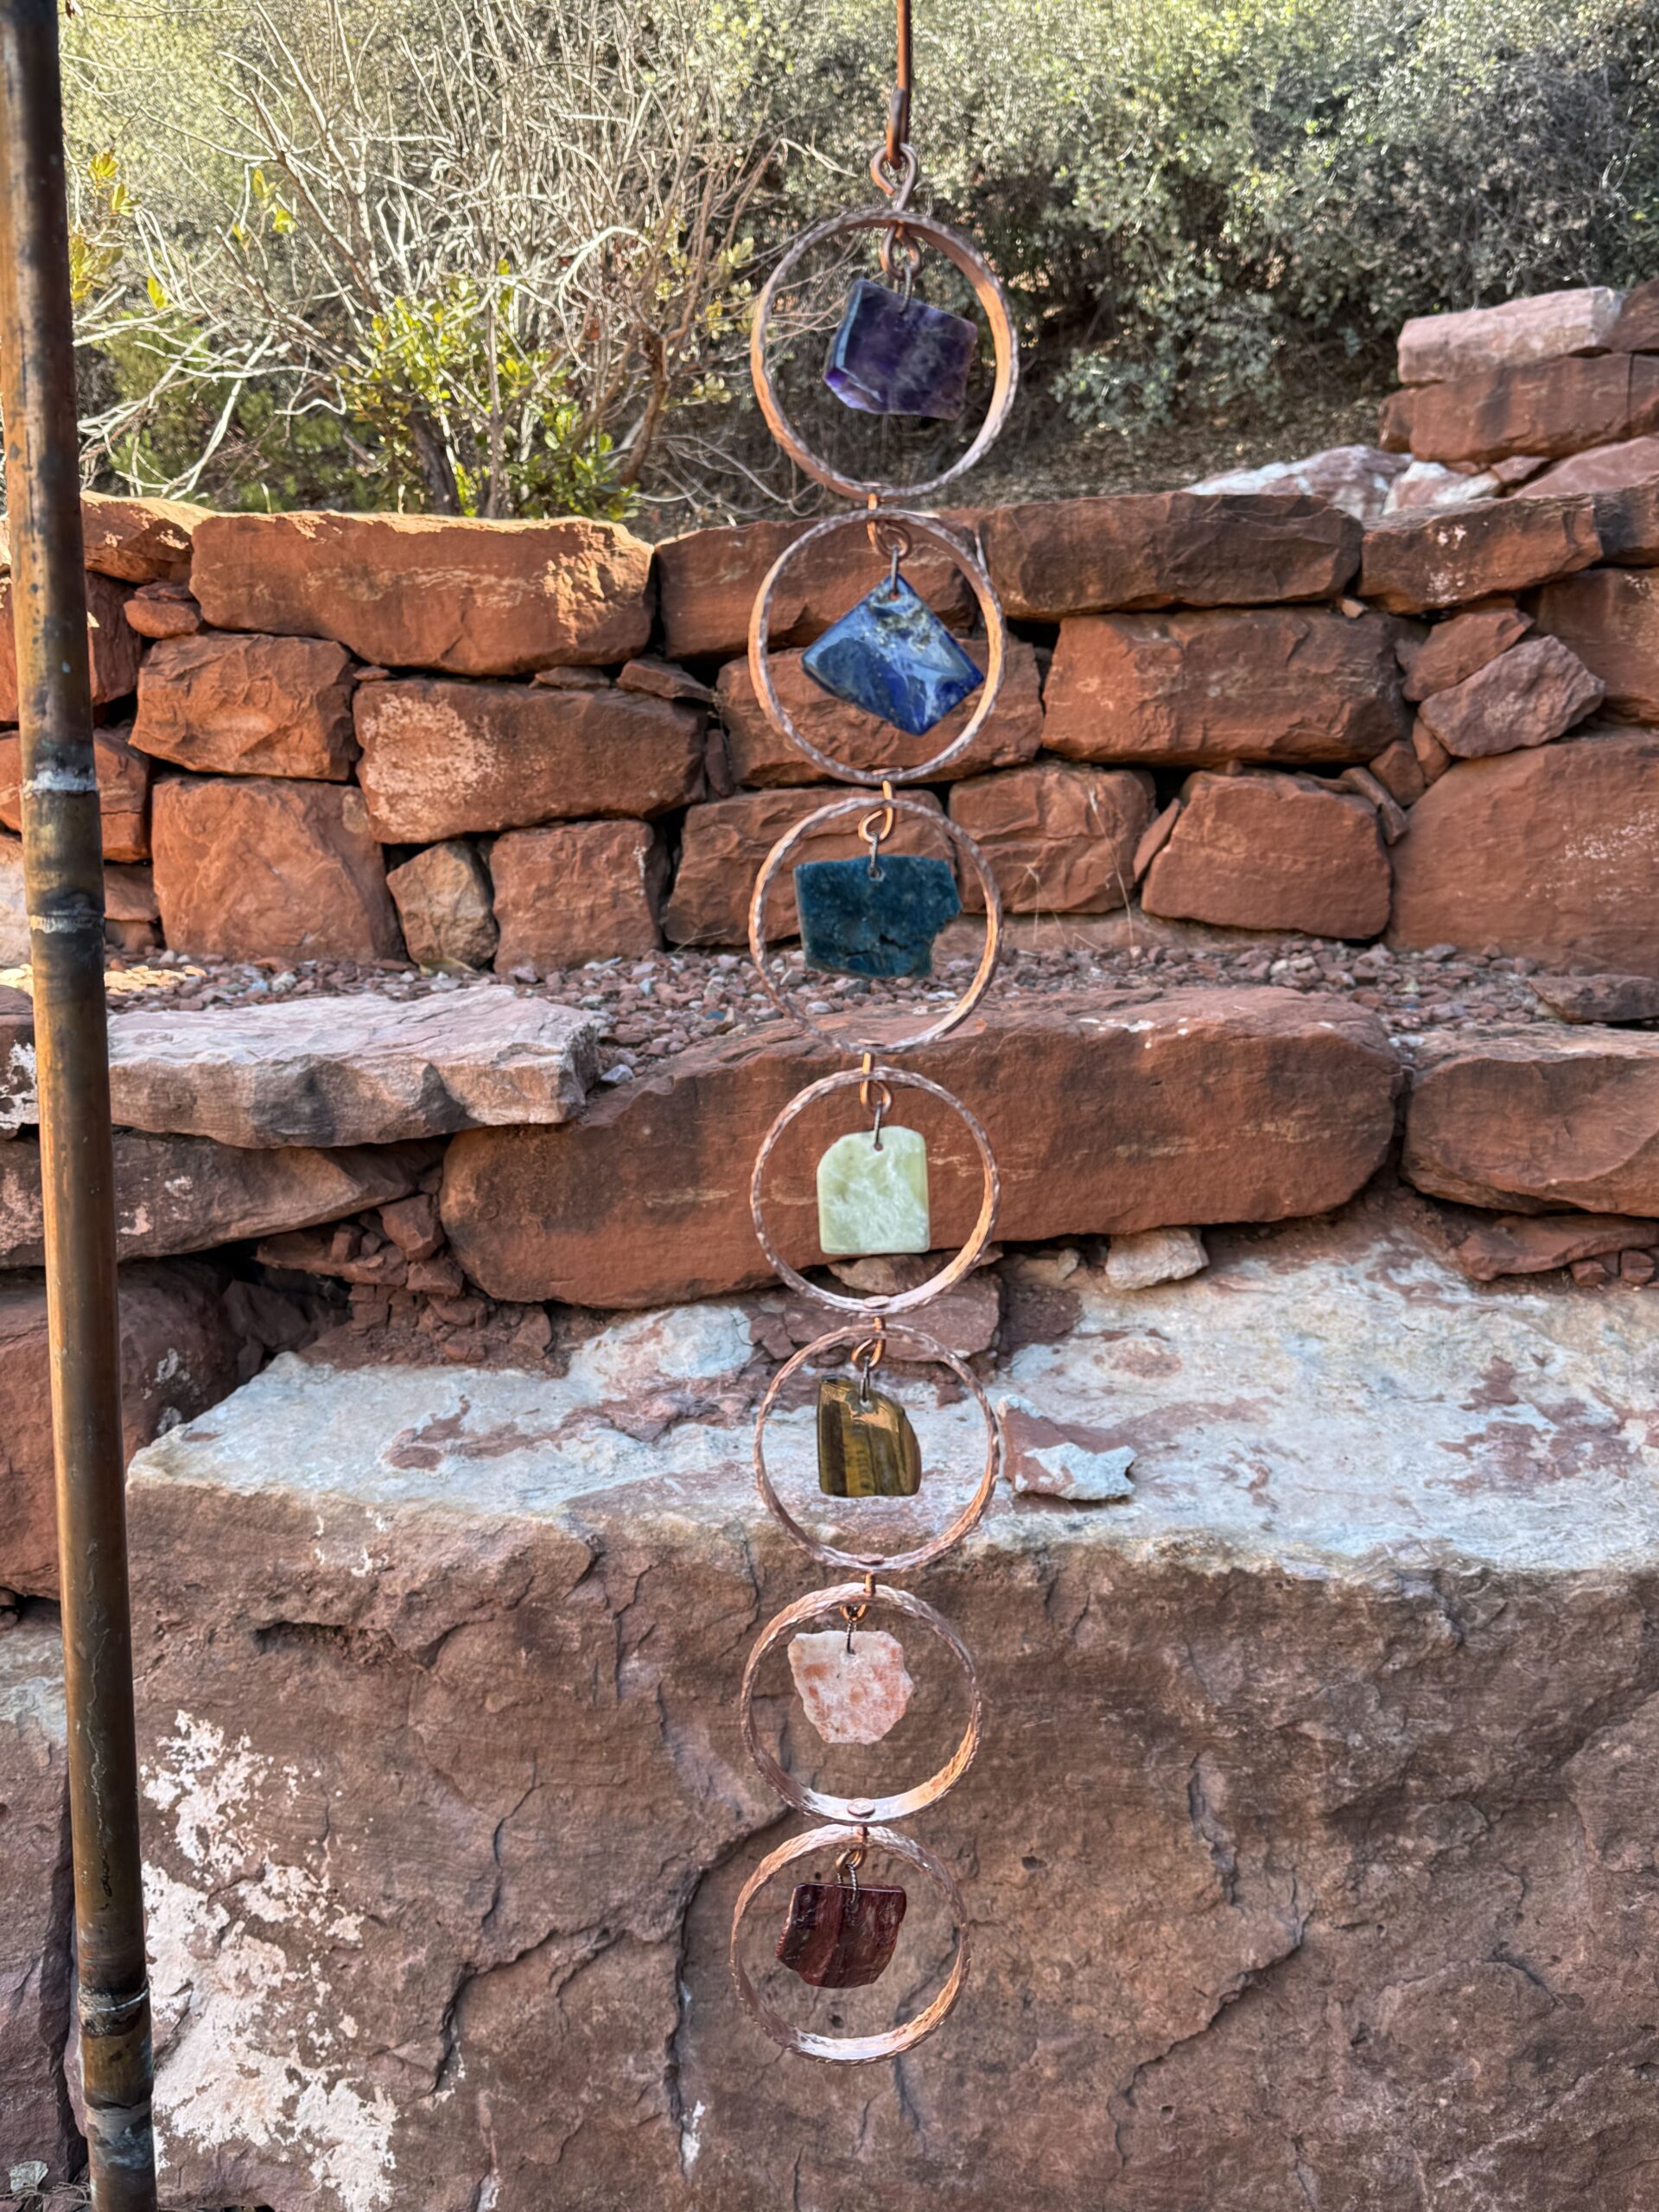
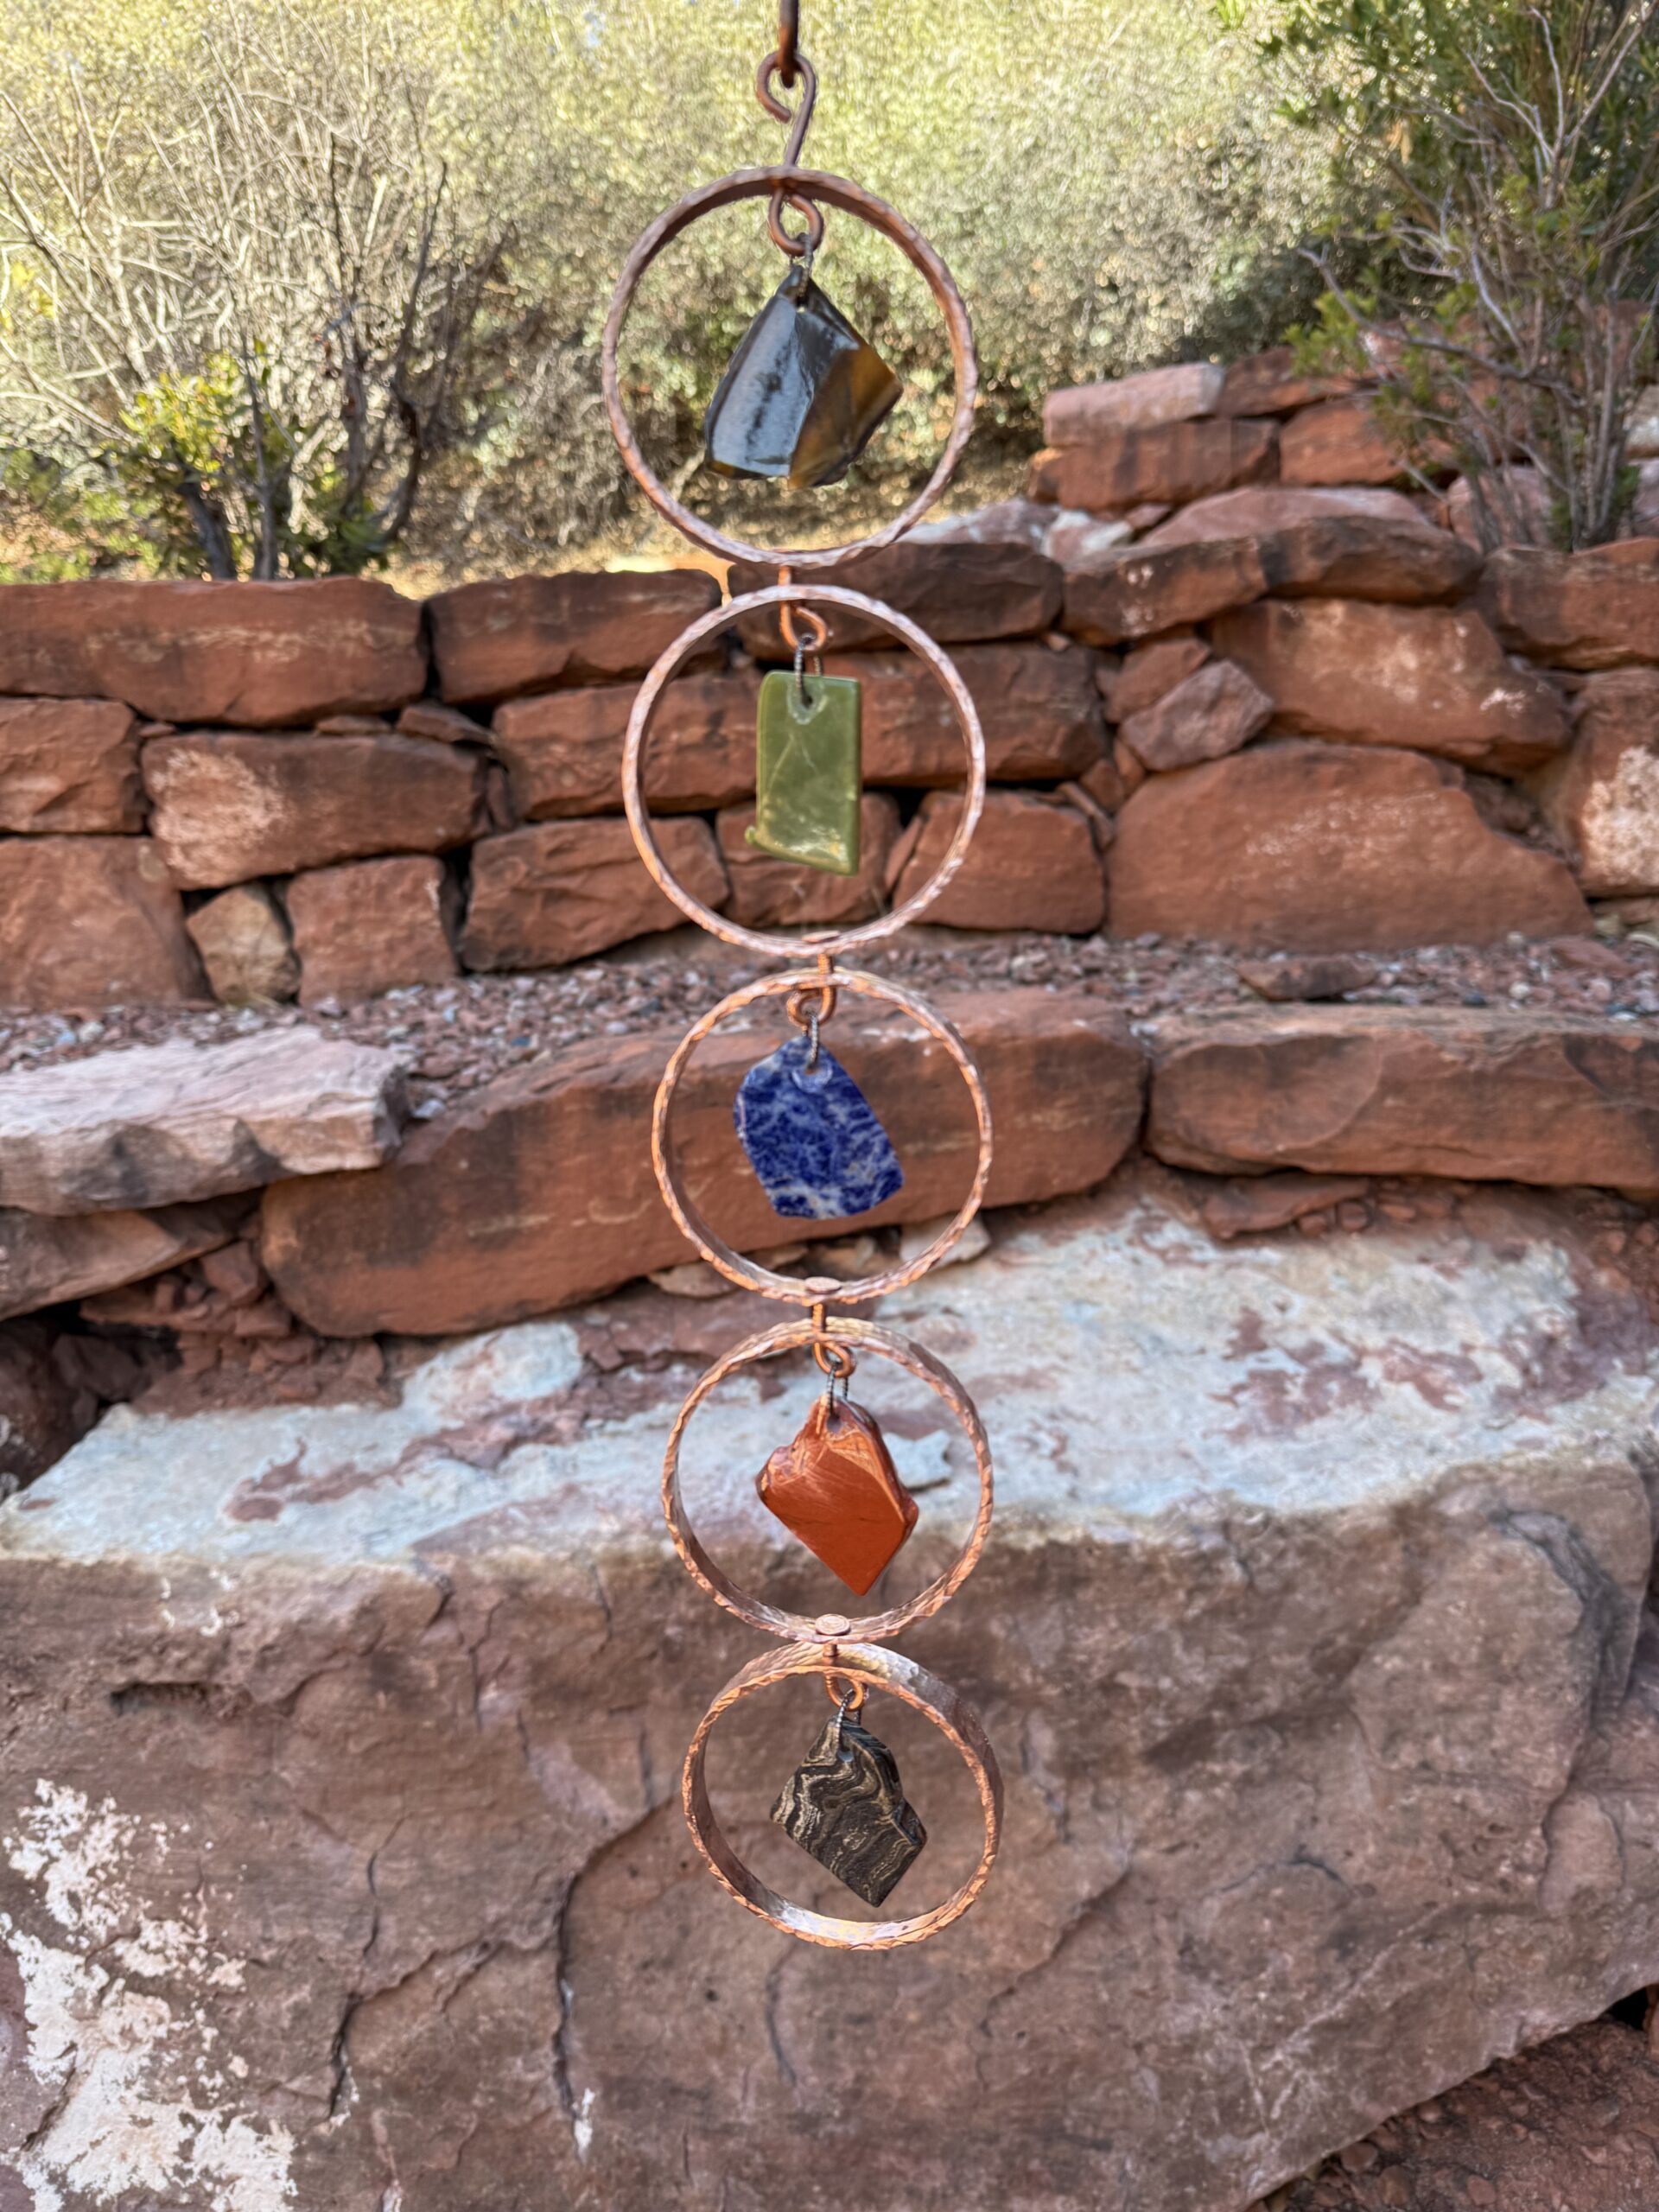
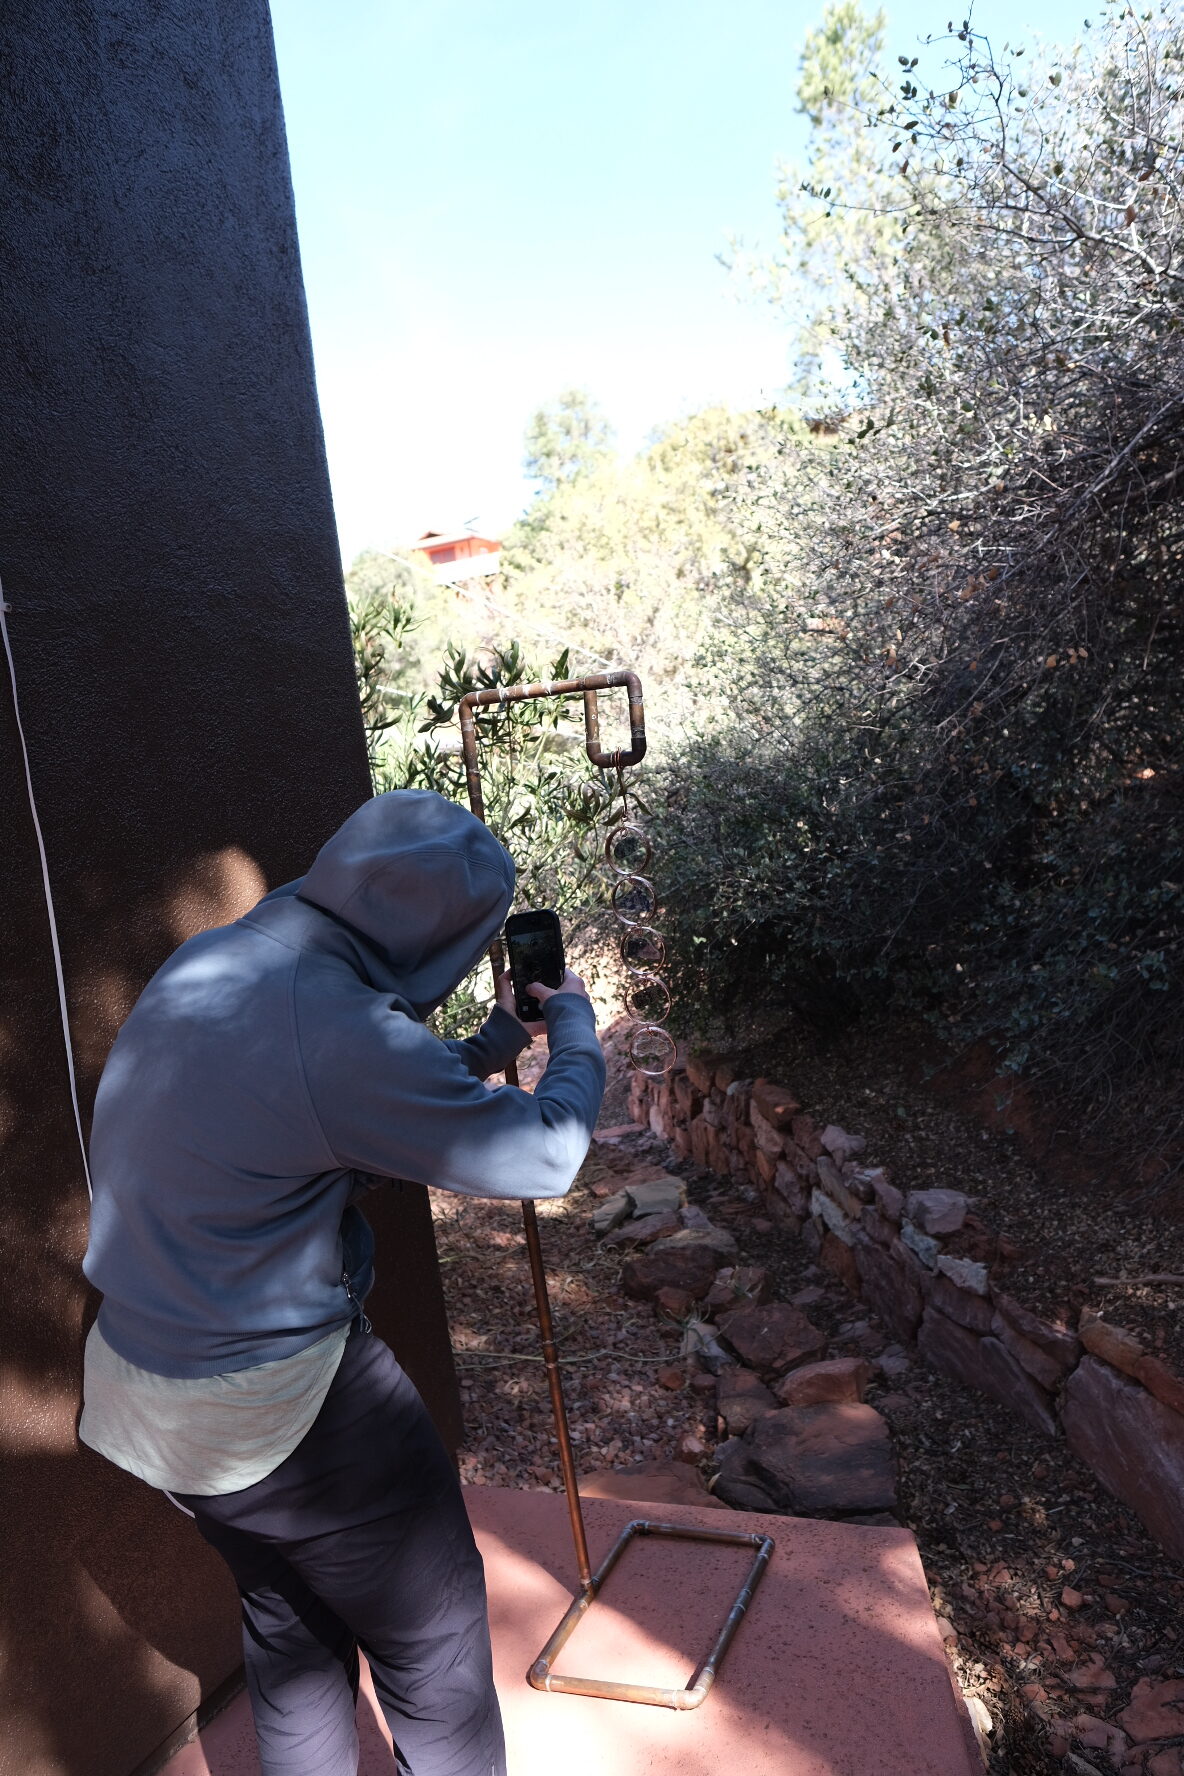
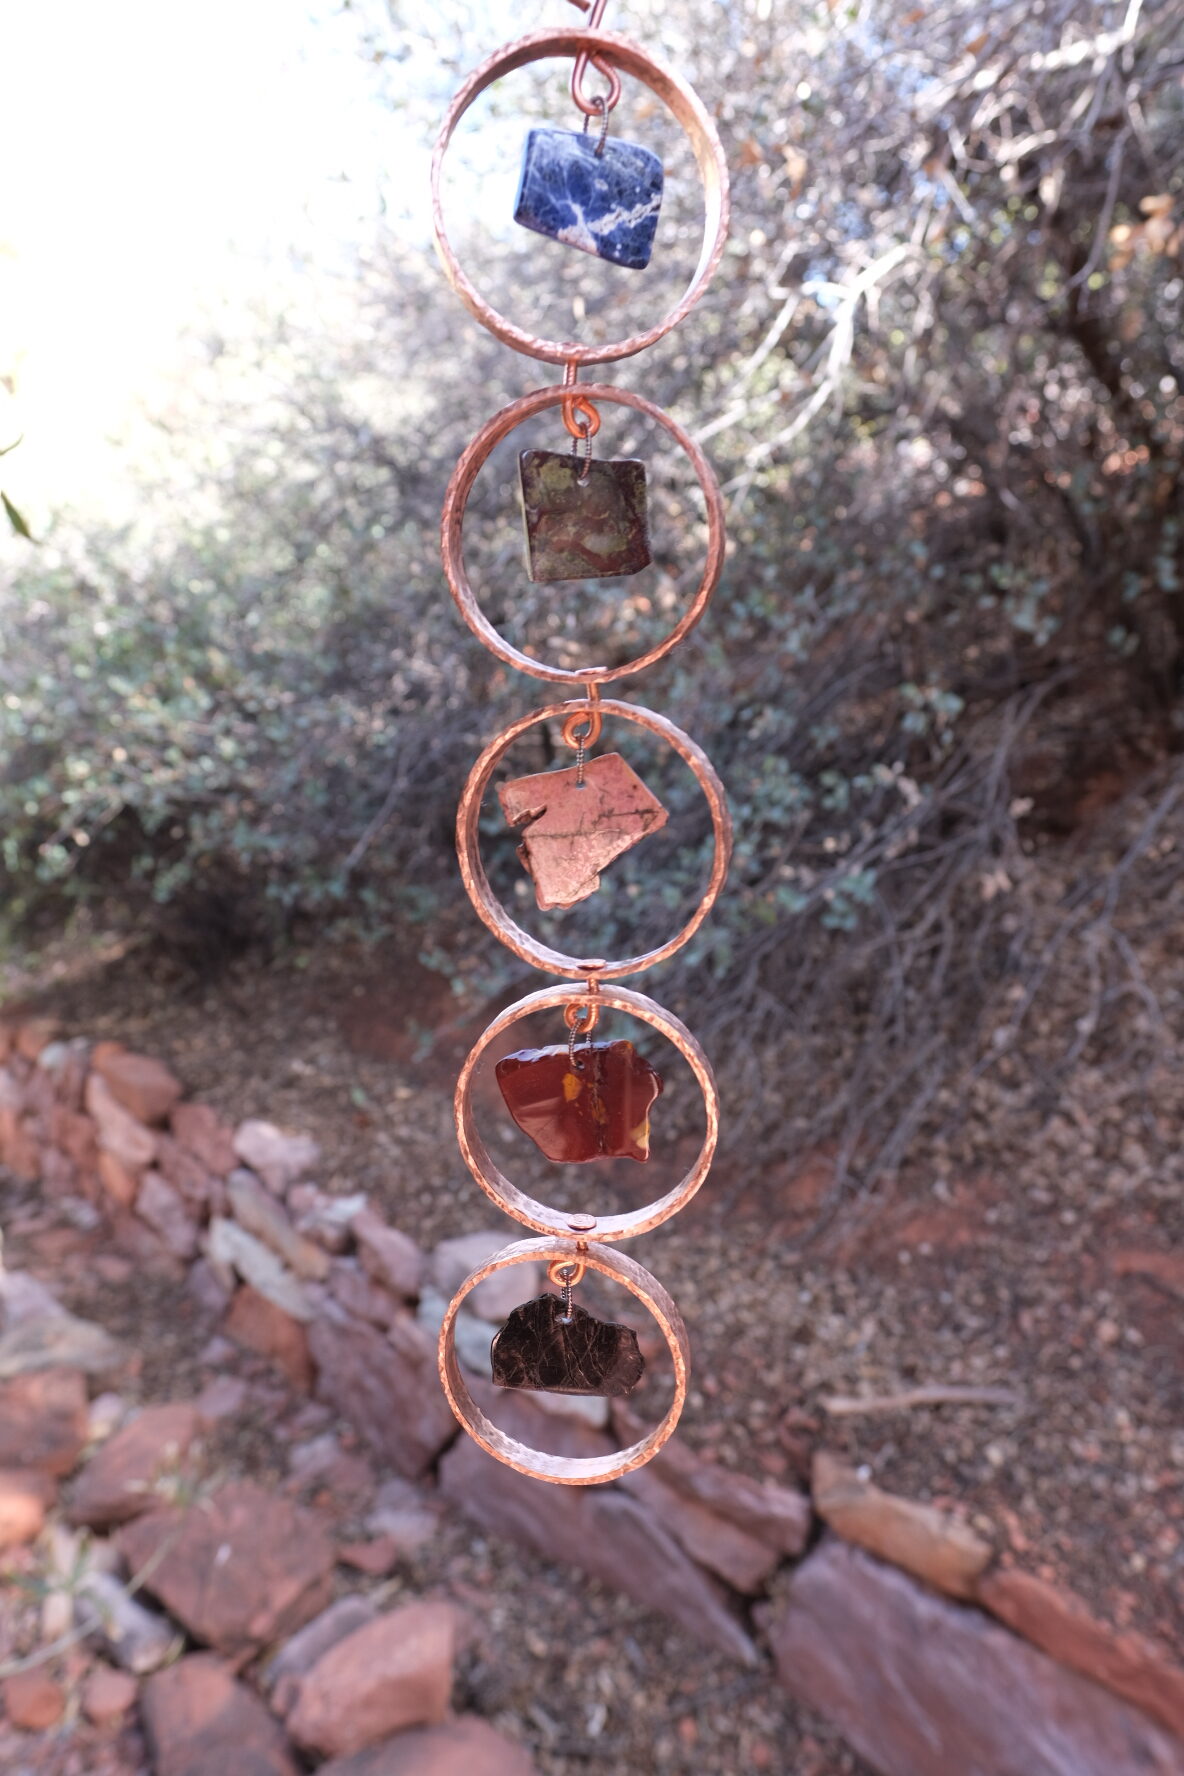
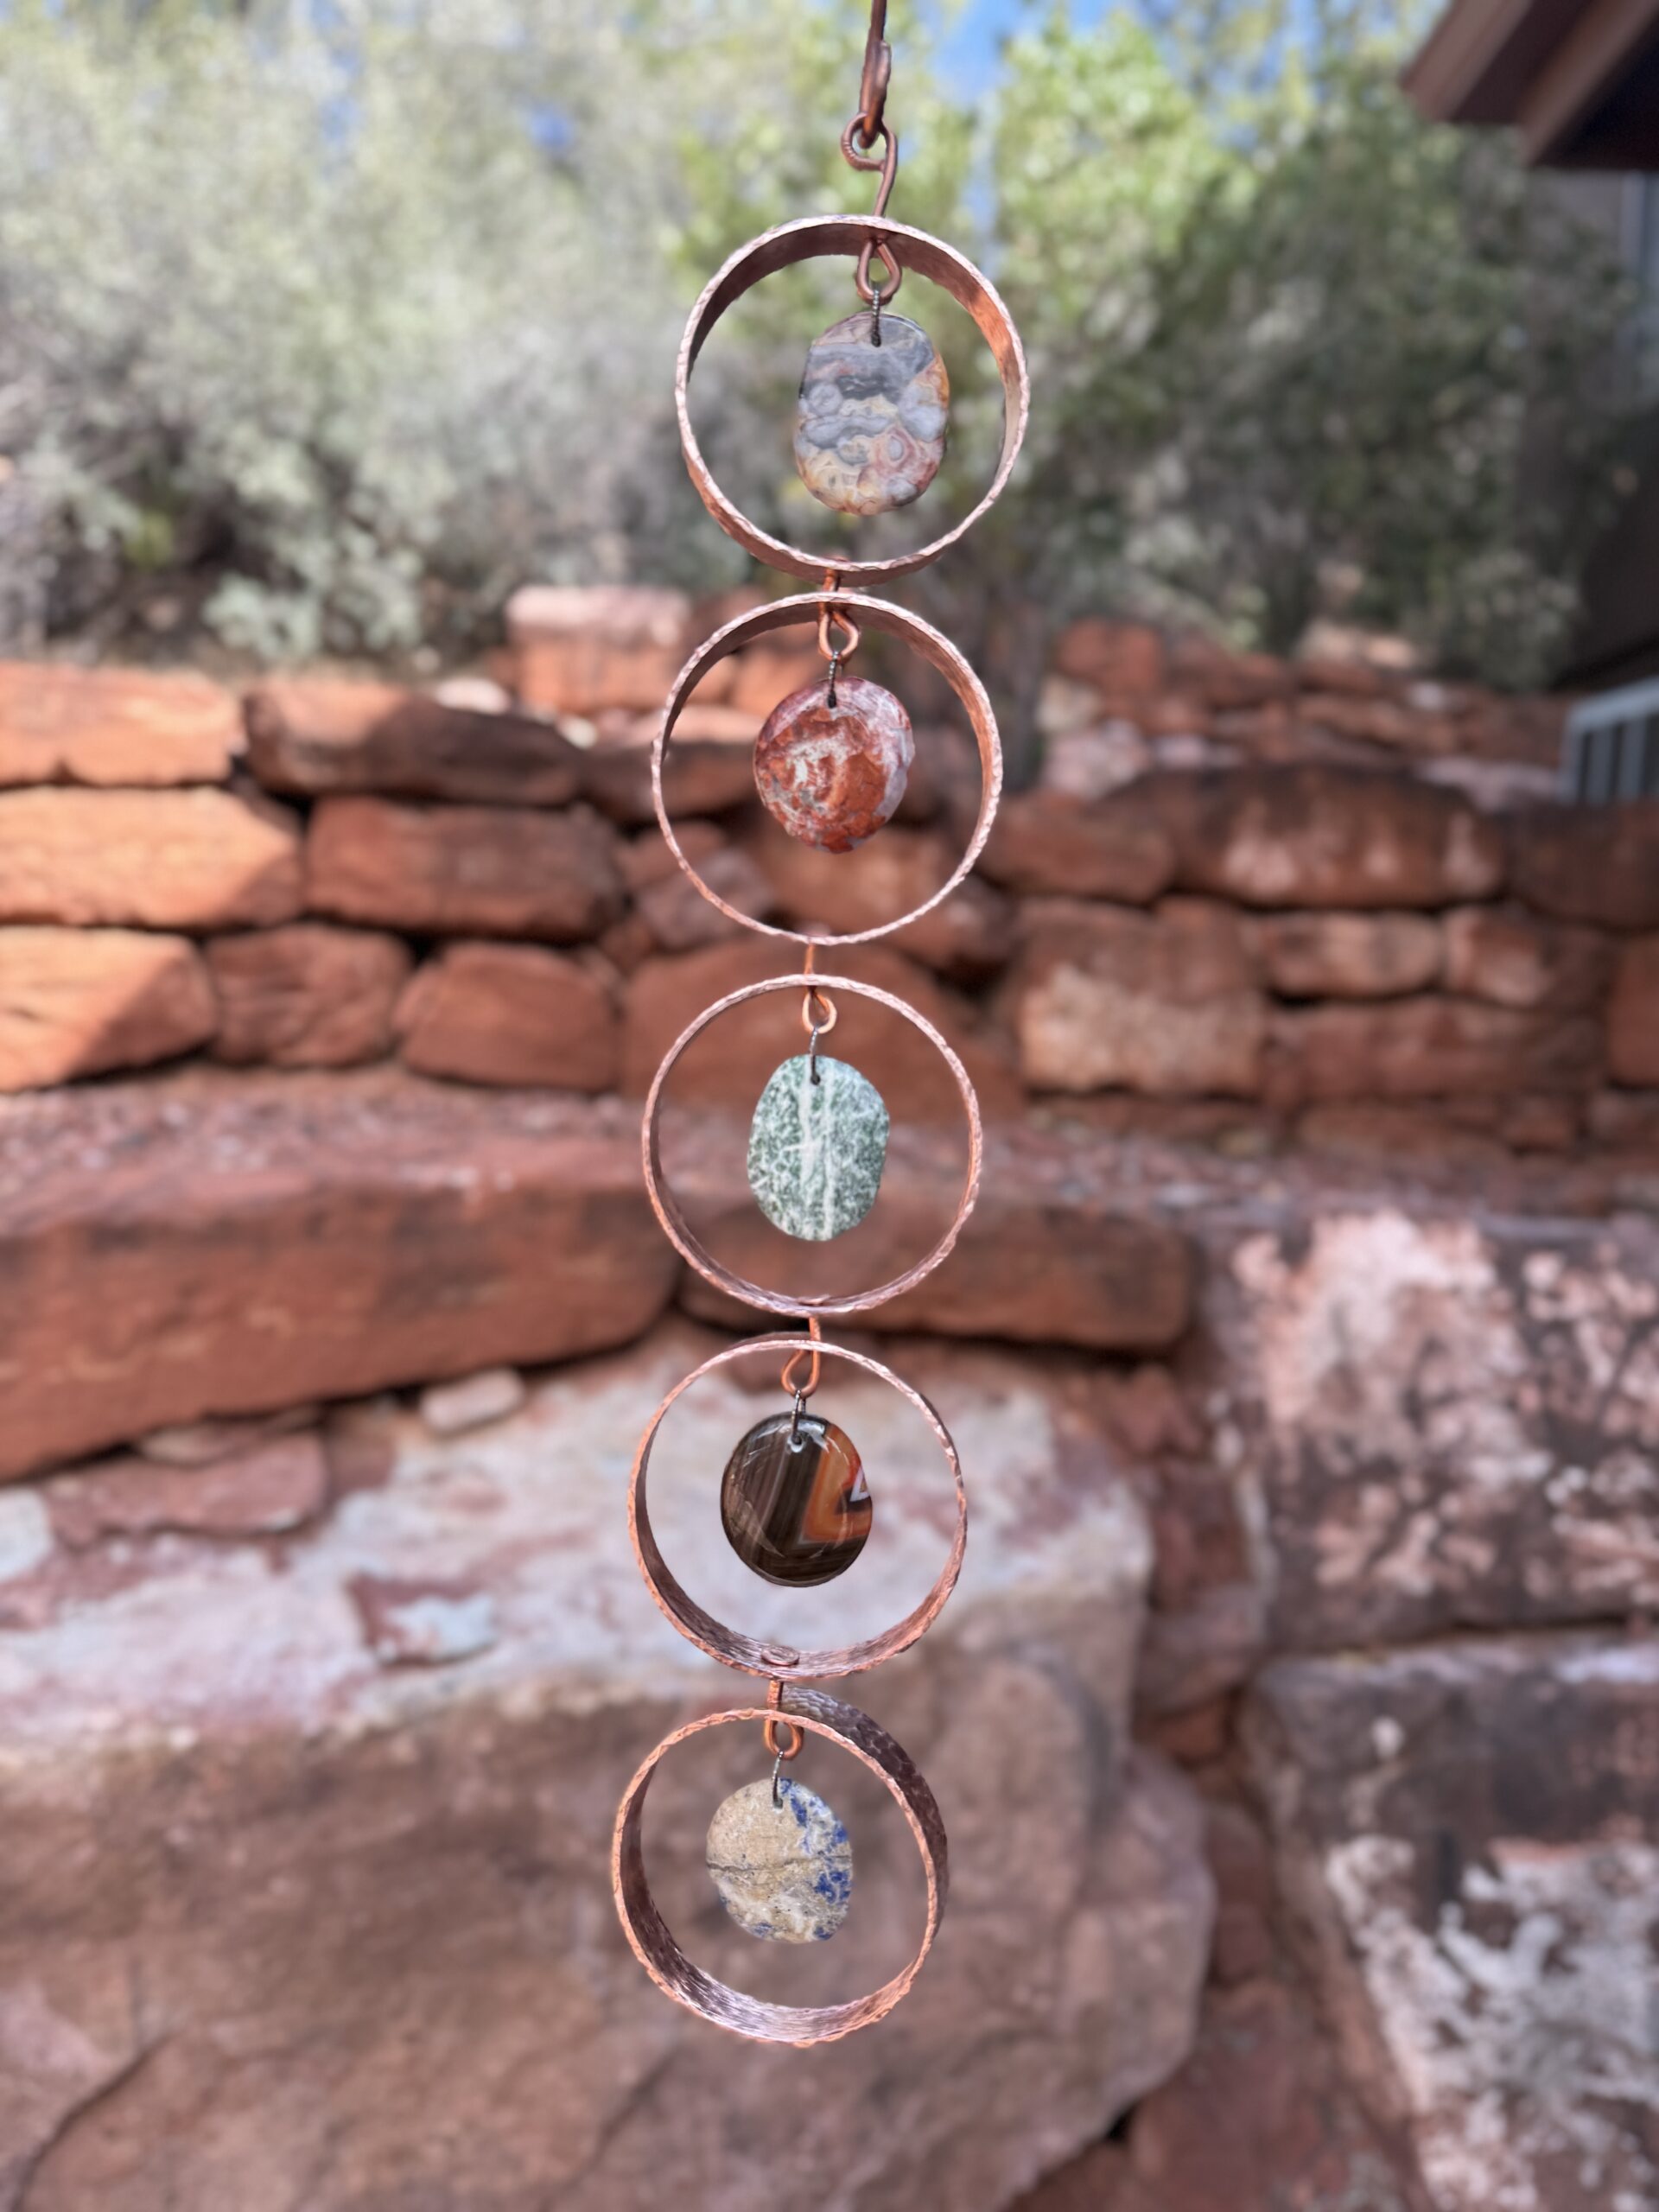
Let’s take a look at everything that goes into creating your very own Sedona Cascade
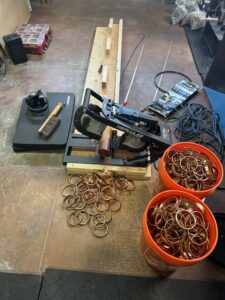
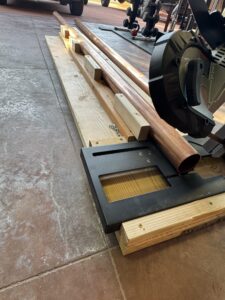
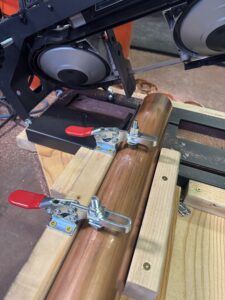
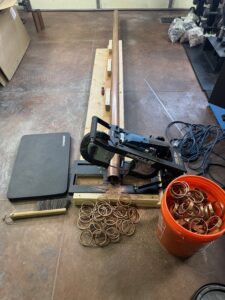
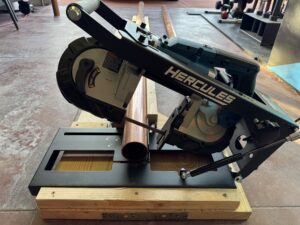
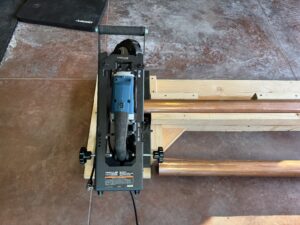
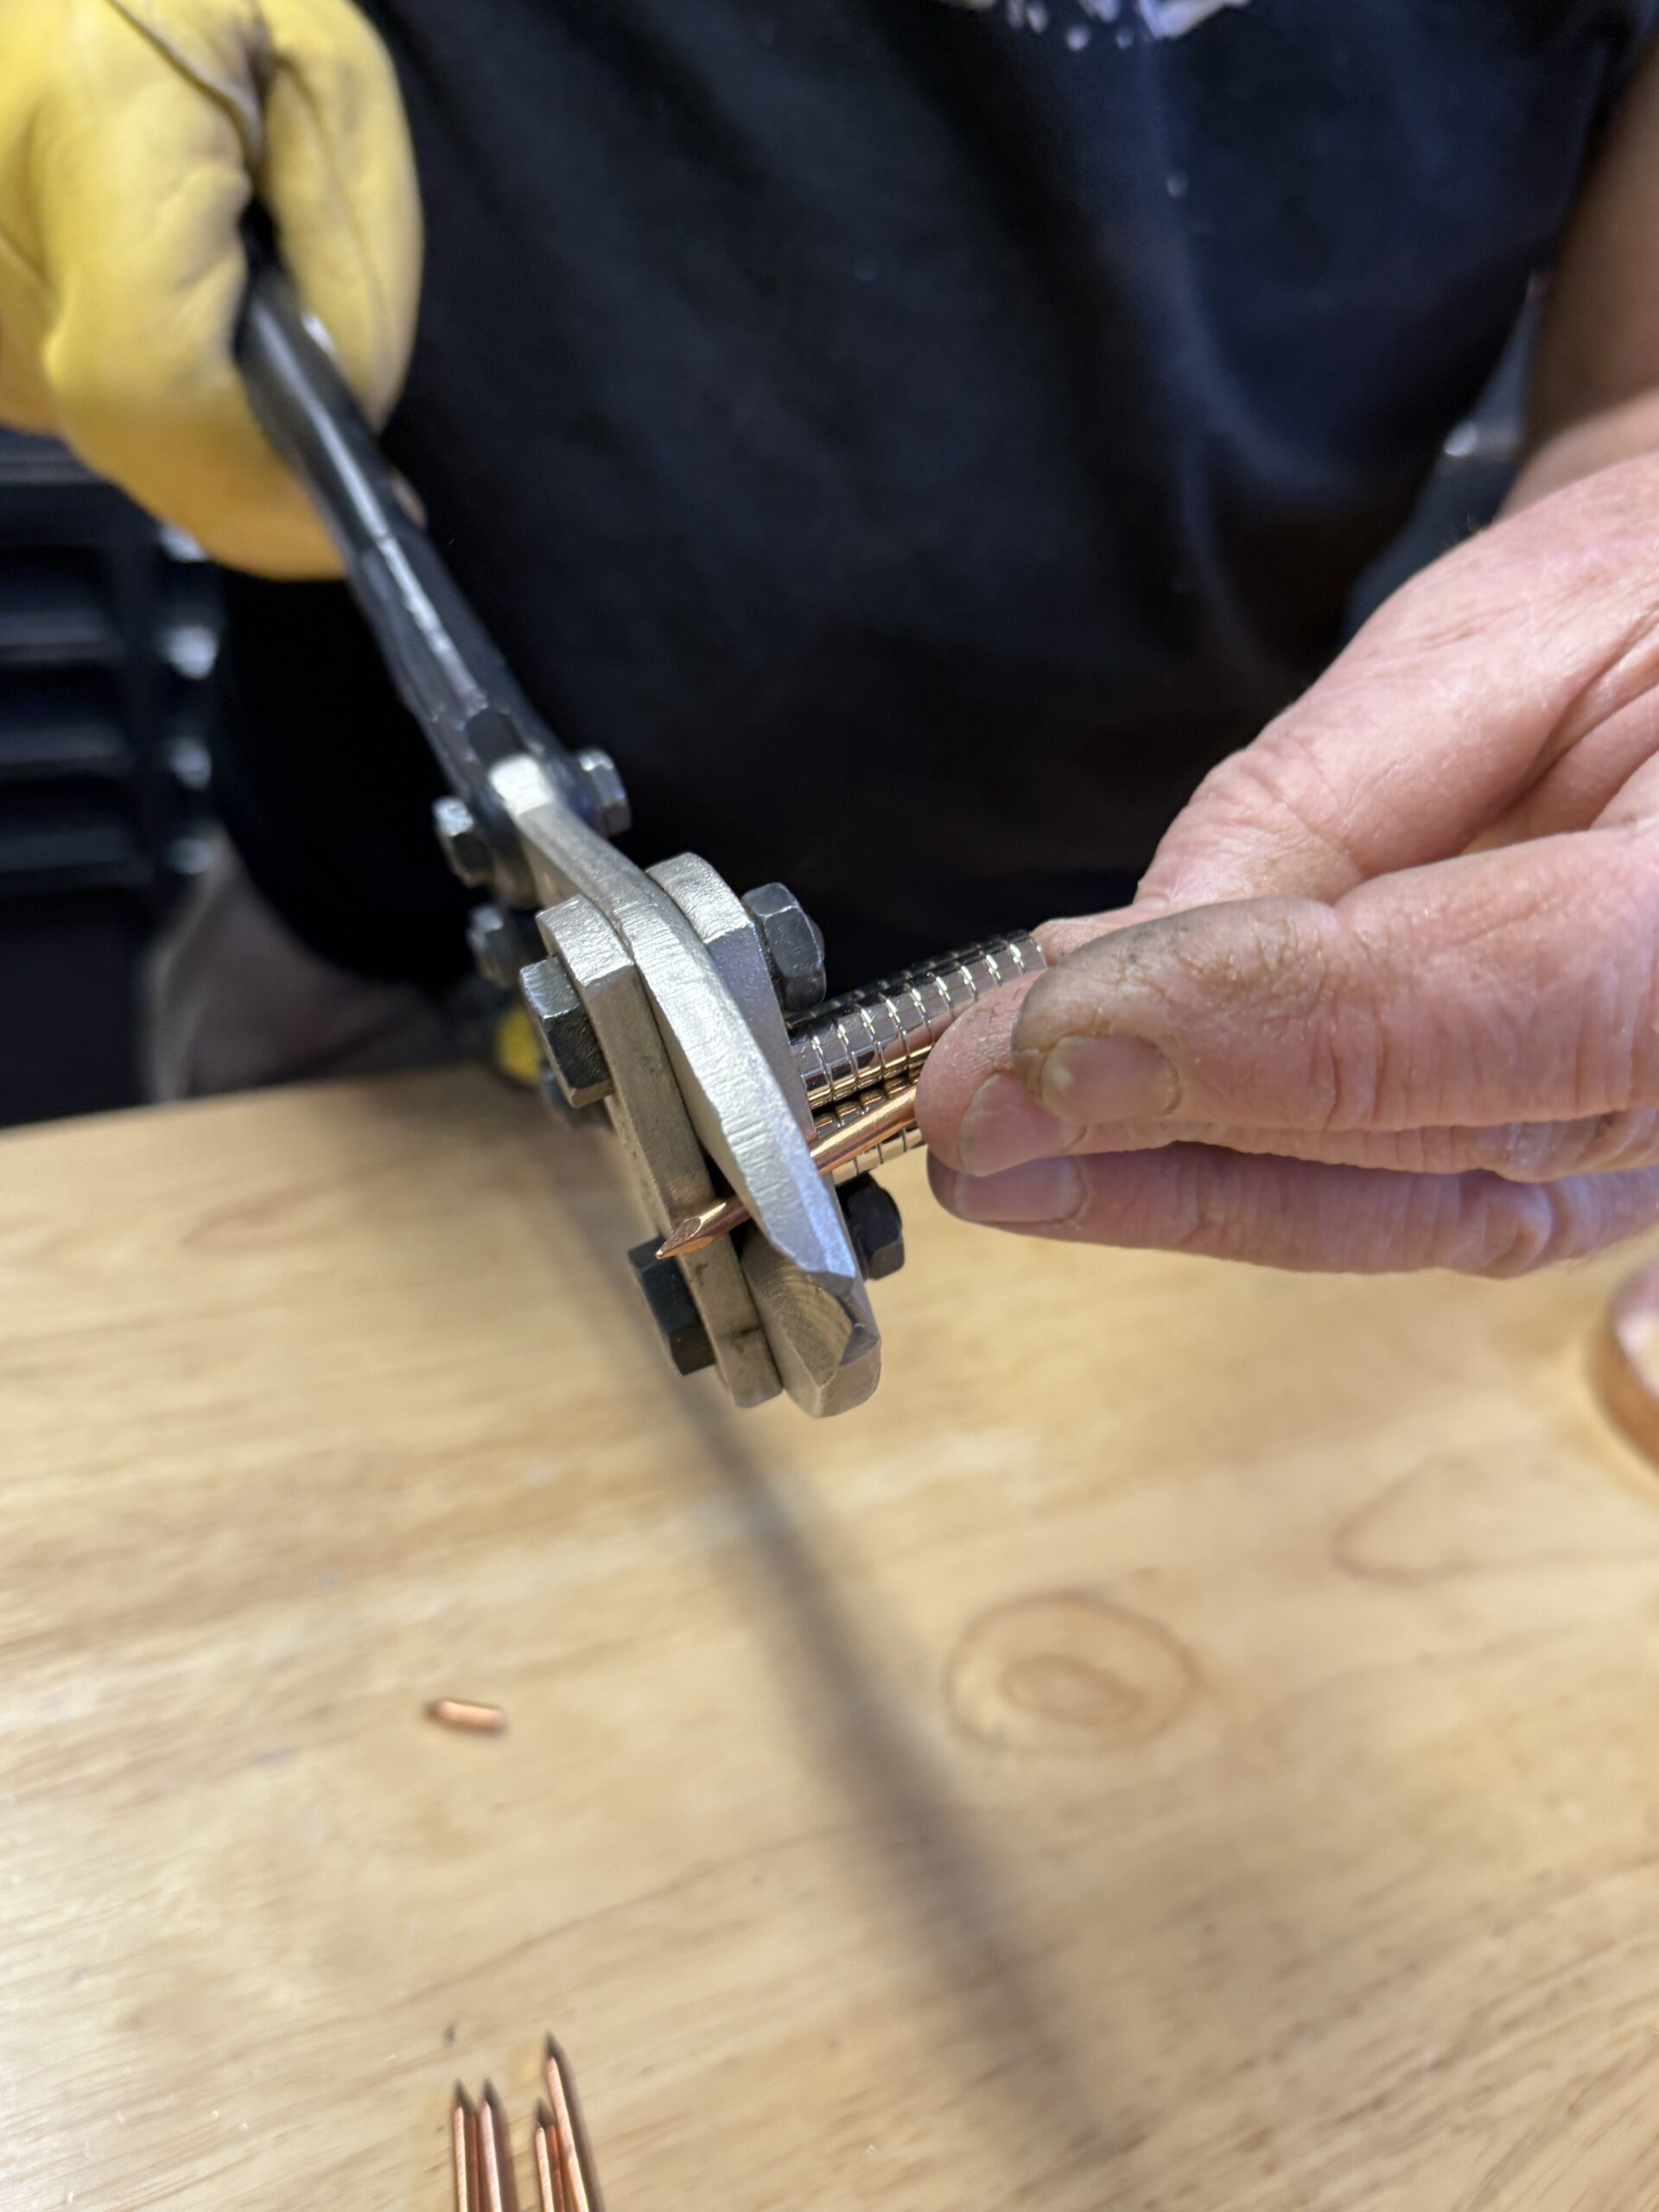
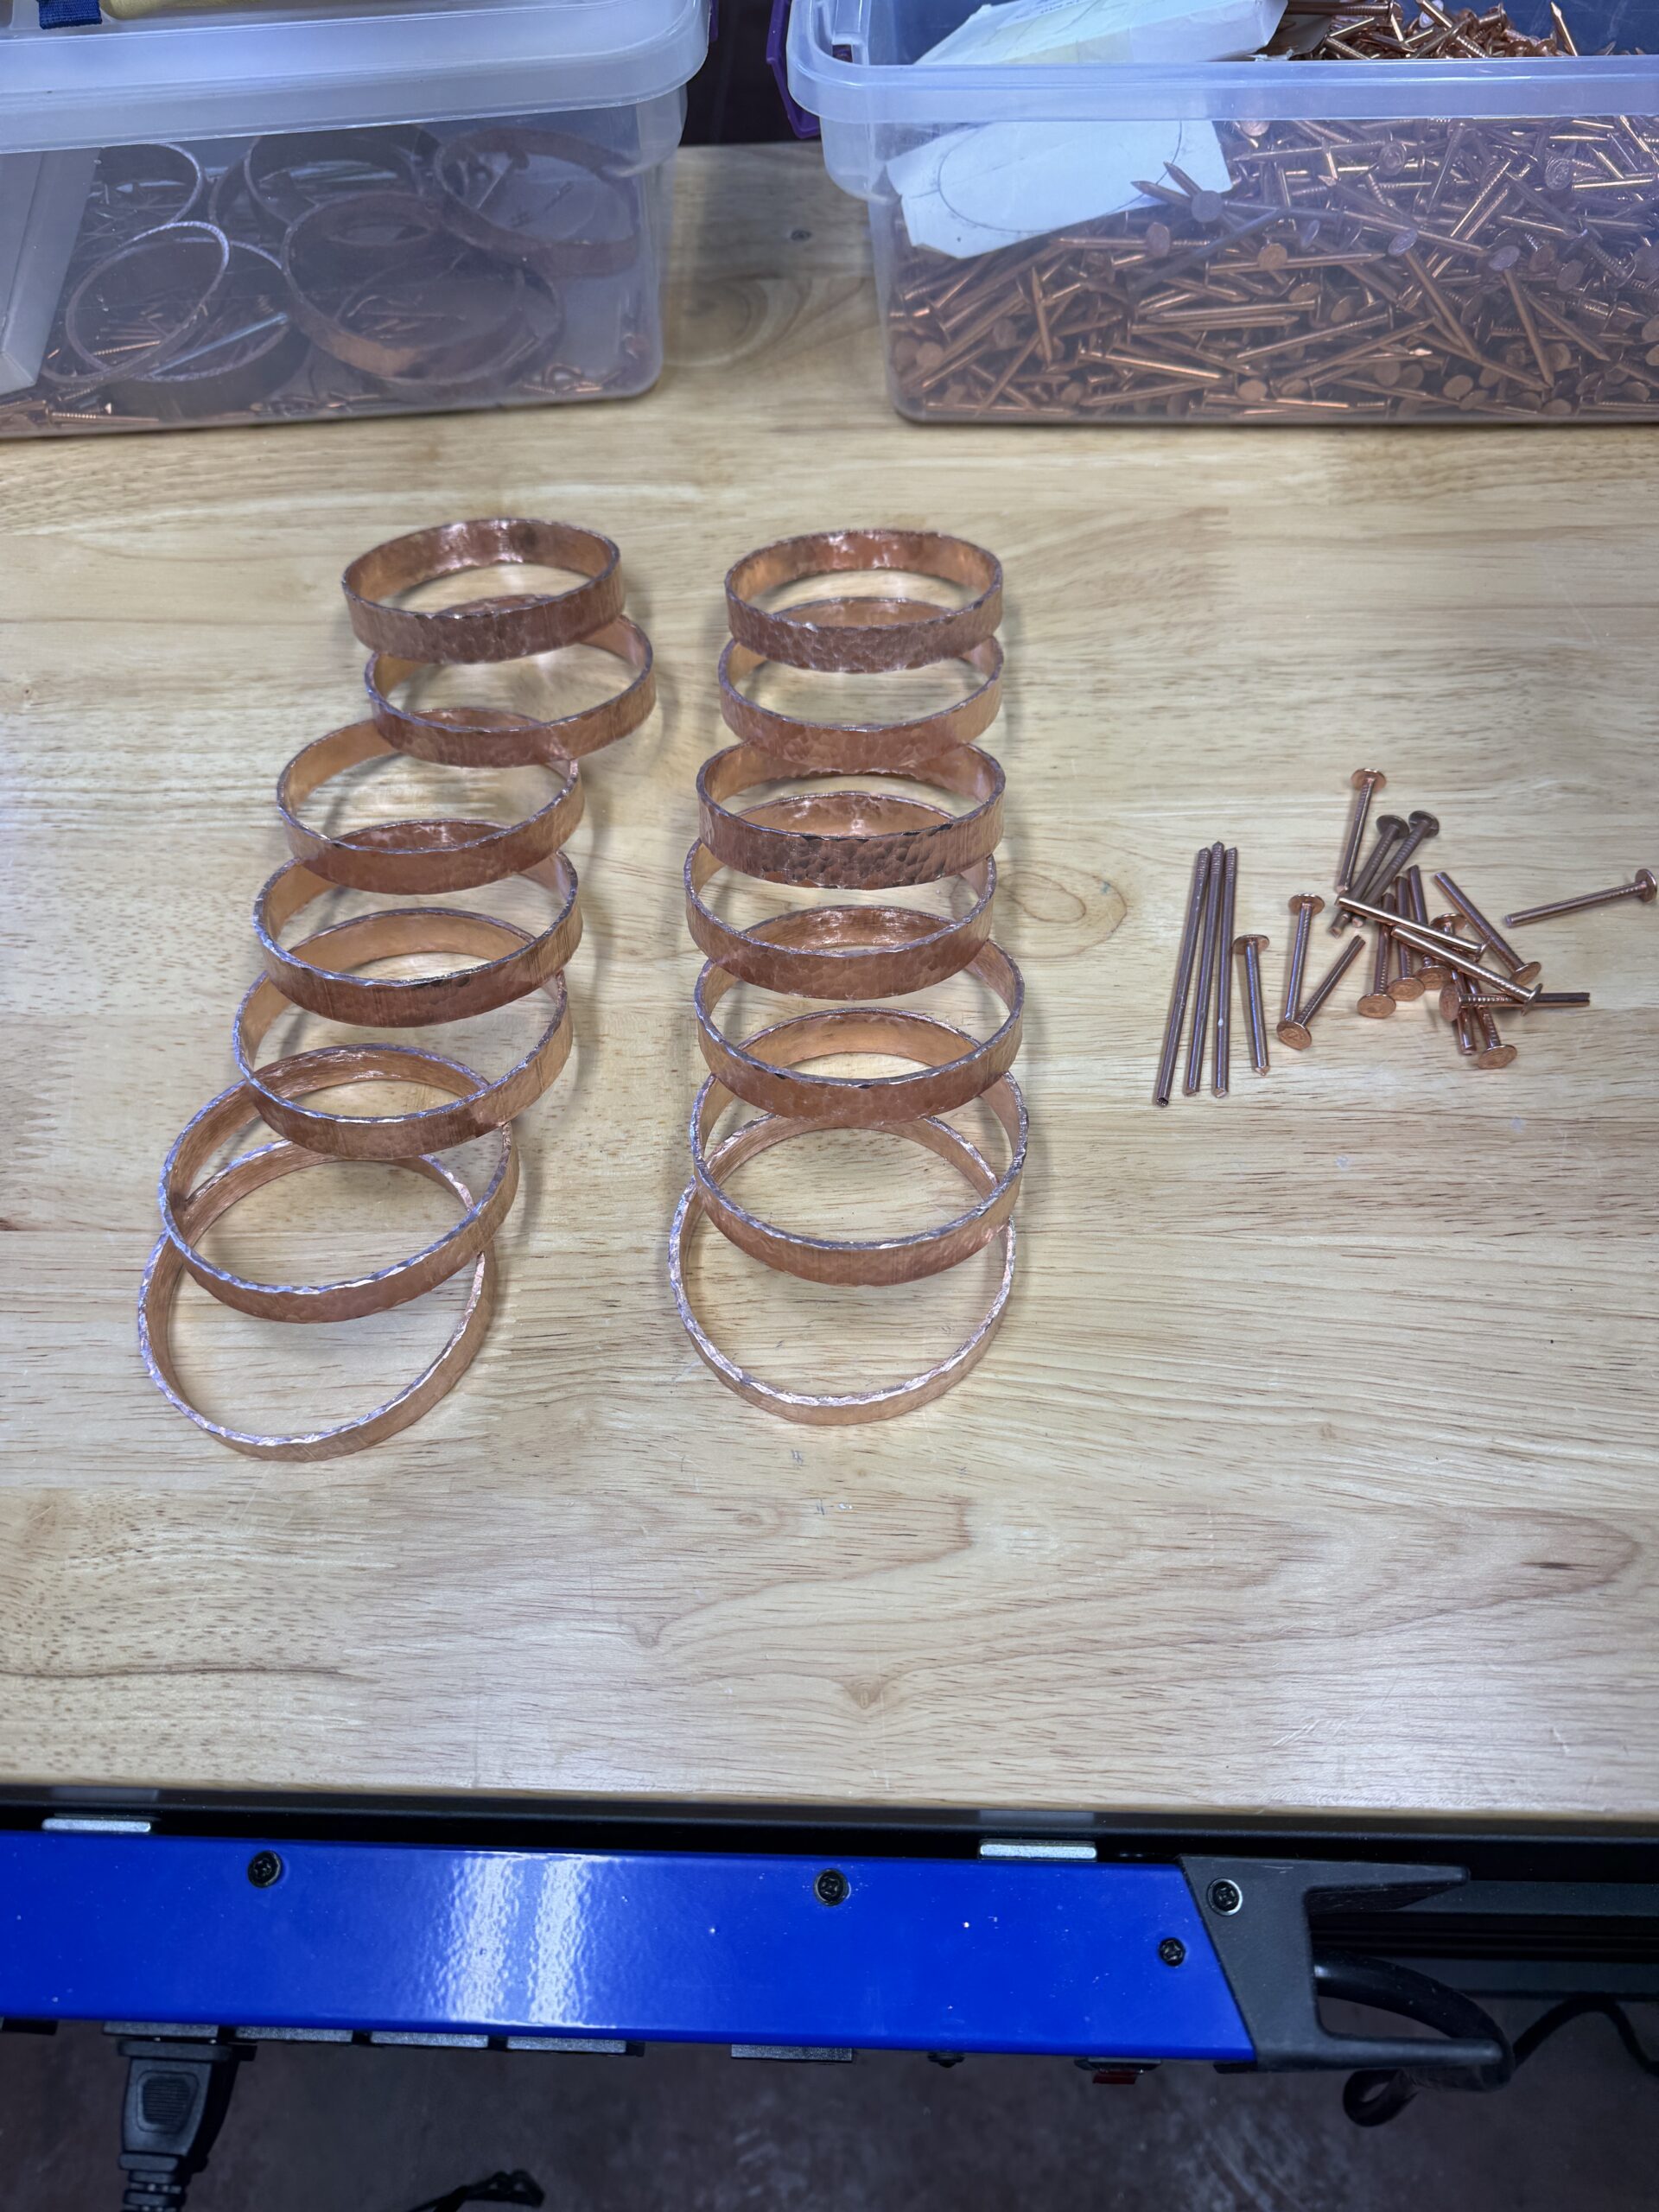
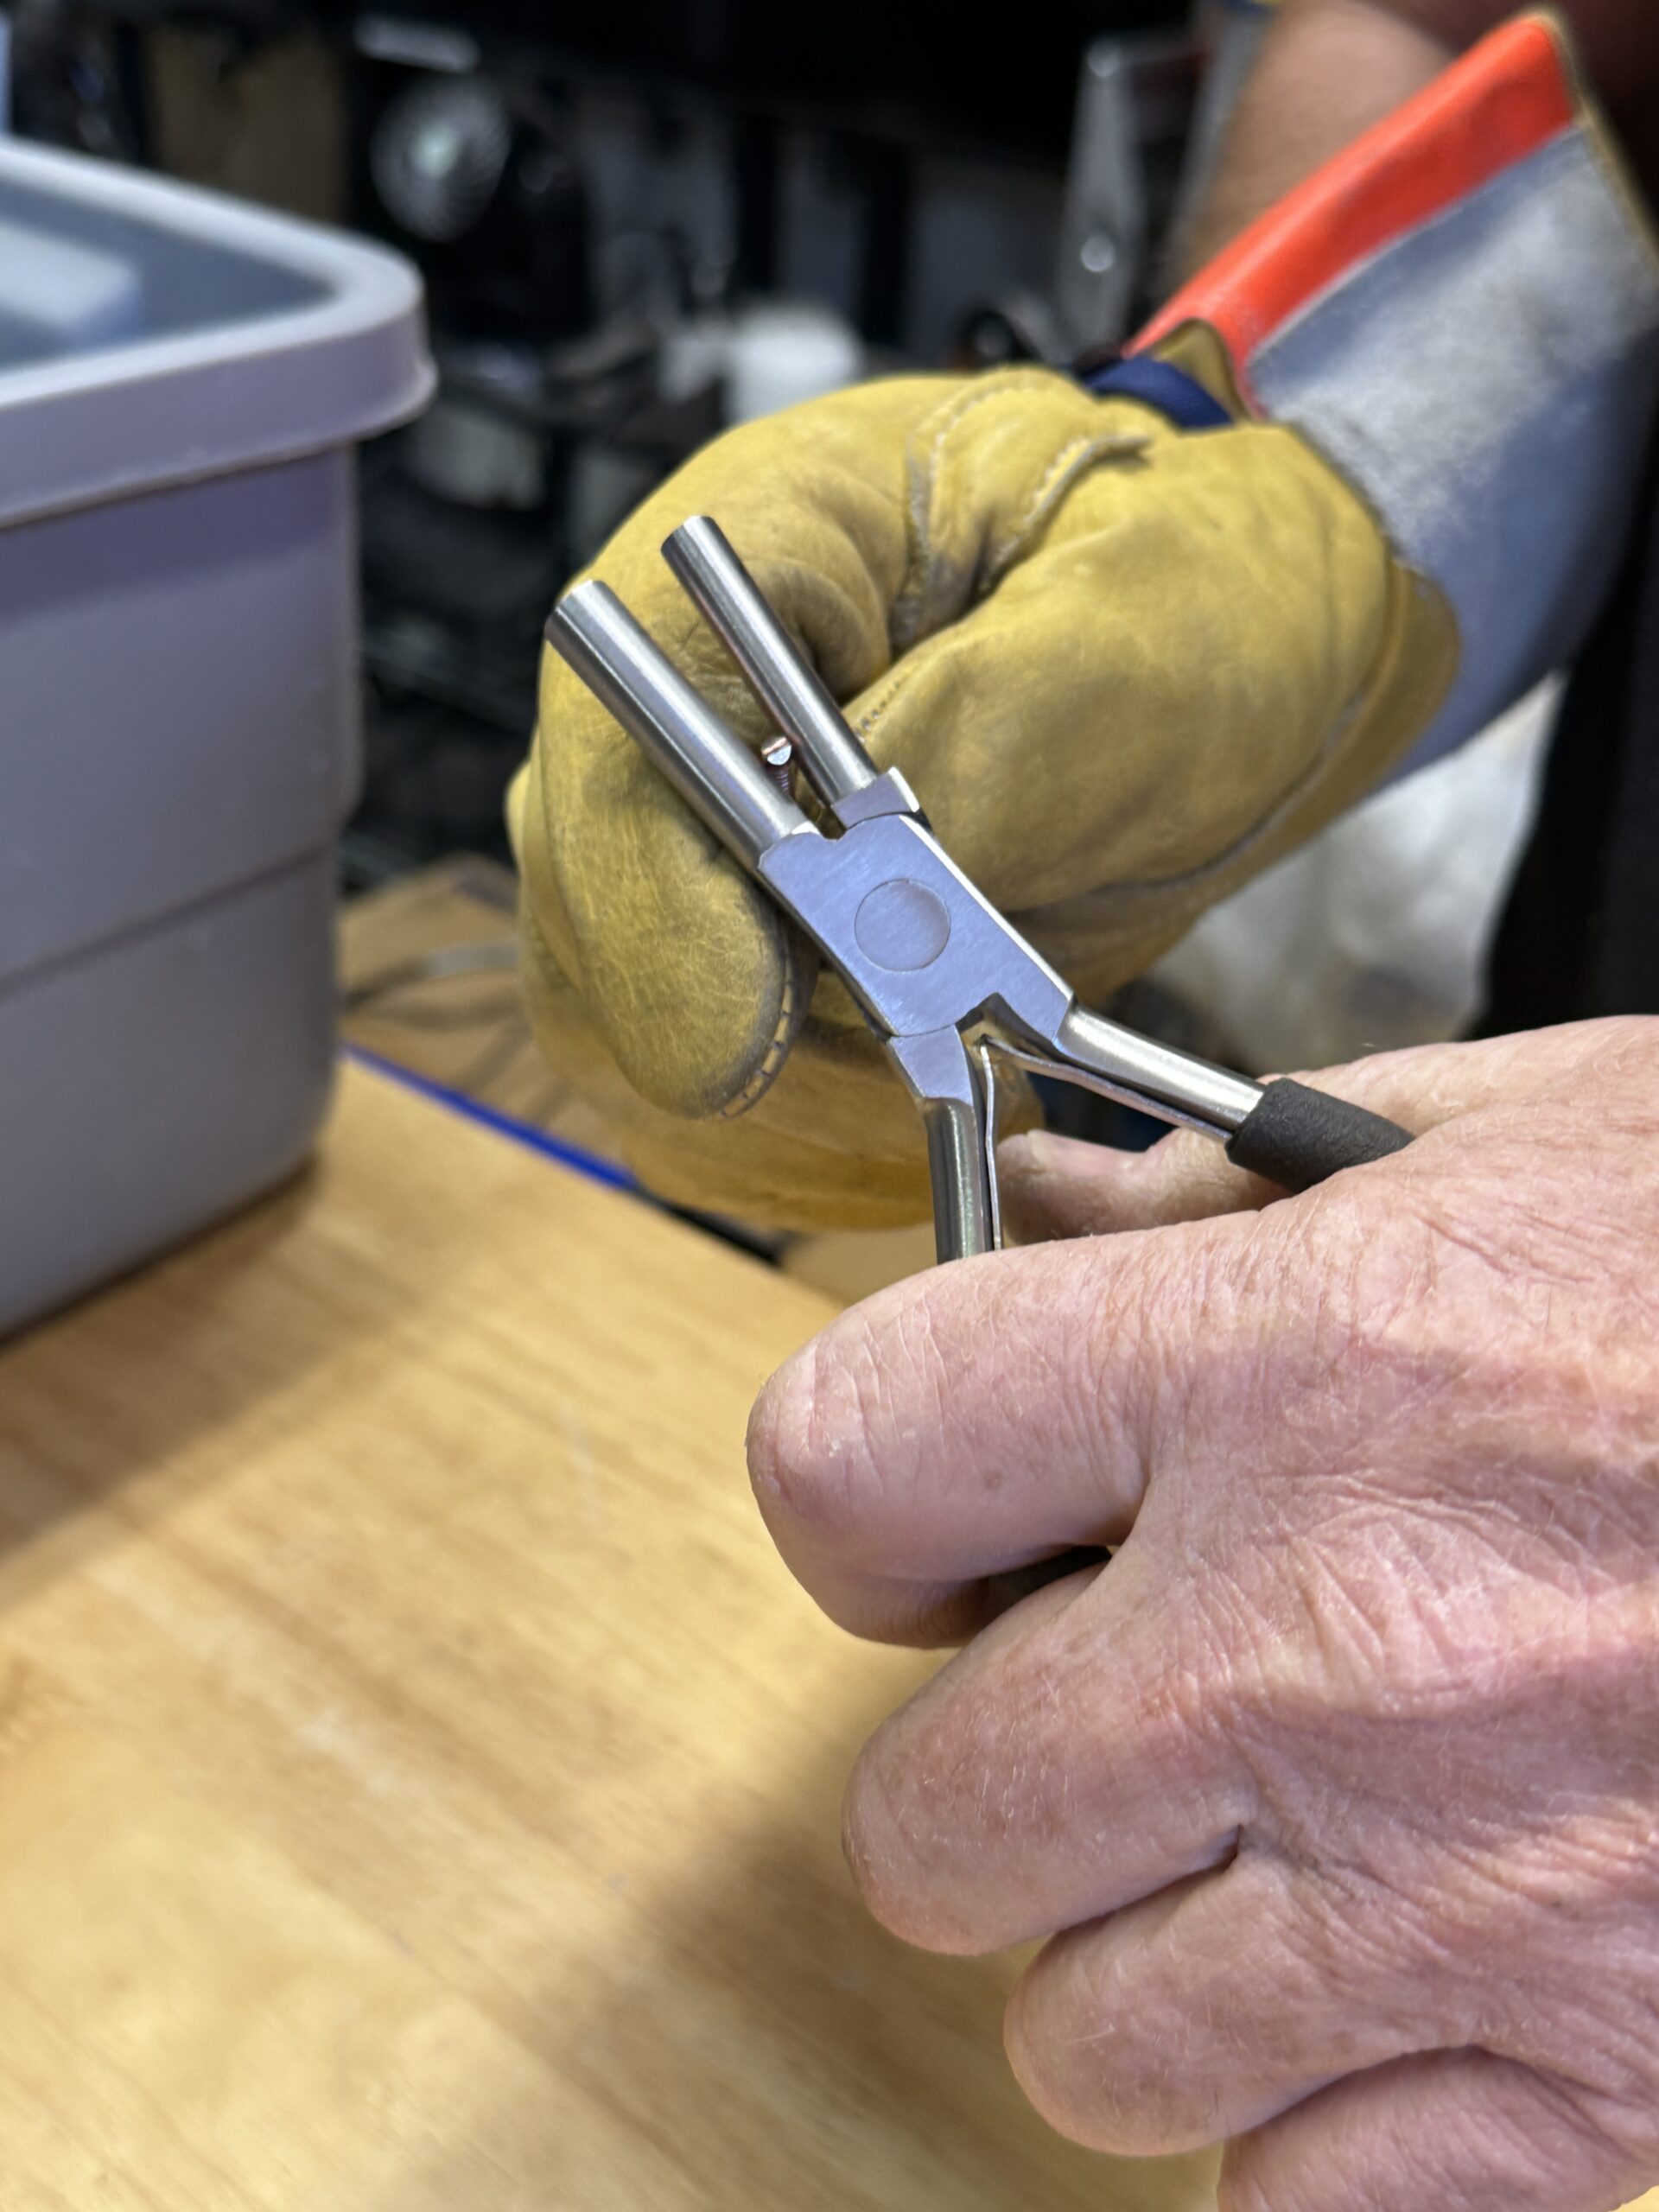
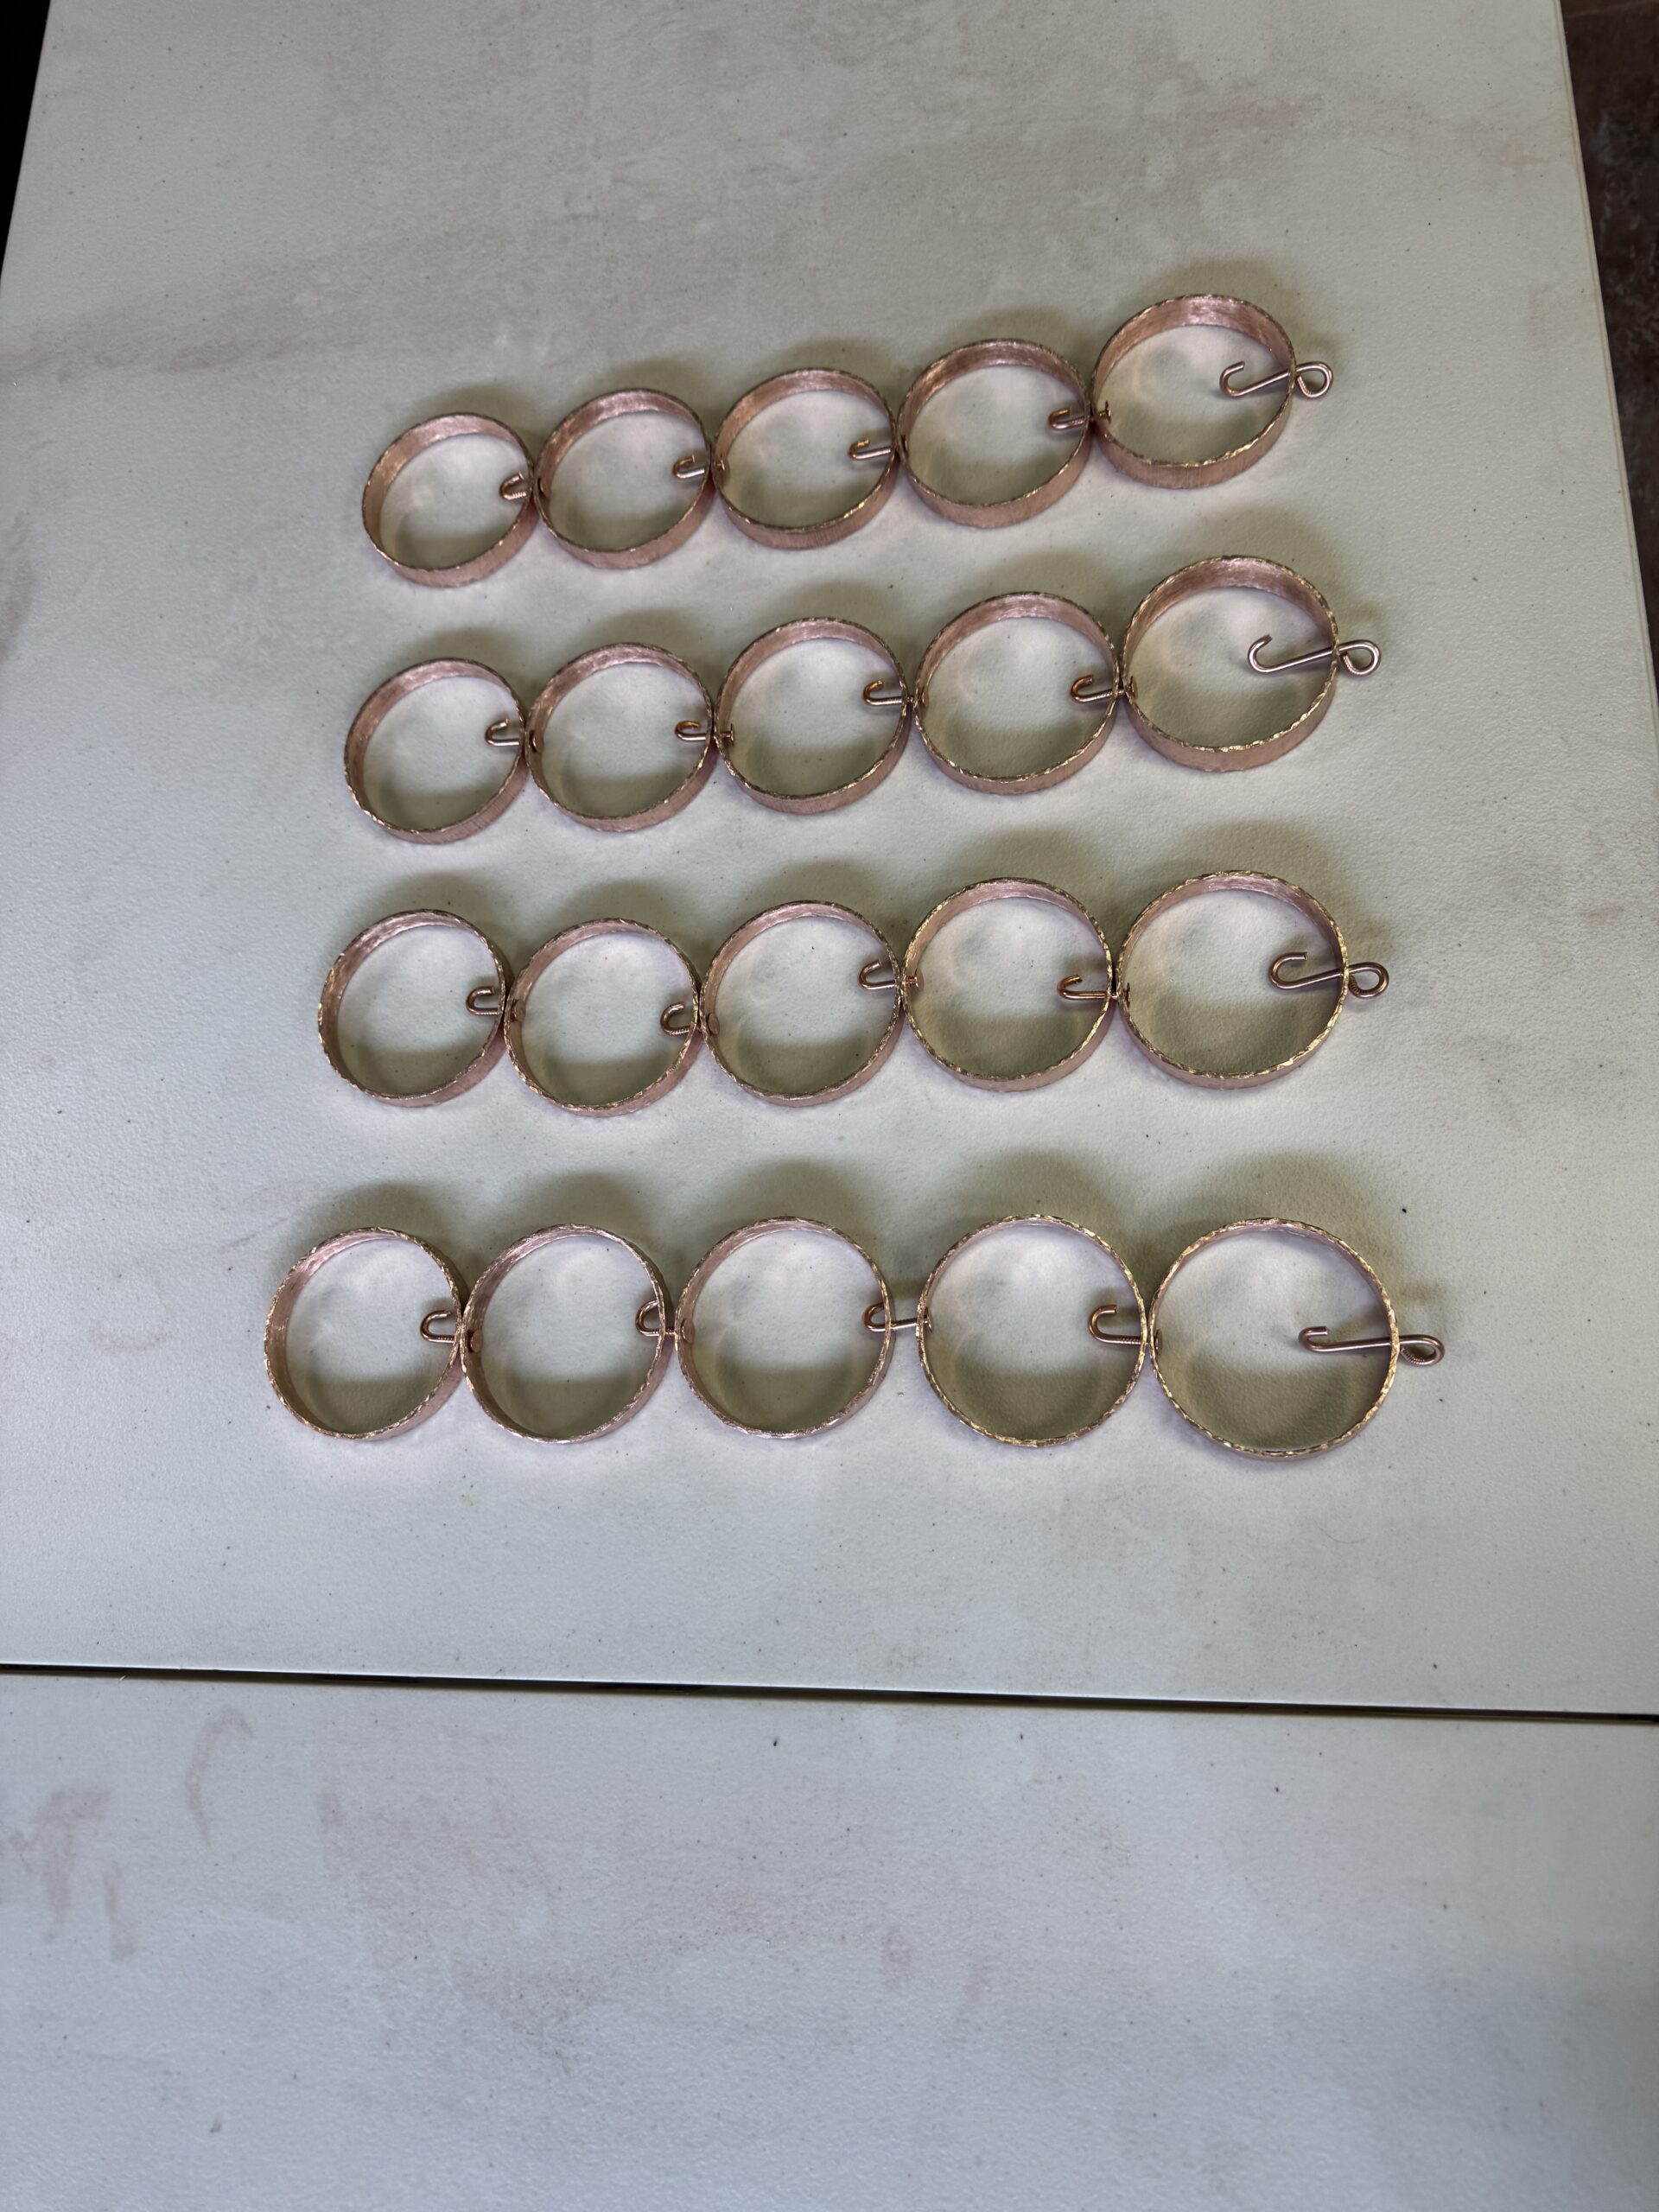
Our first batch was done with just the bandsaw. It was very difficult to make consistent cuts so I created this jig to help hold the pipe straight. We have to buy the 3″ copper pipe in 20′ sections and then the process of cutting rings begins.
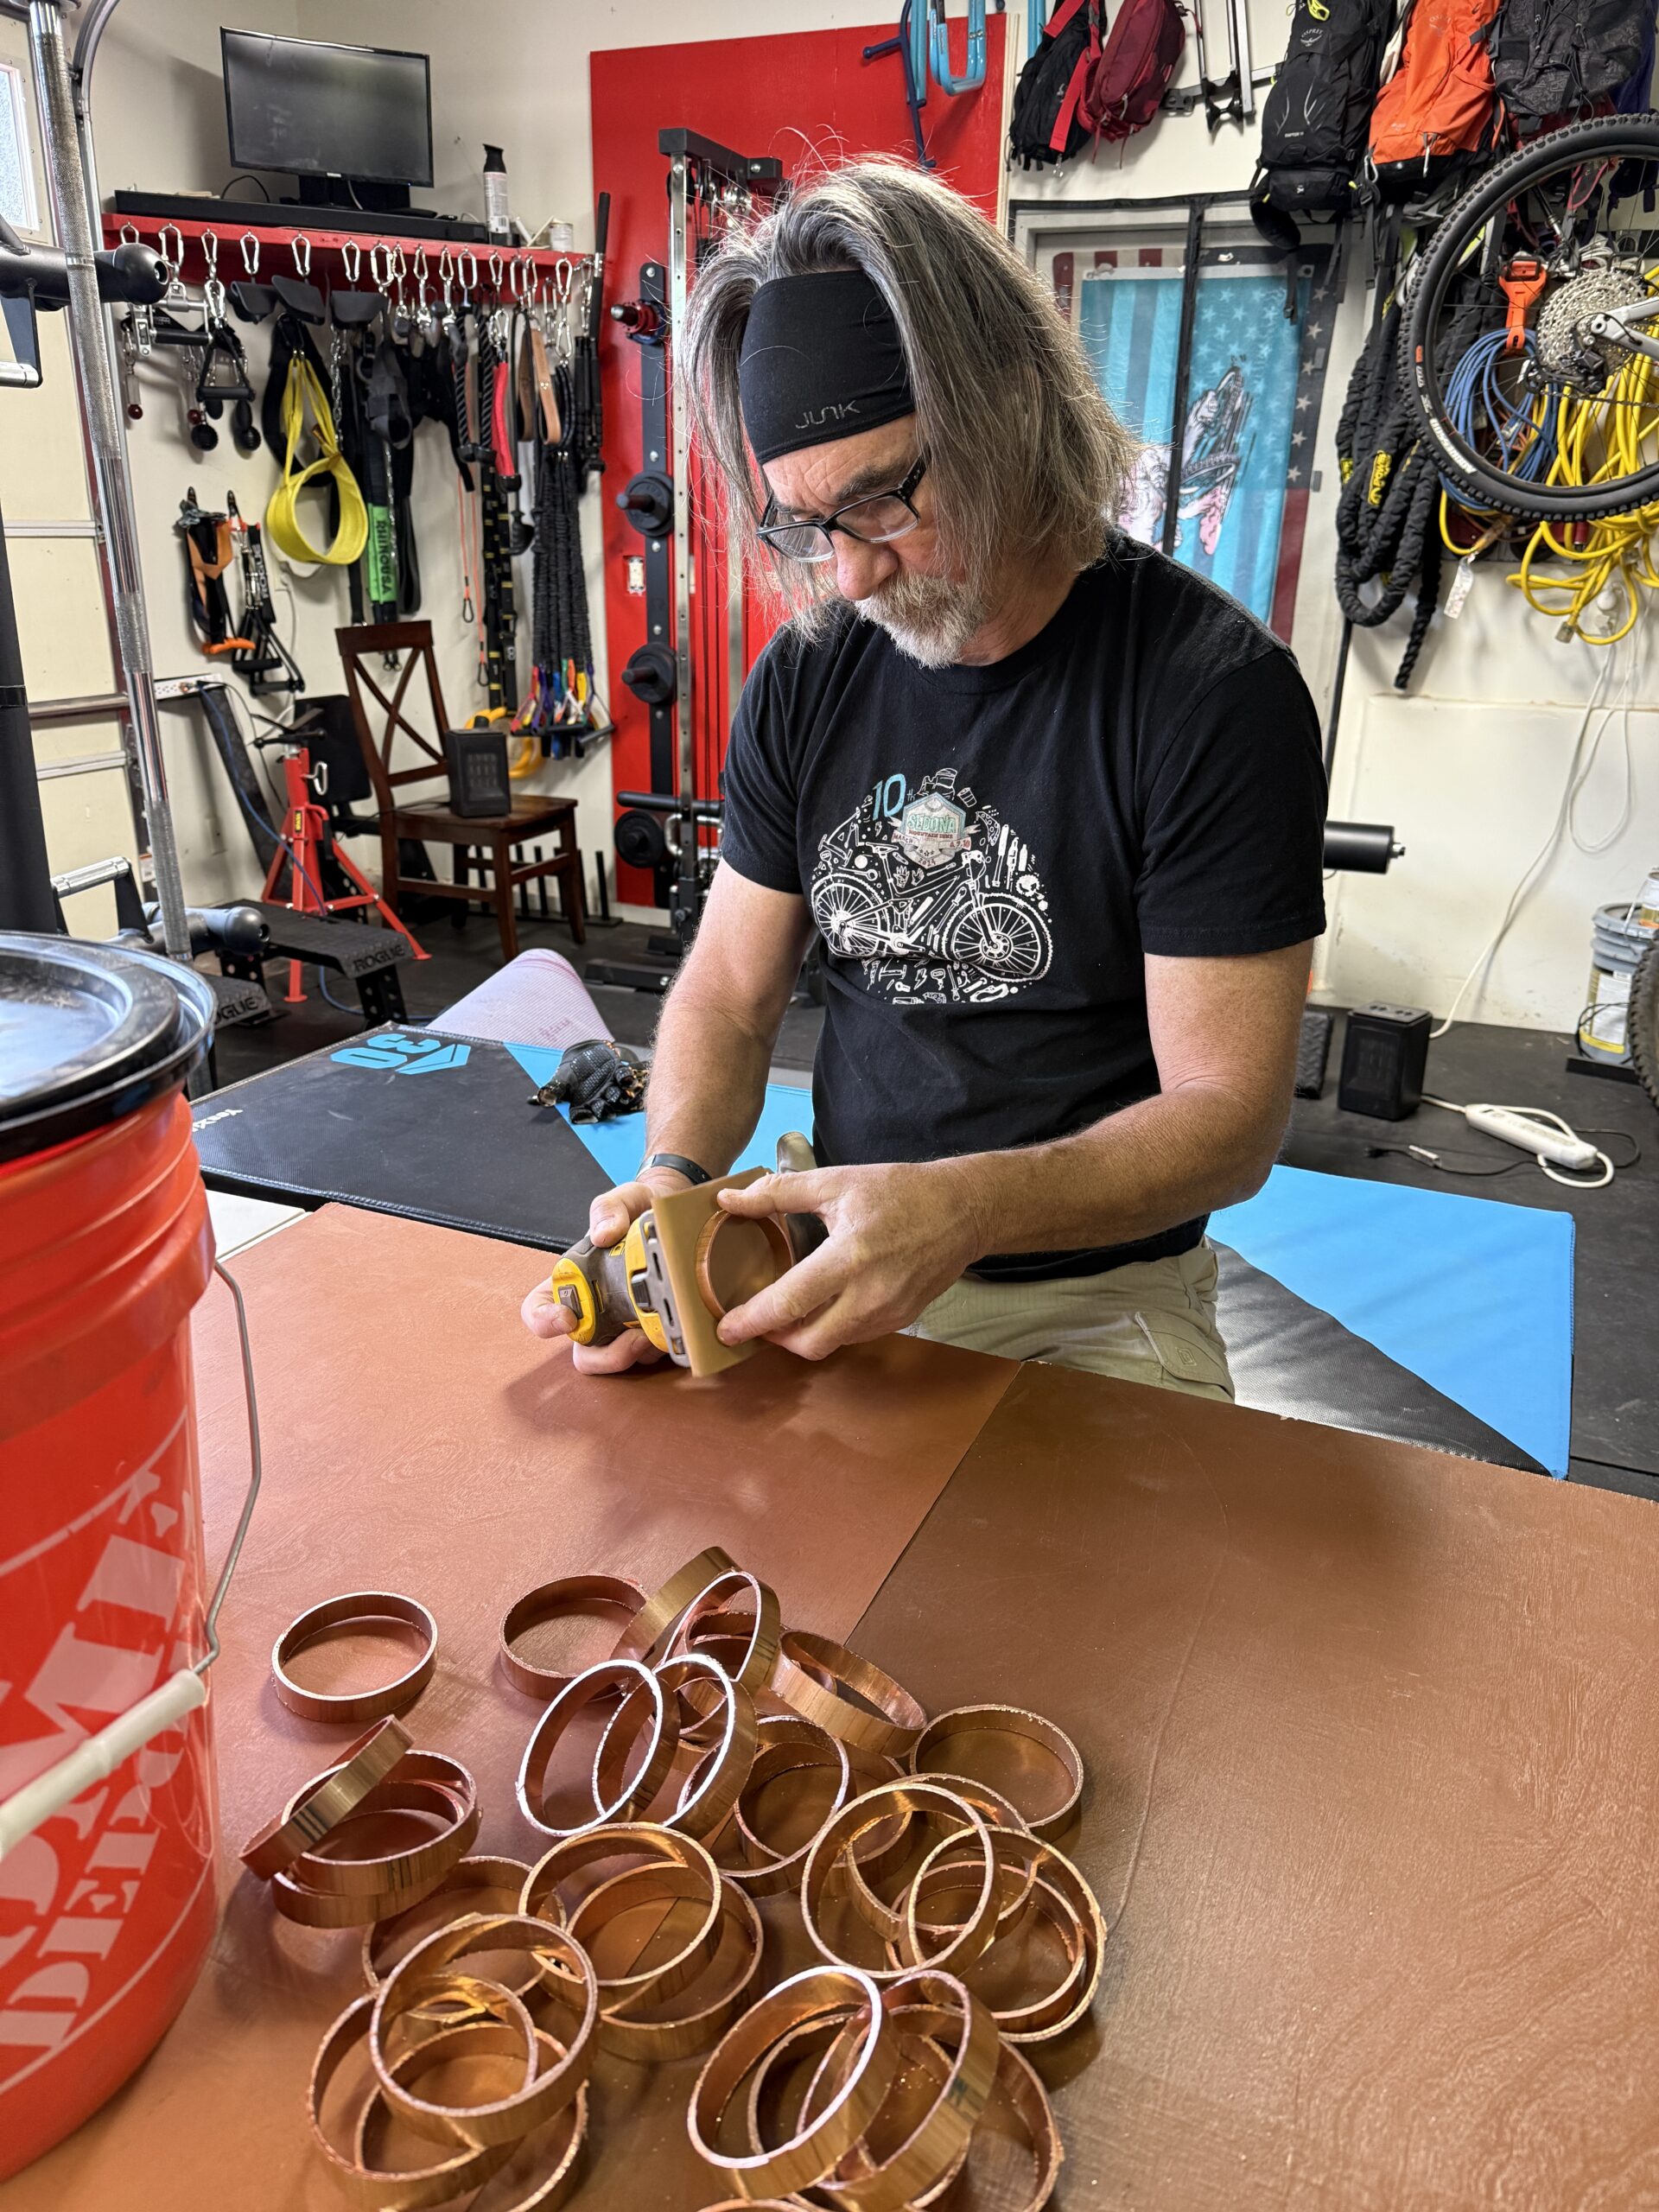
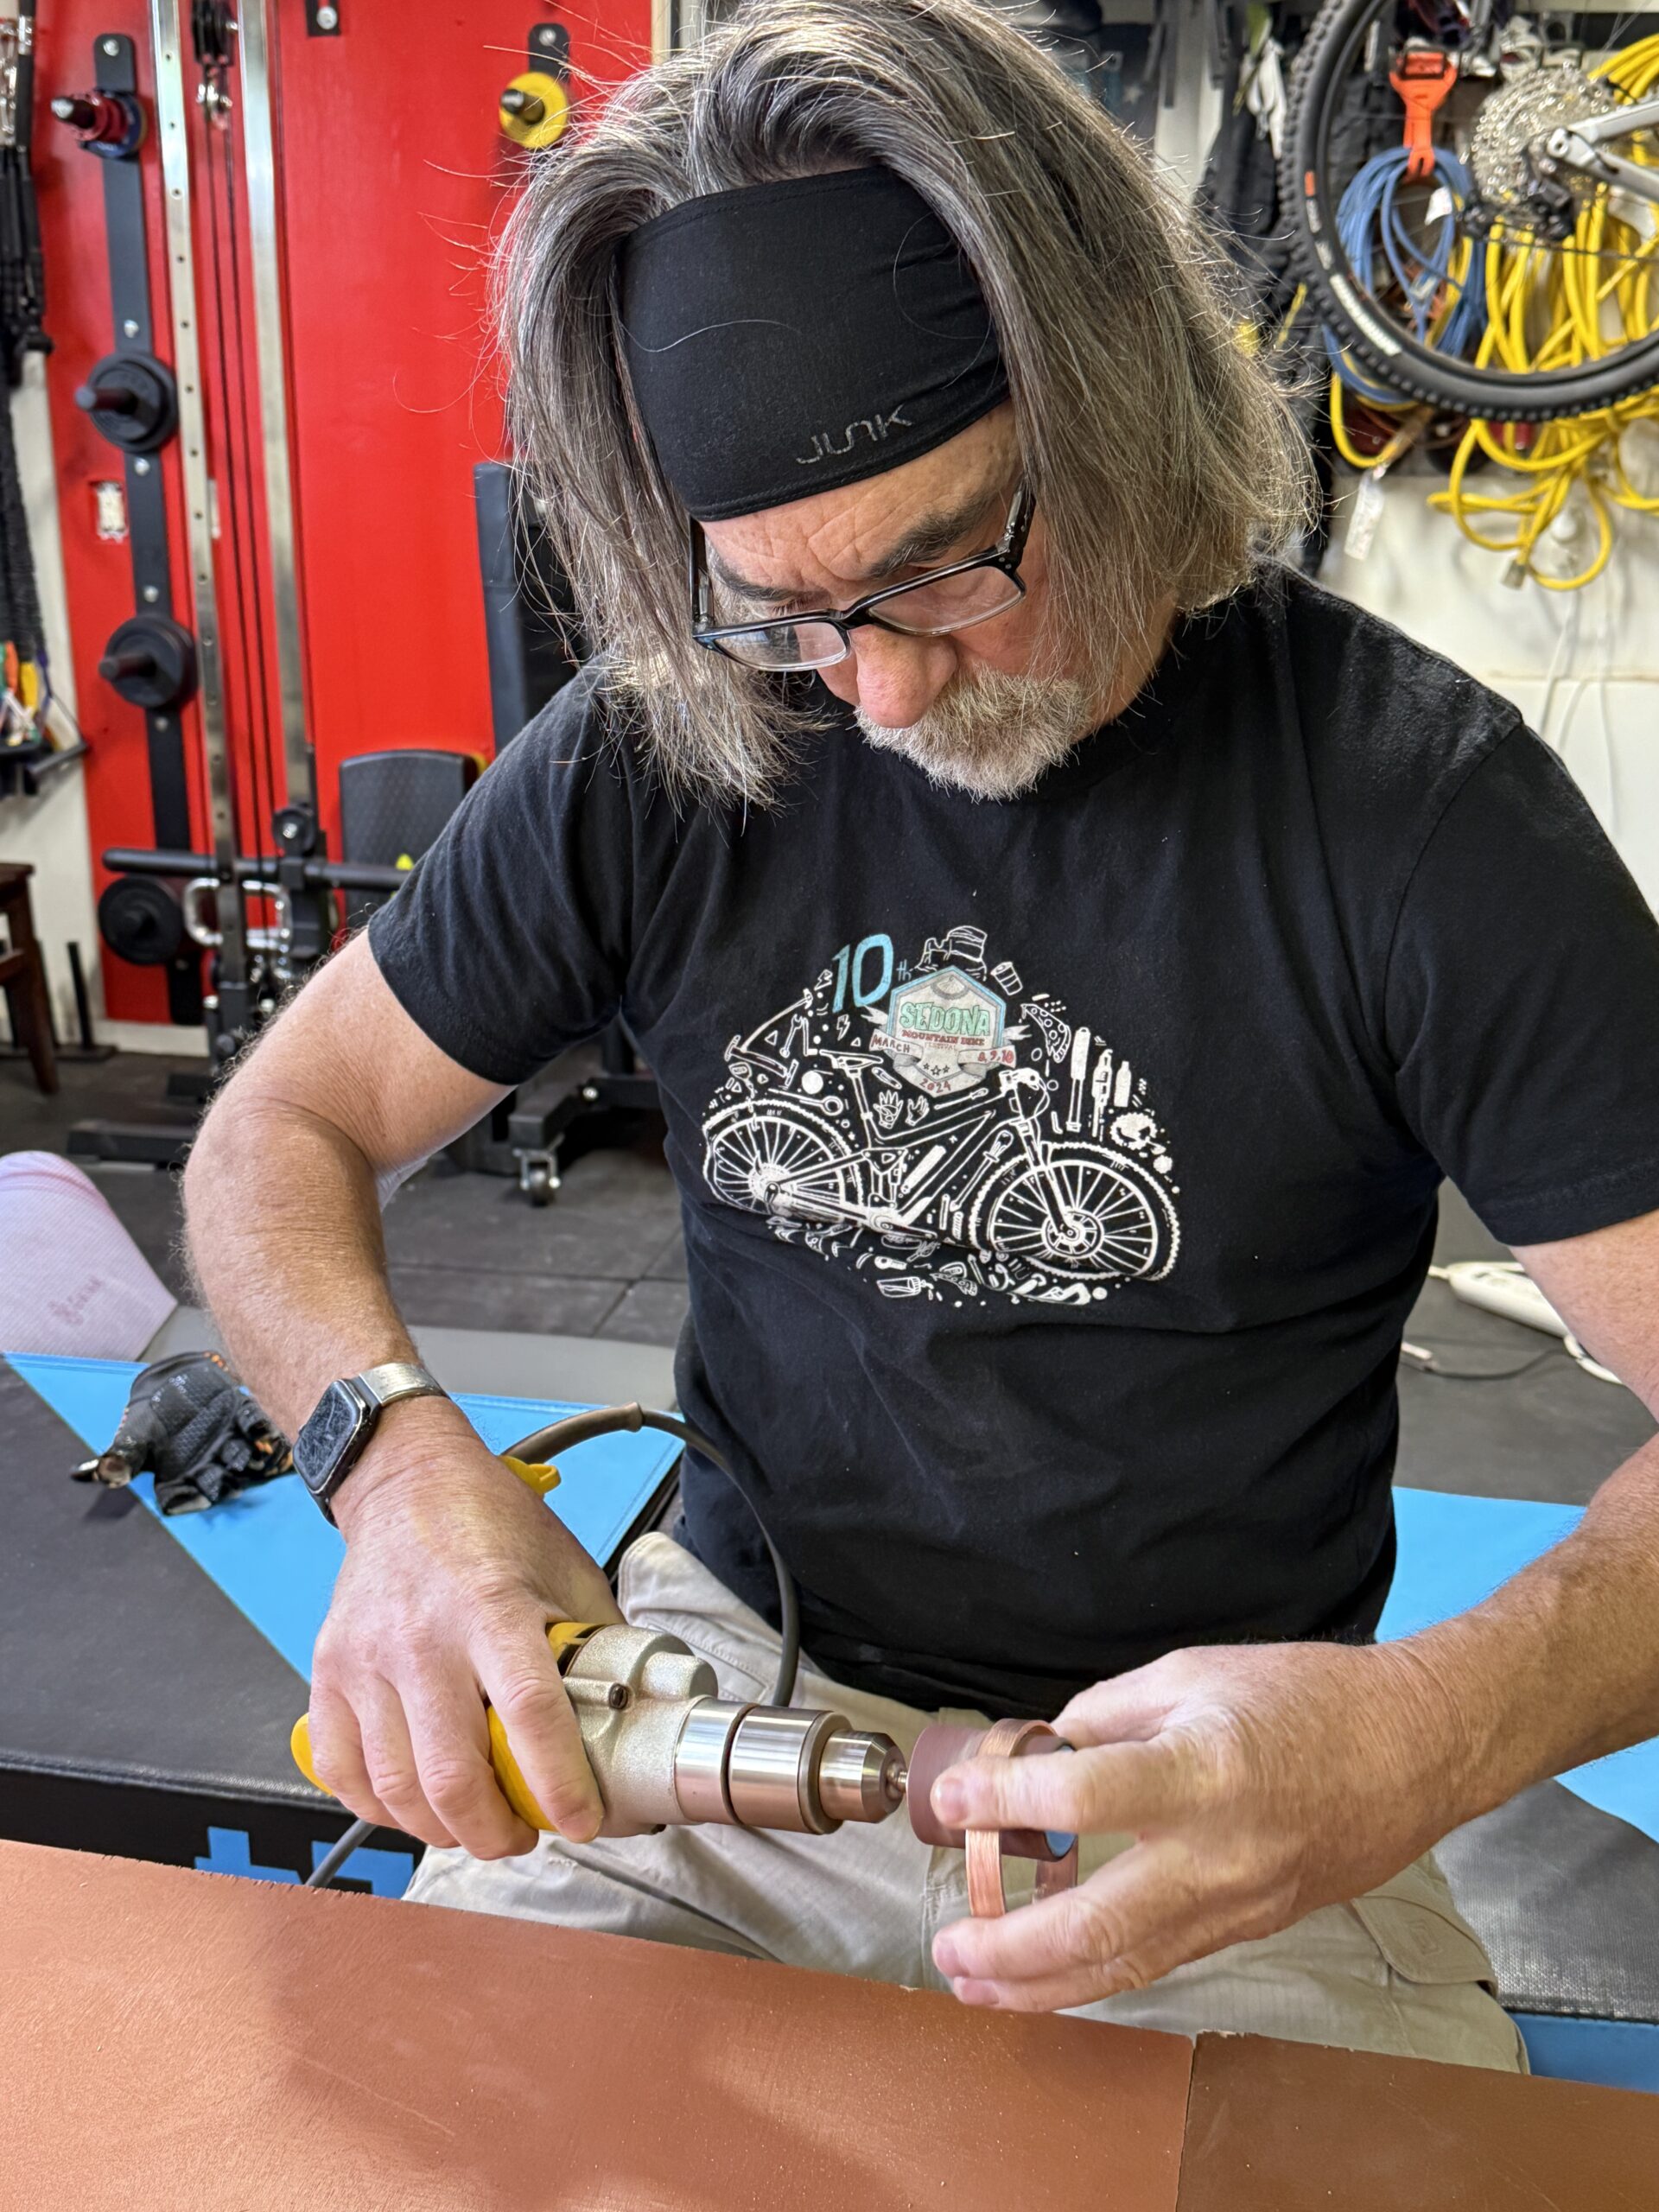
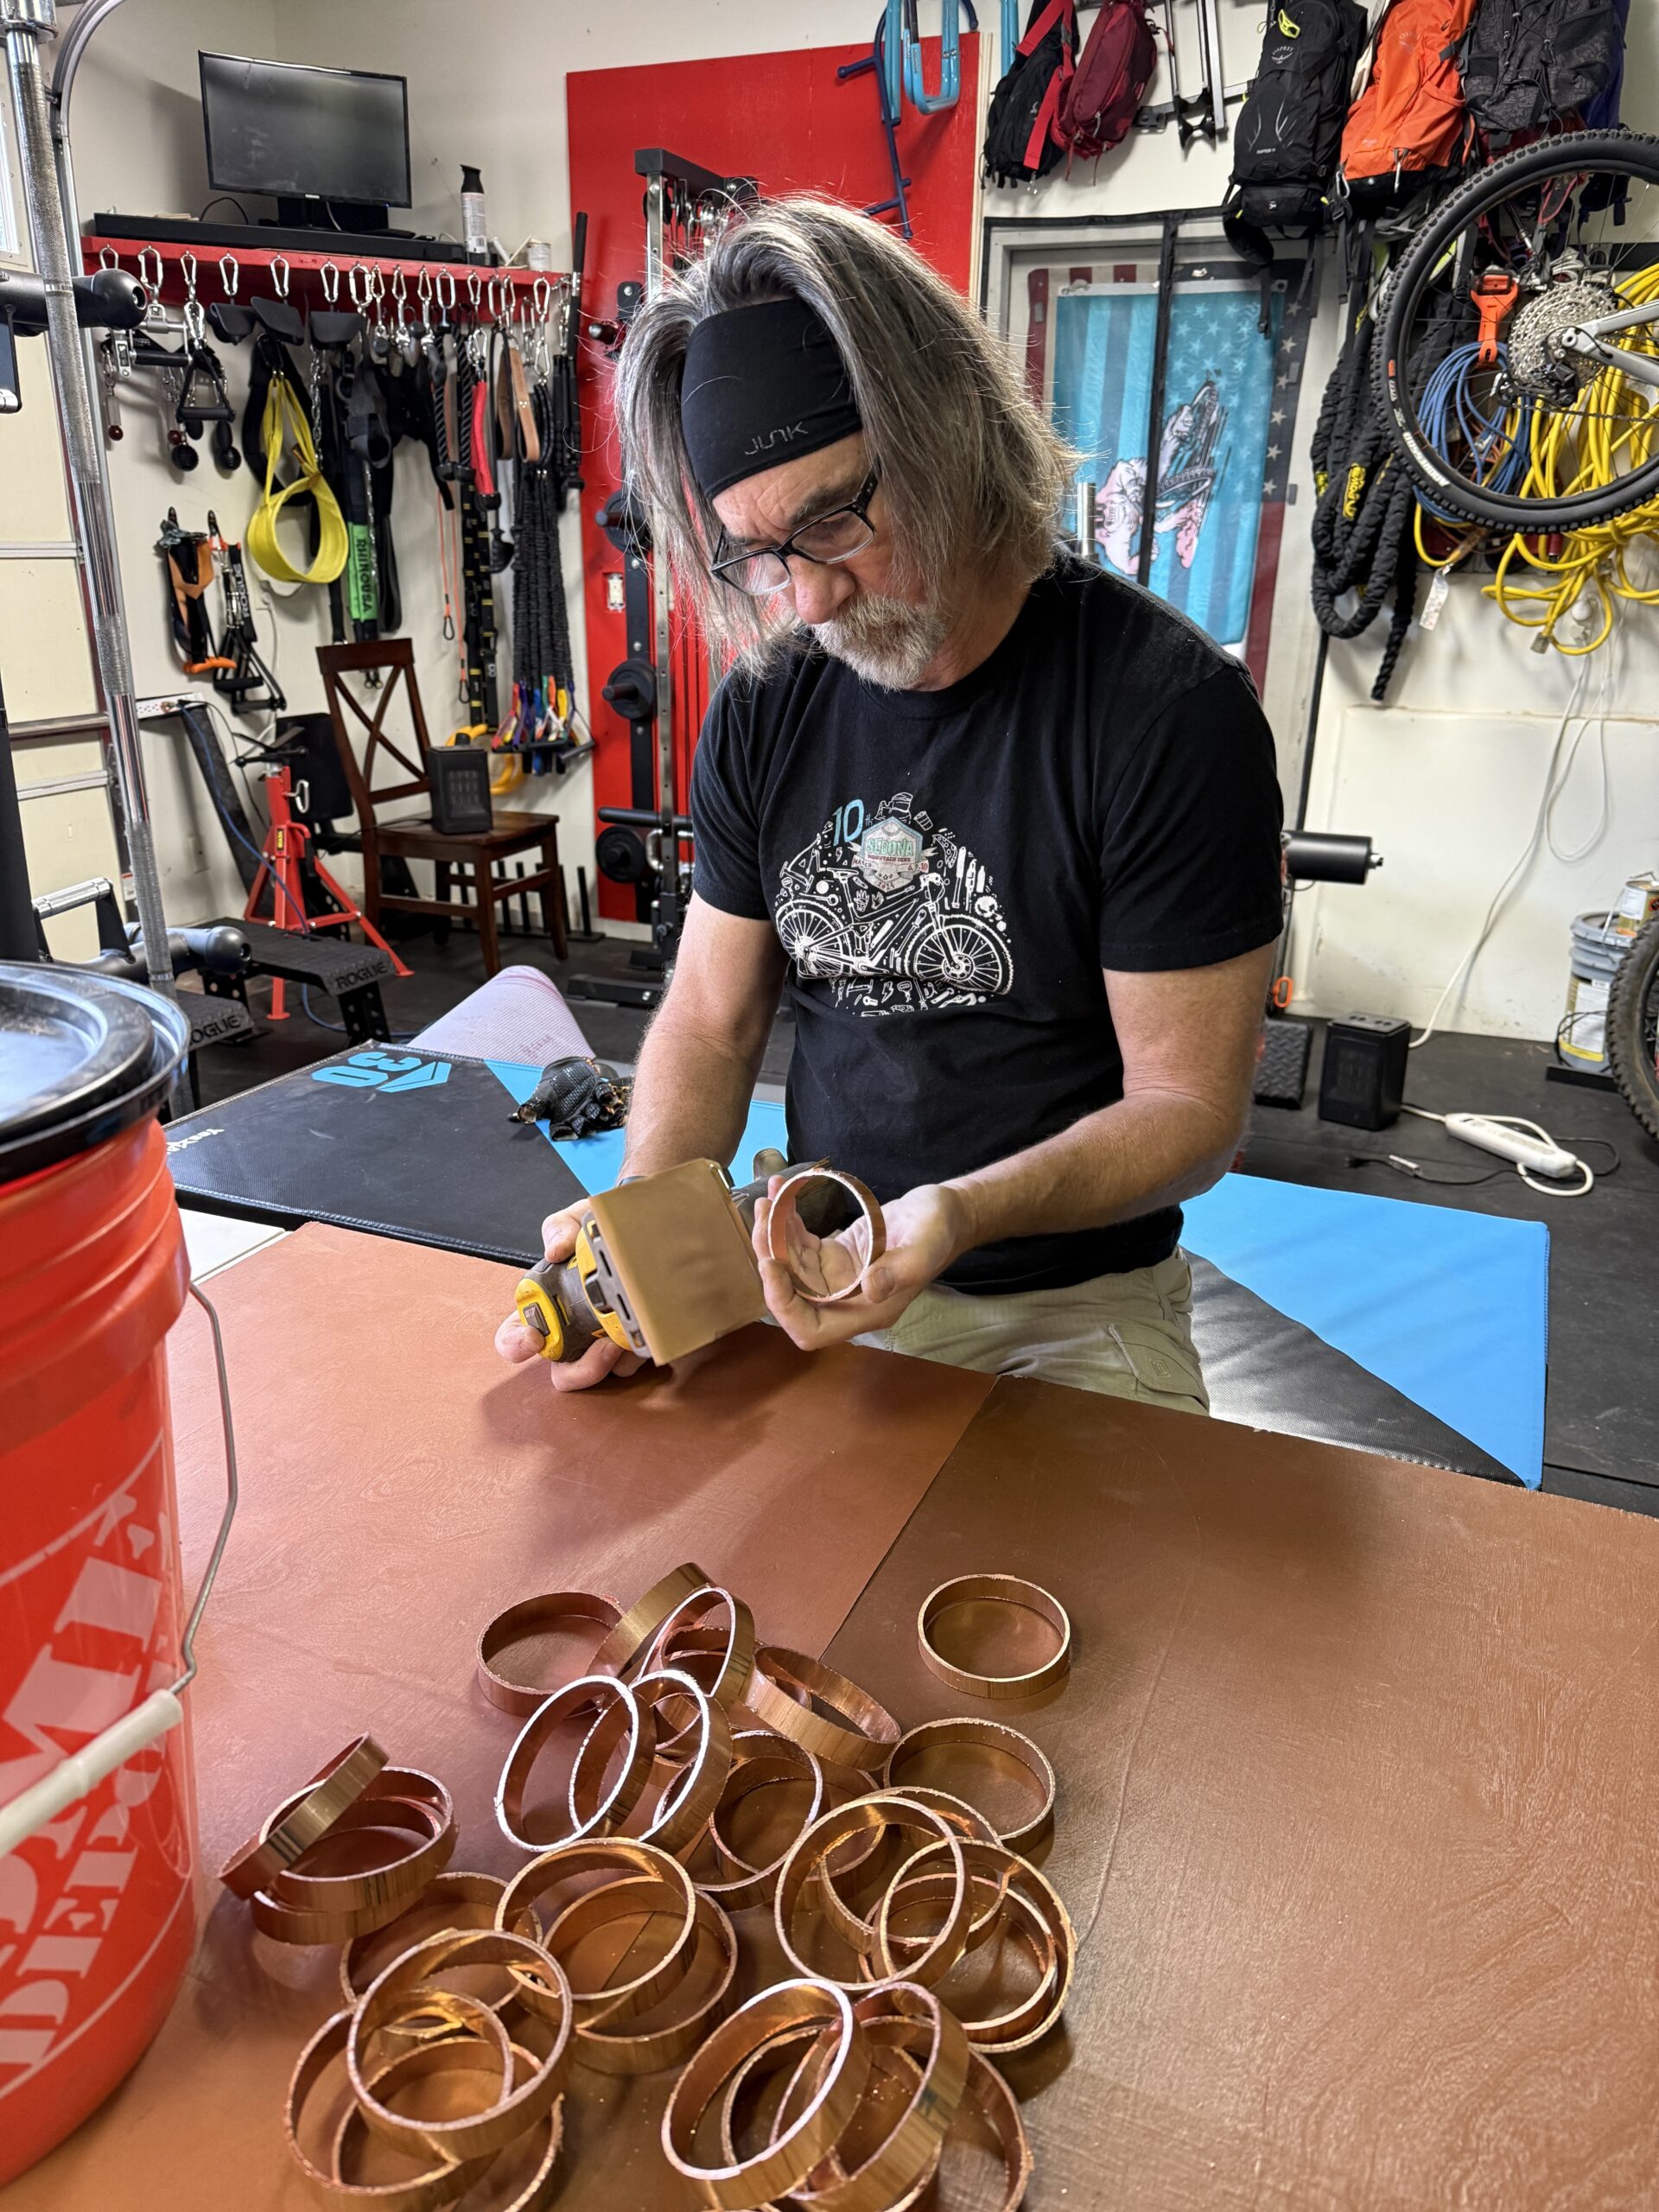
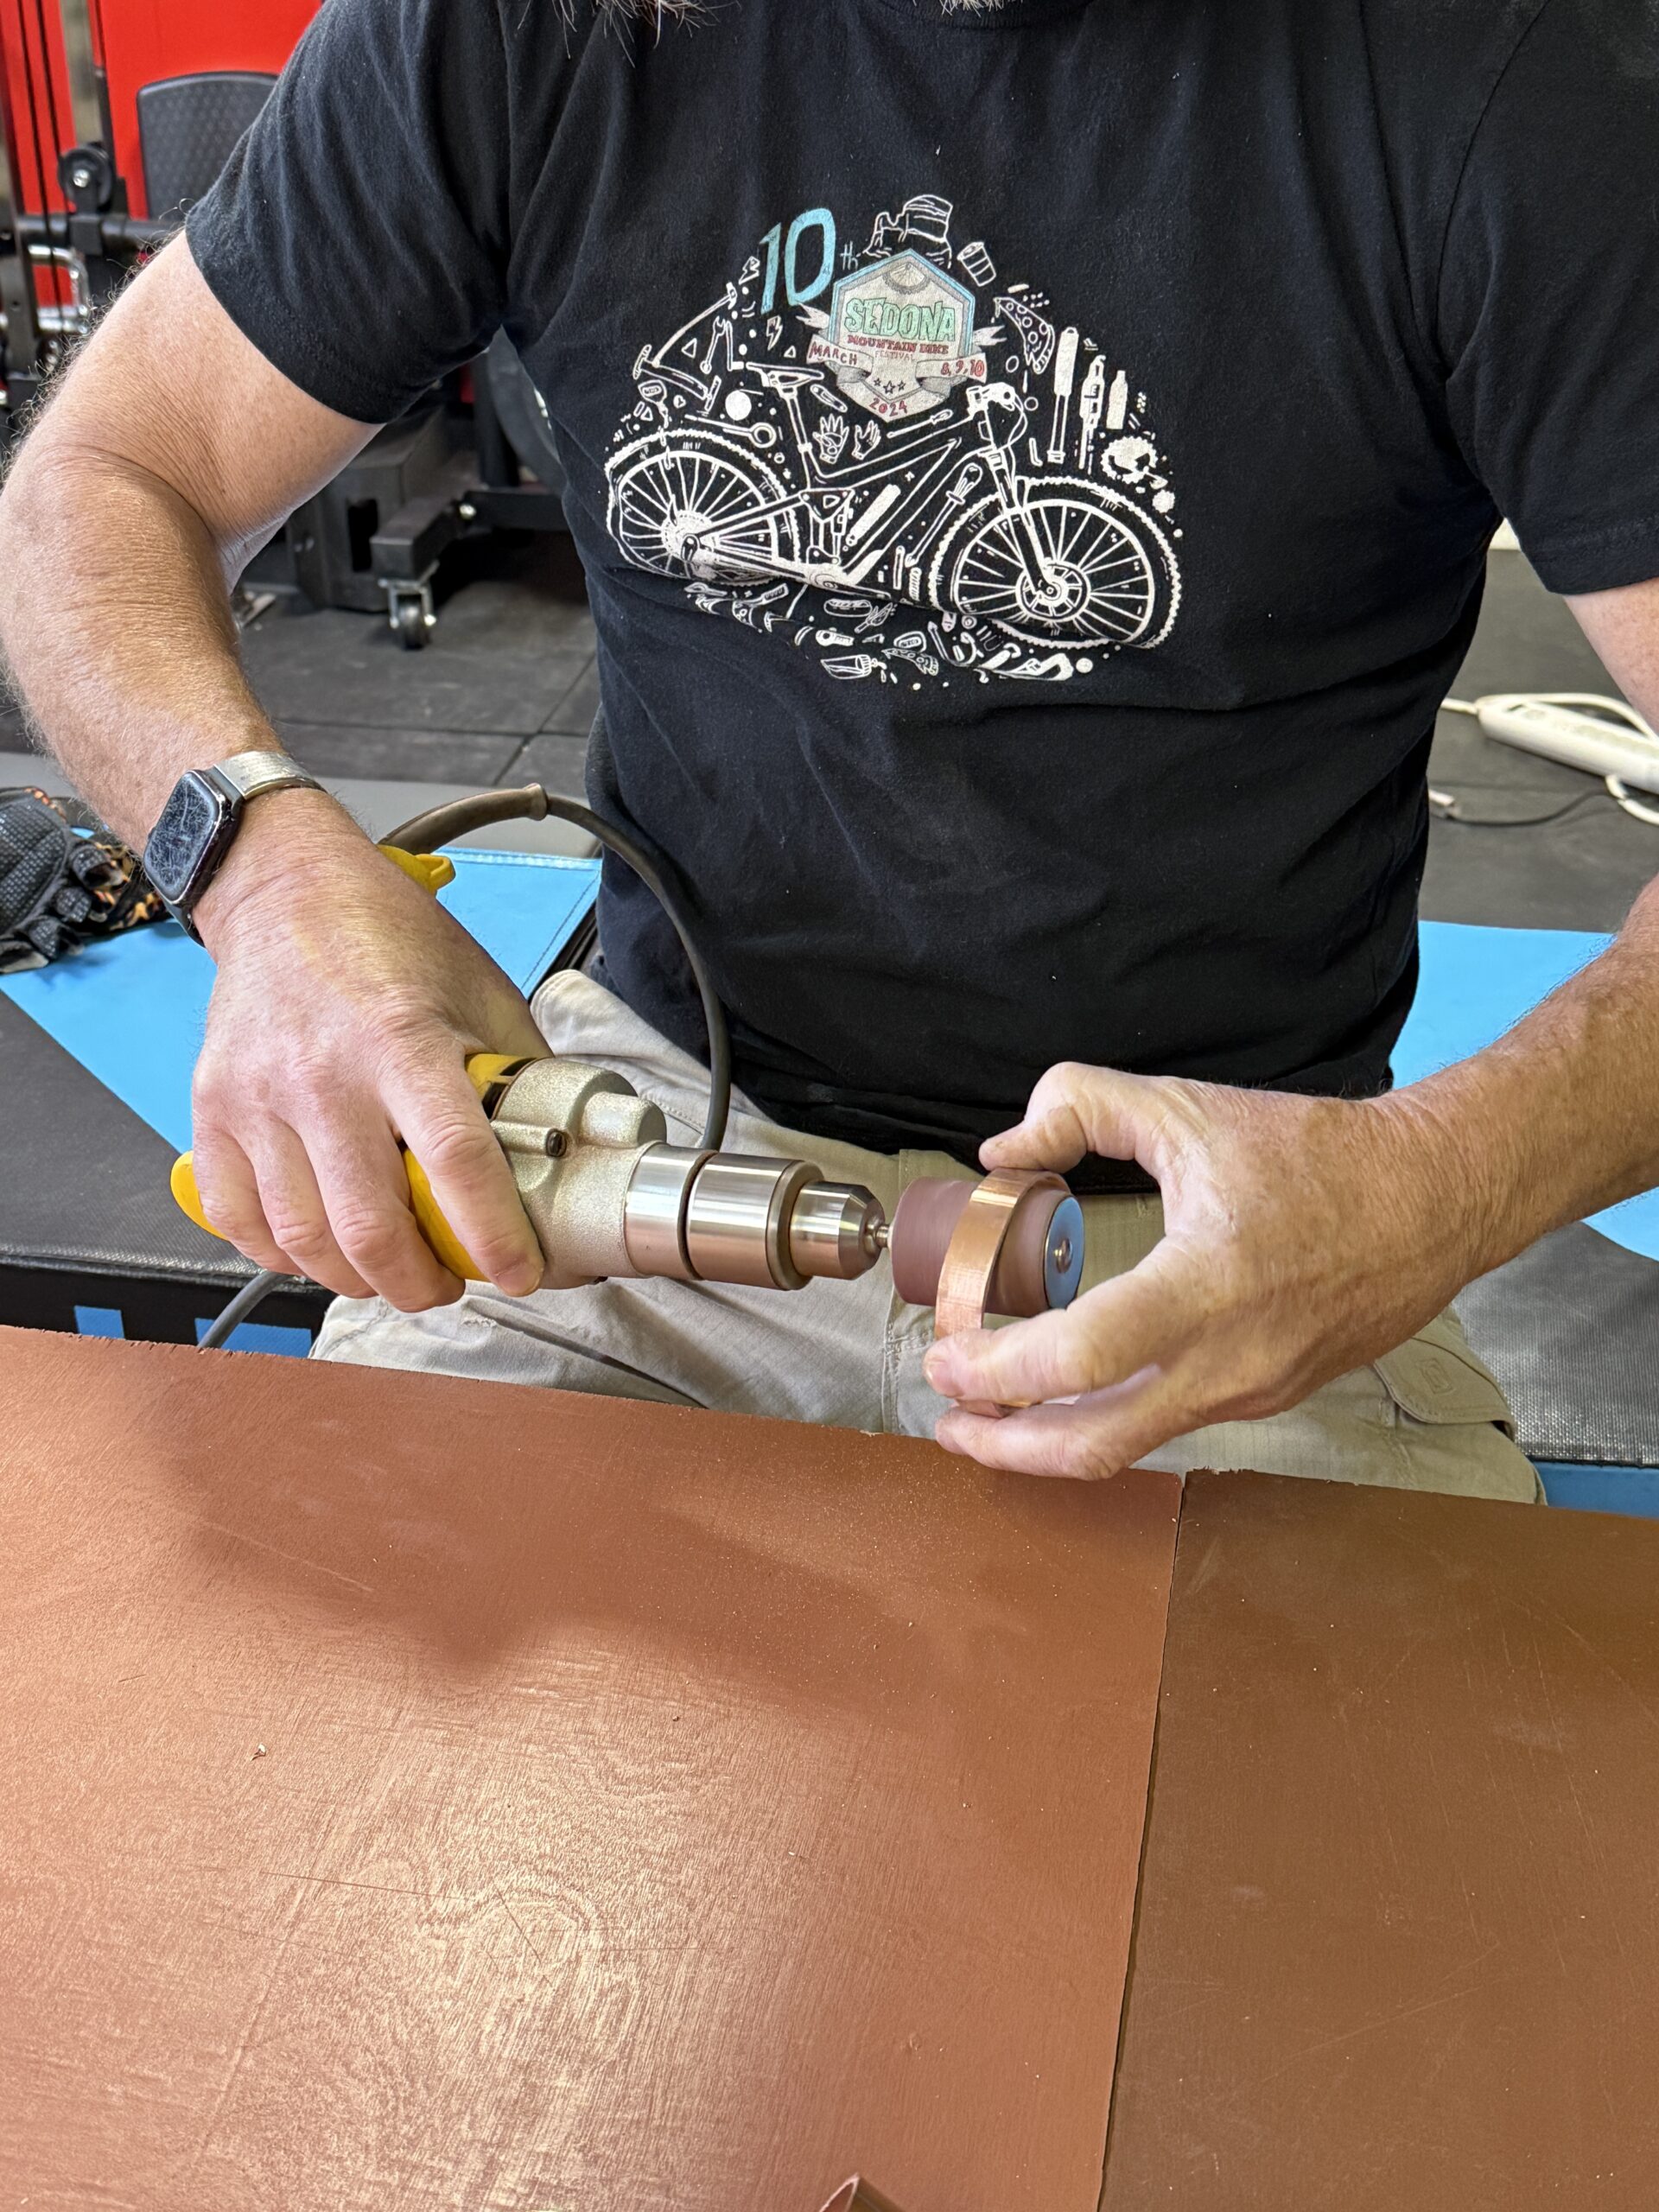
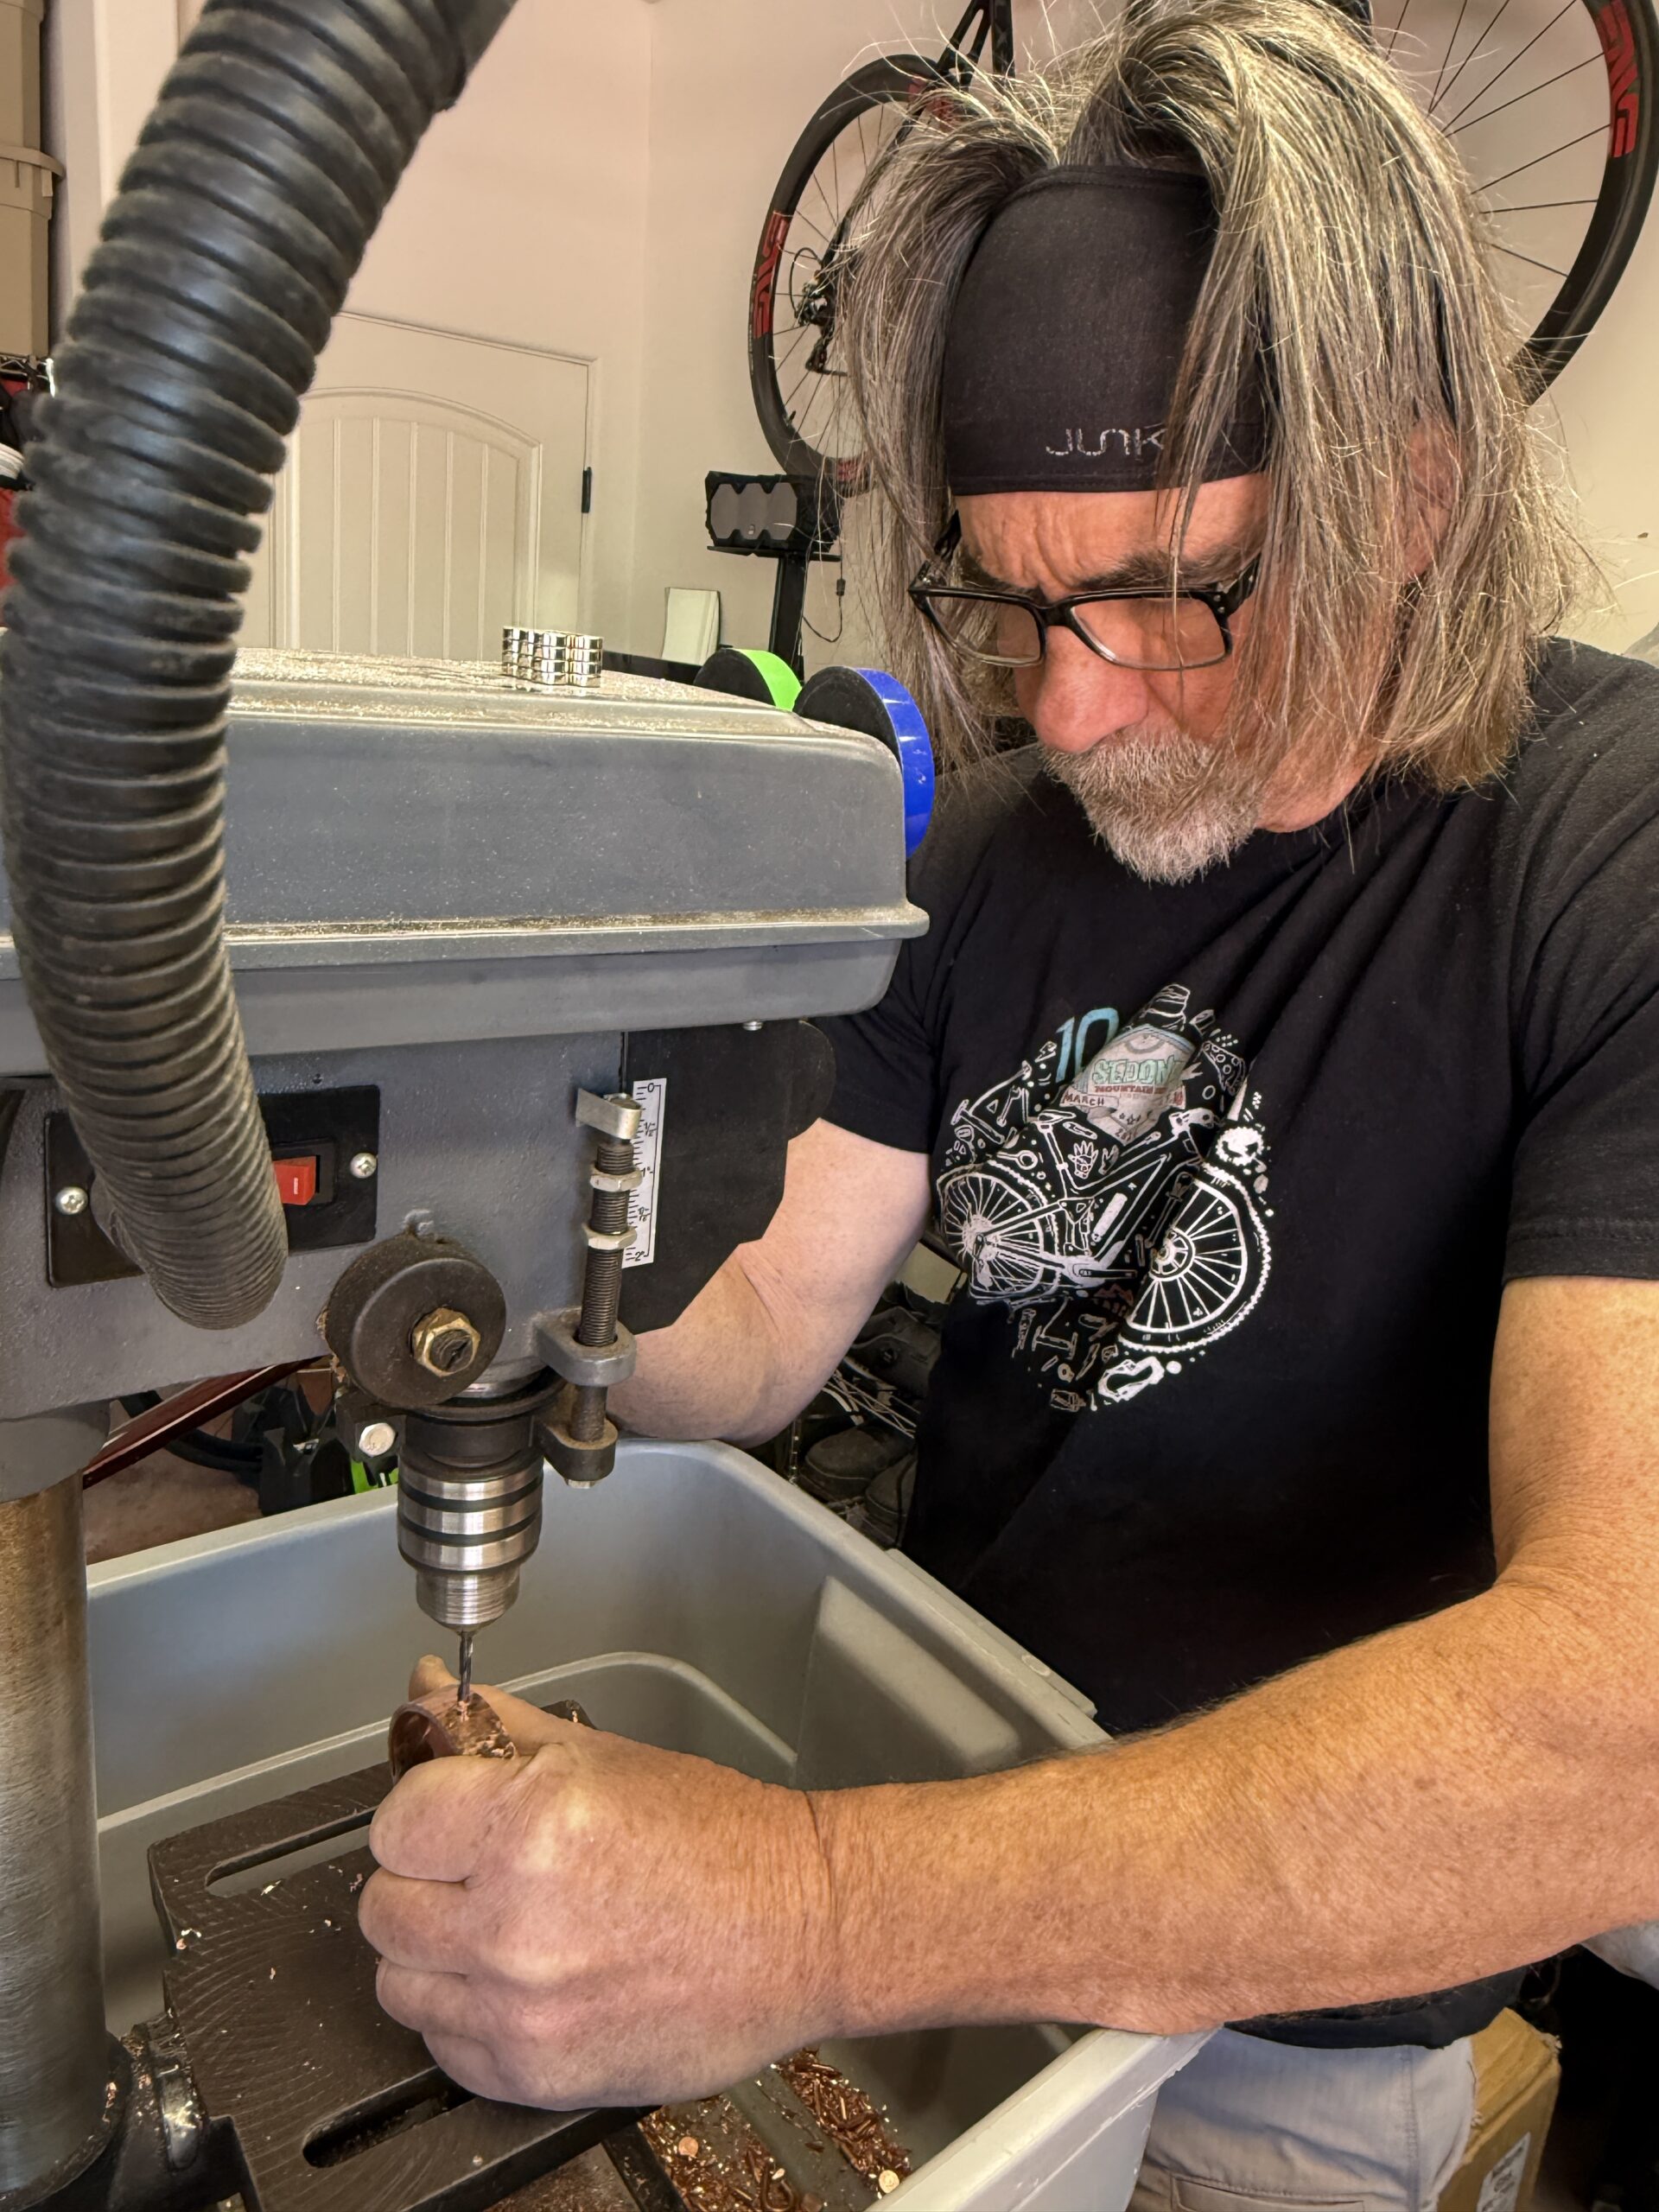
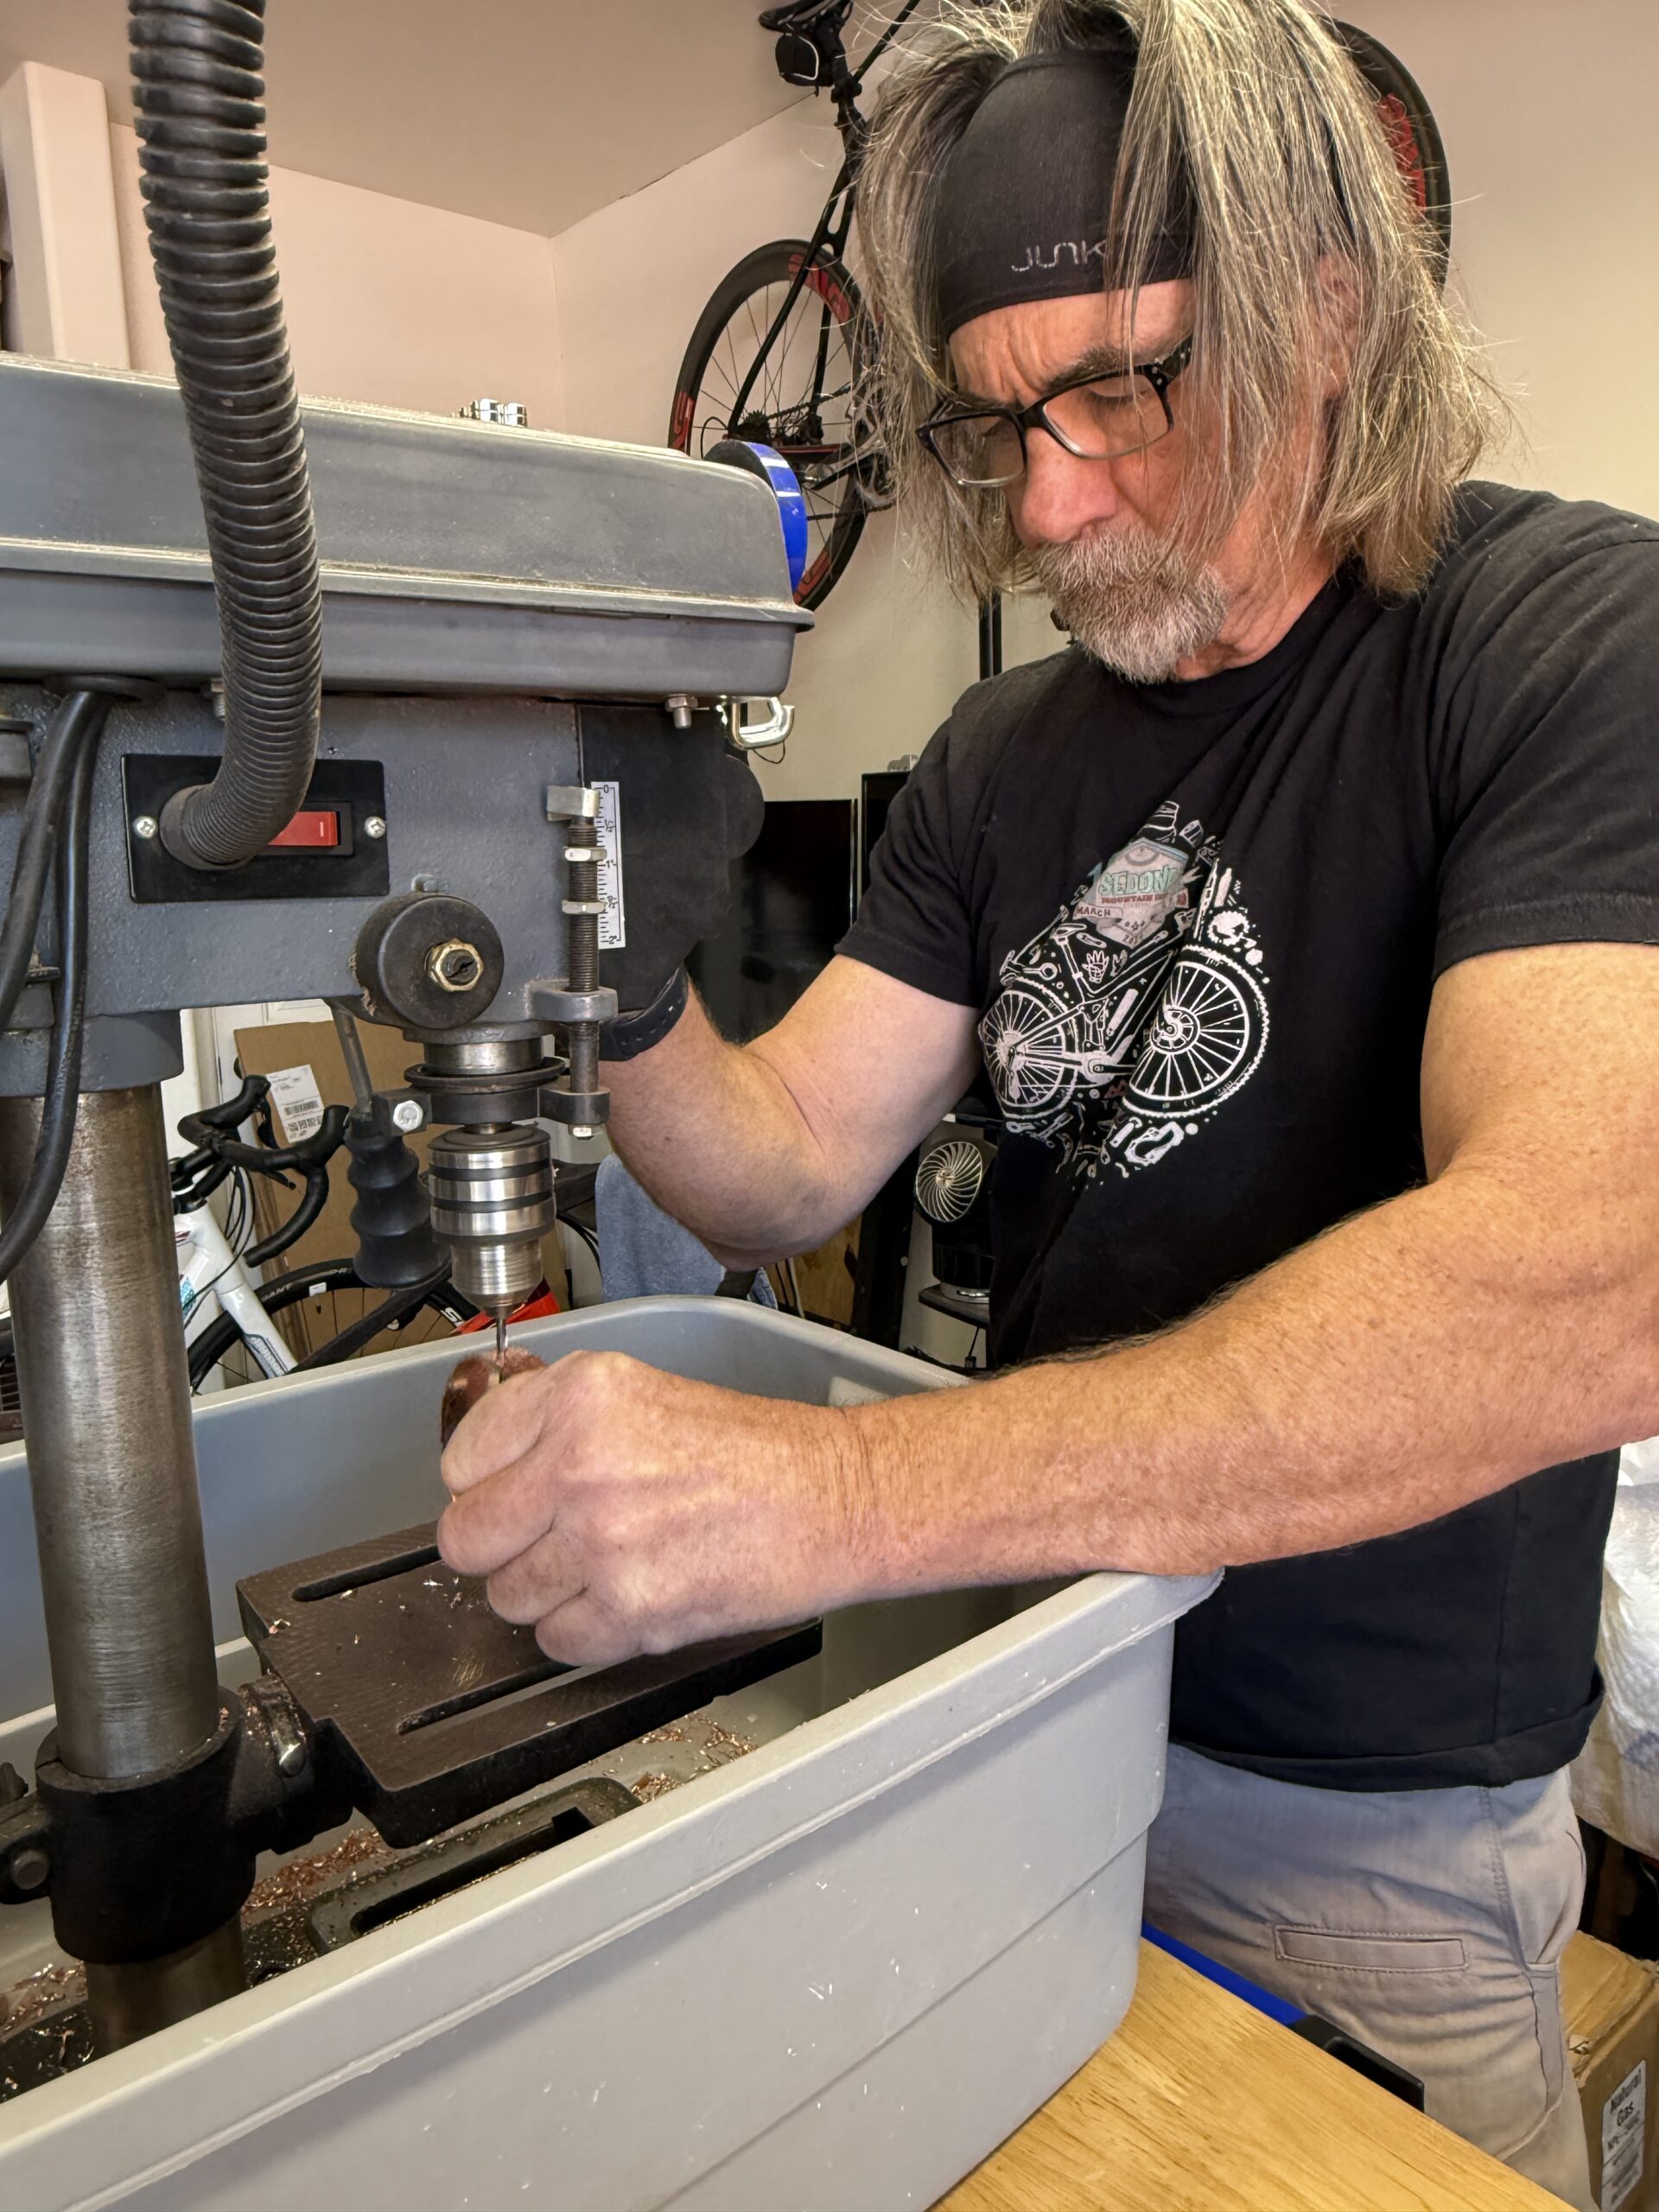
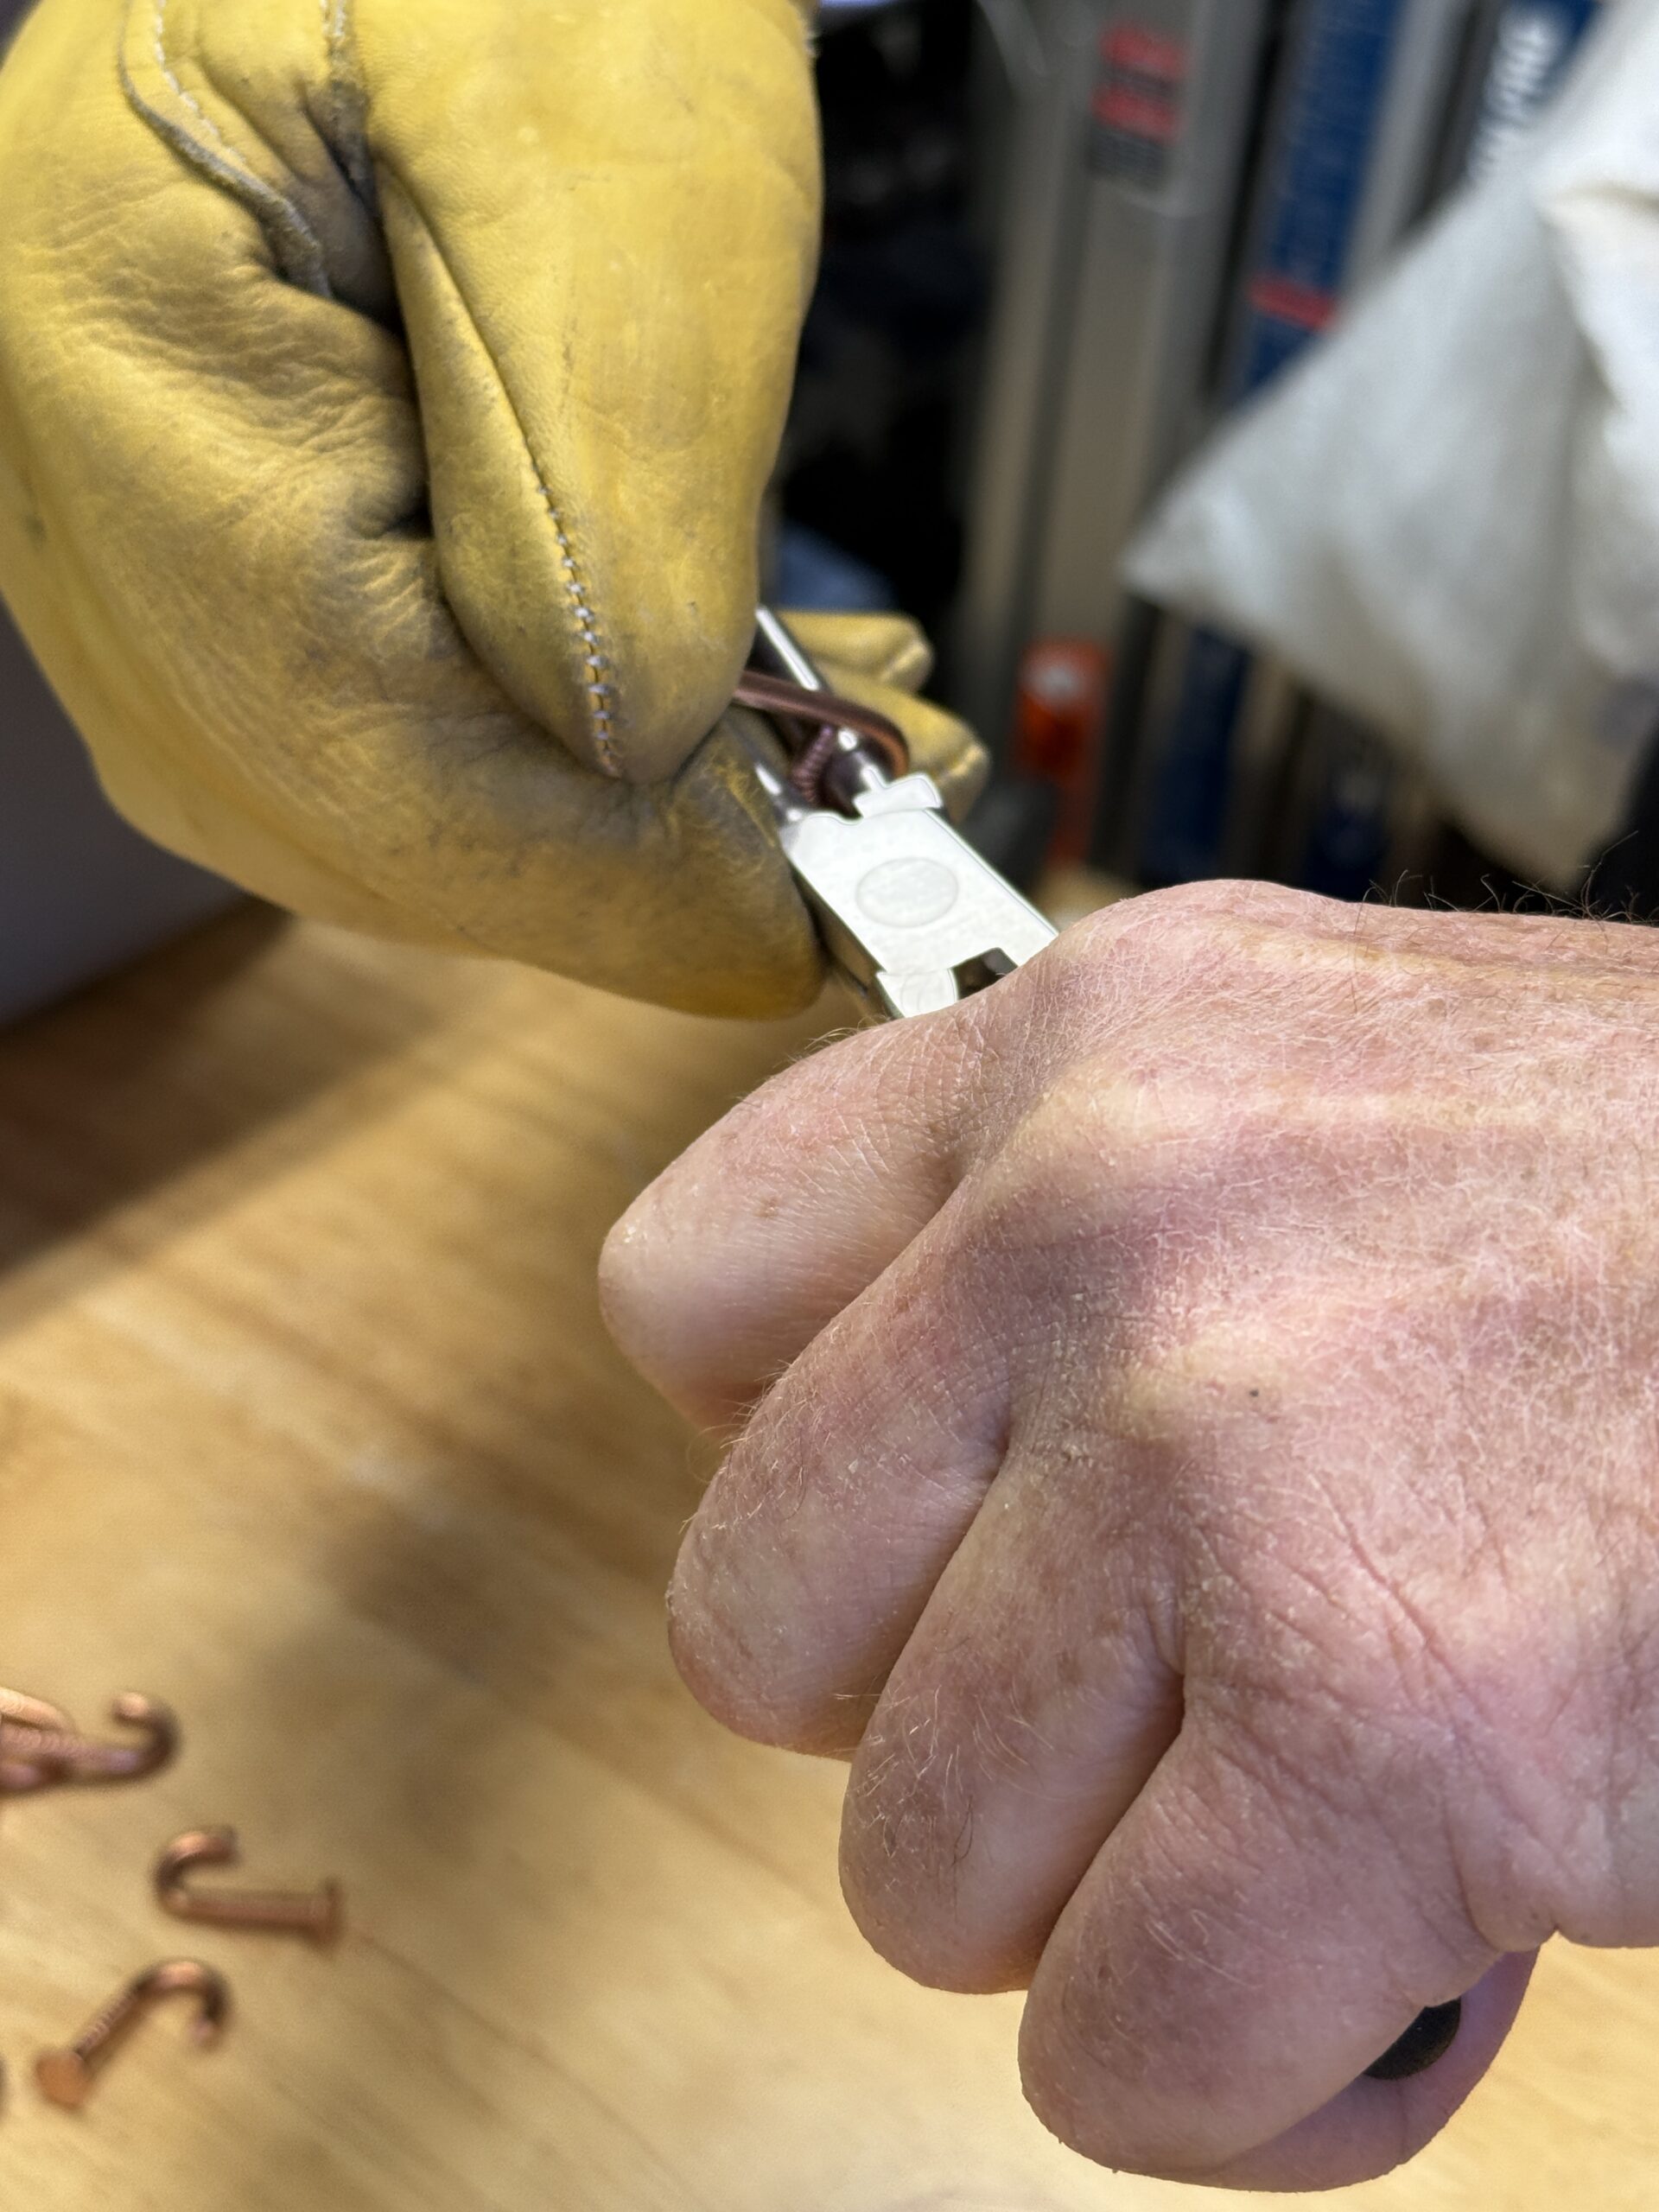
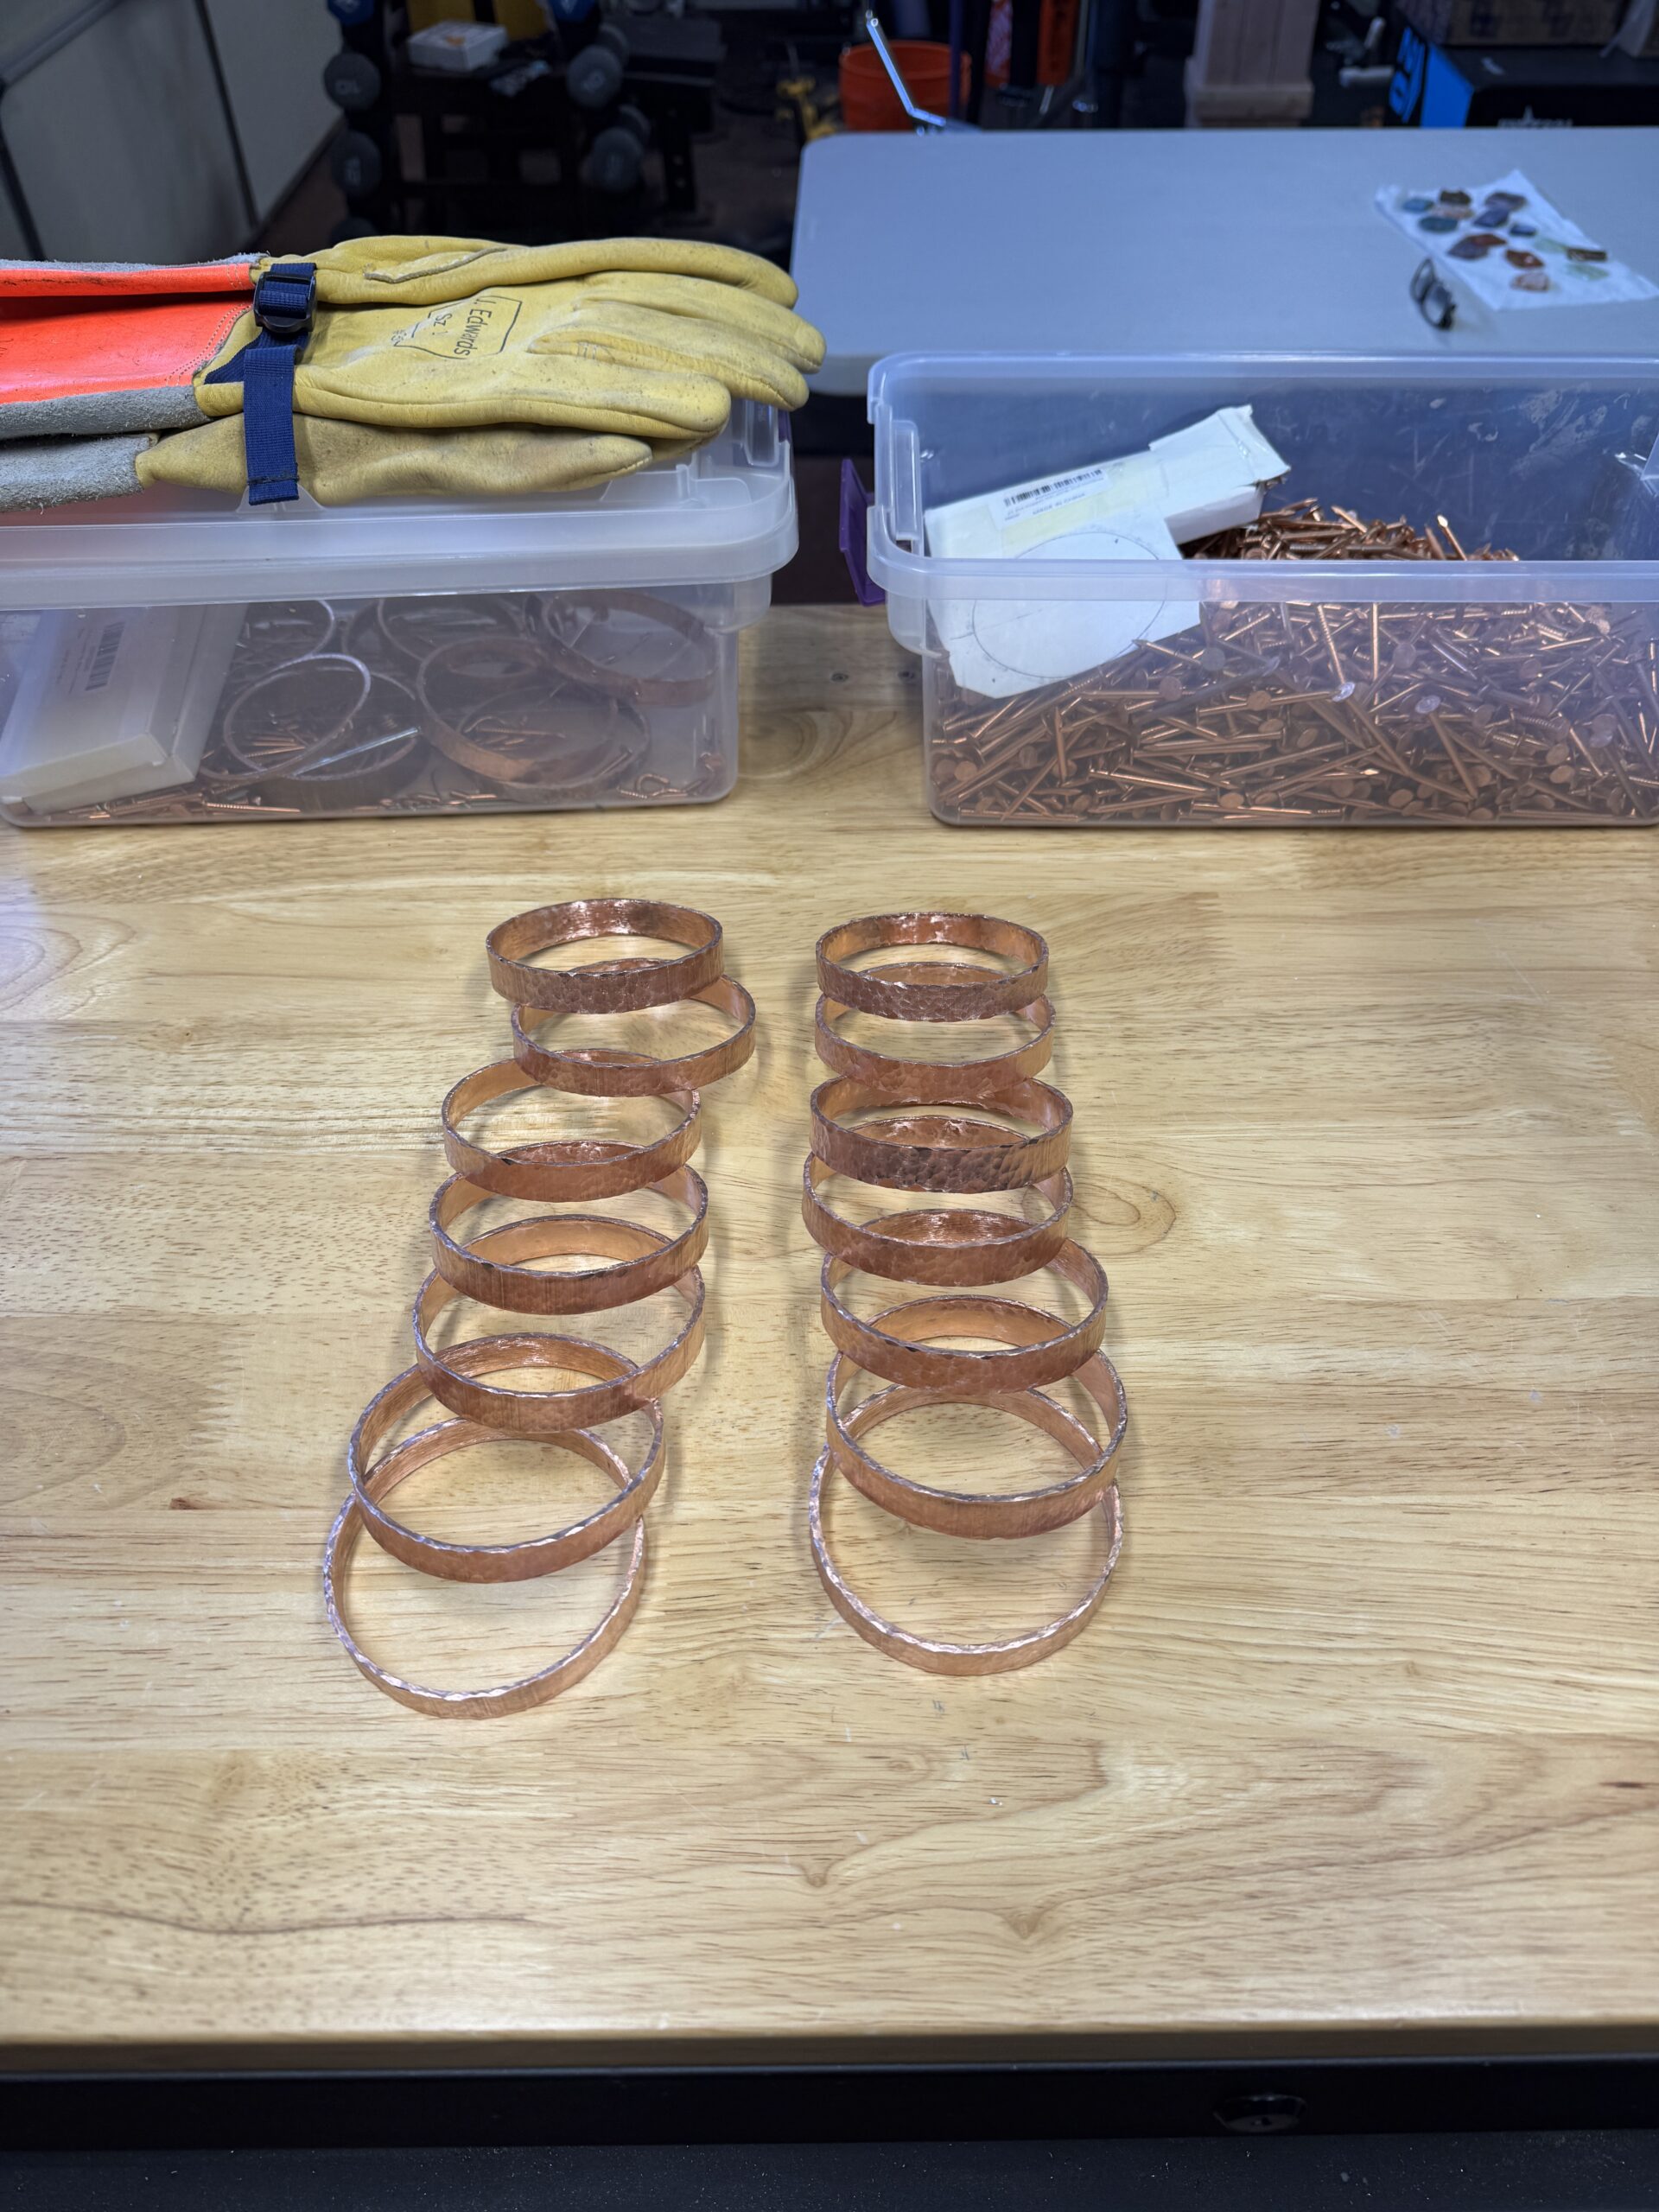
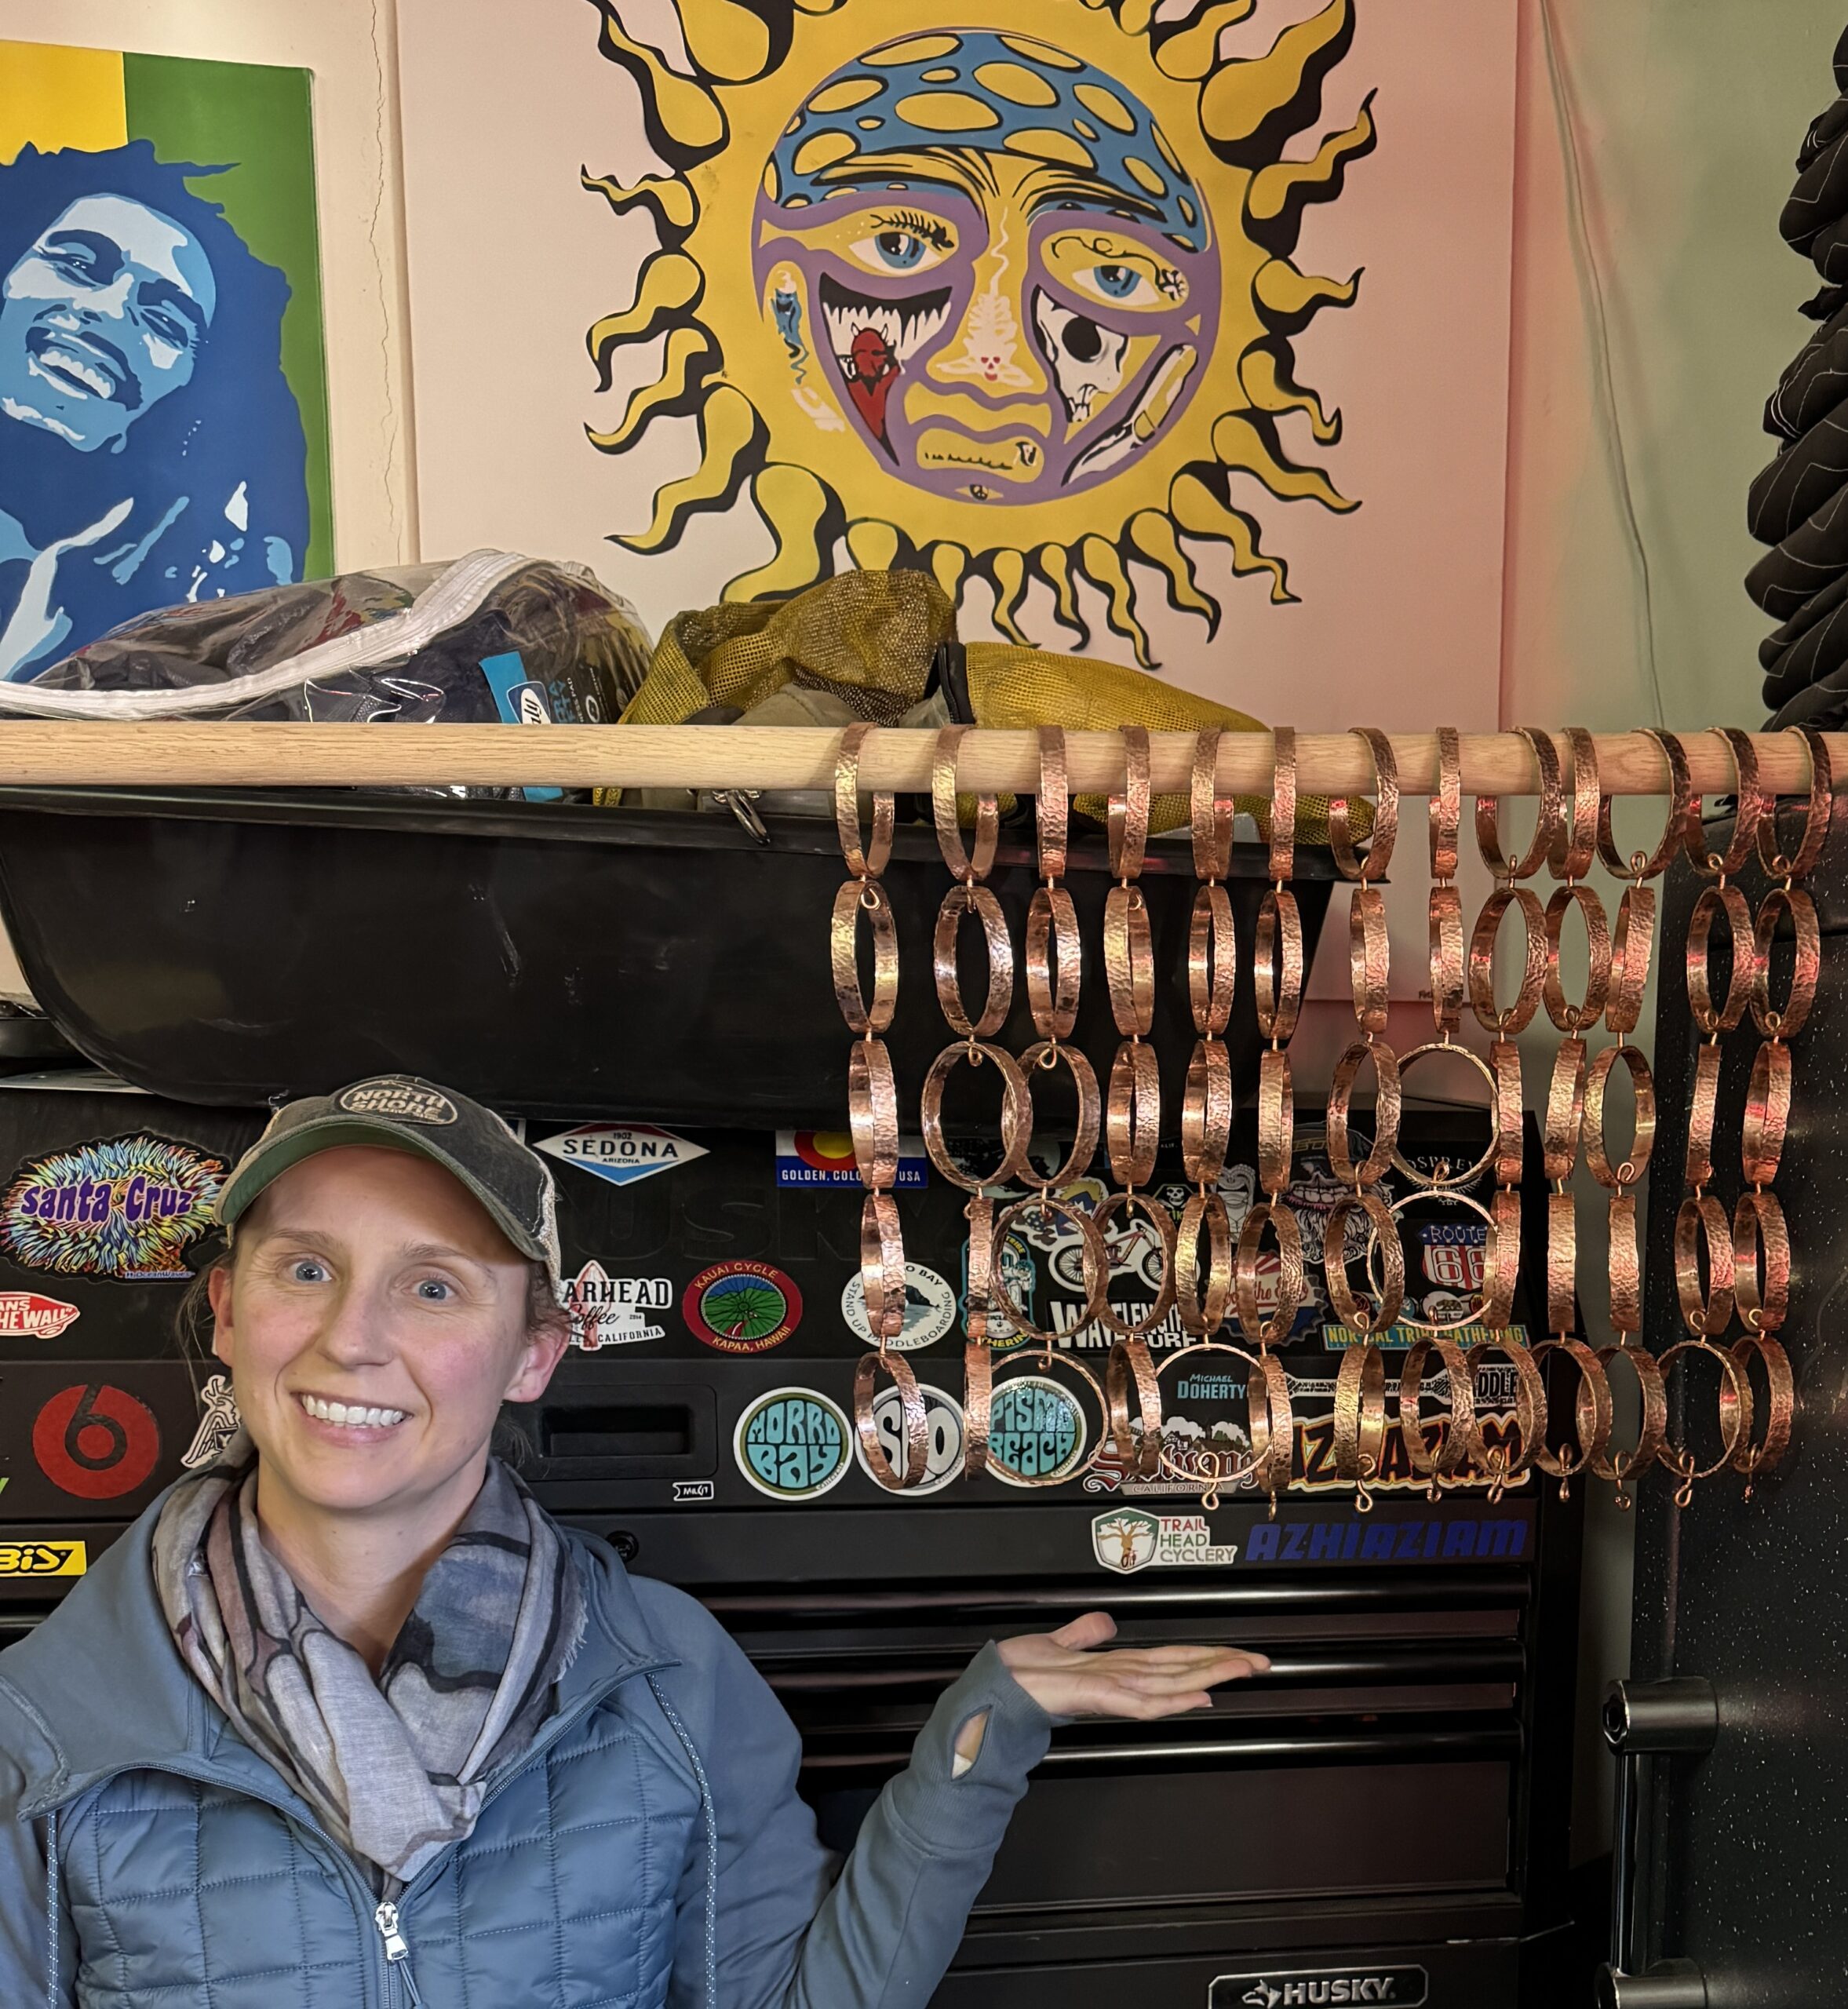
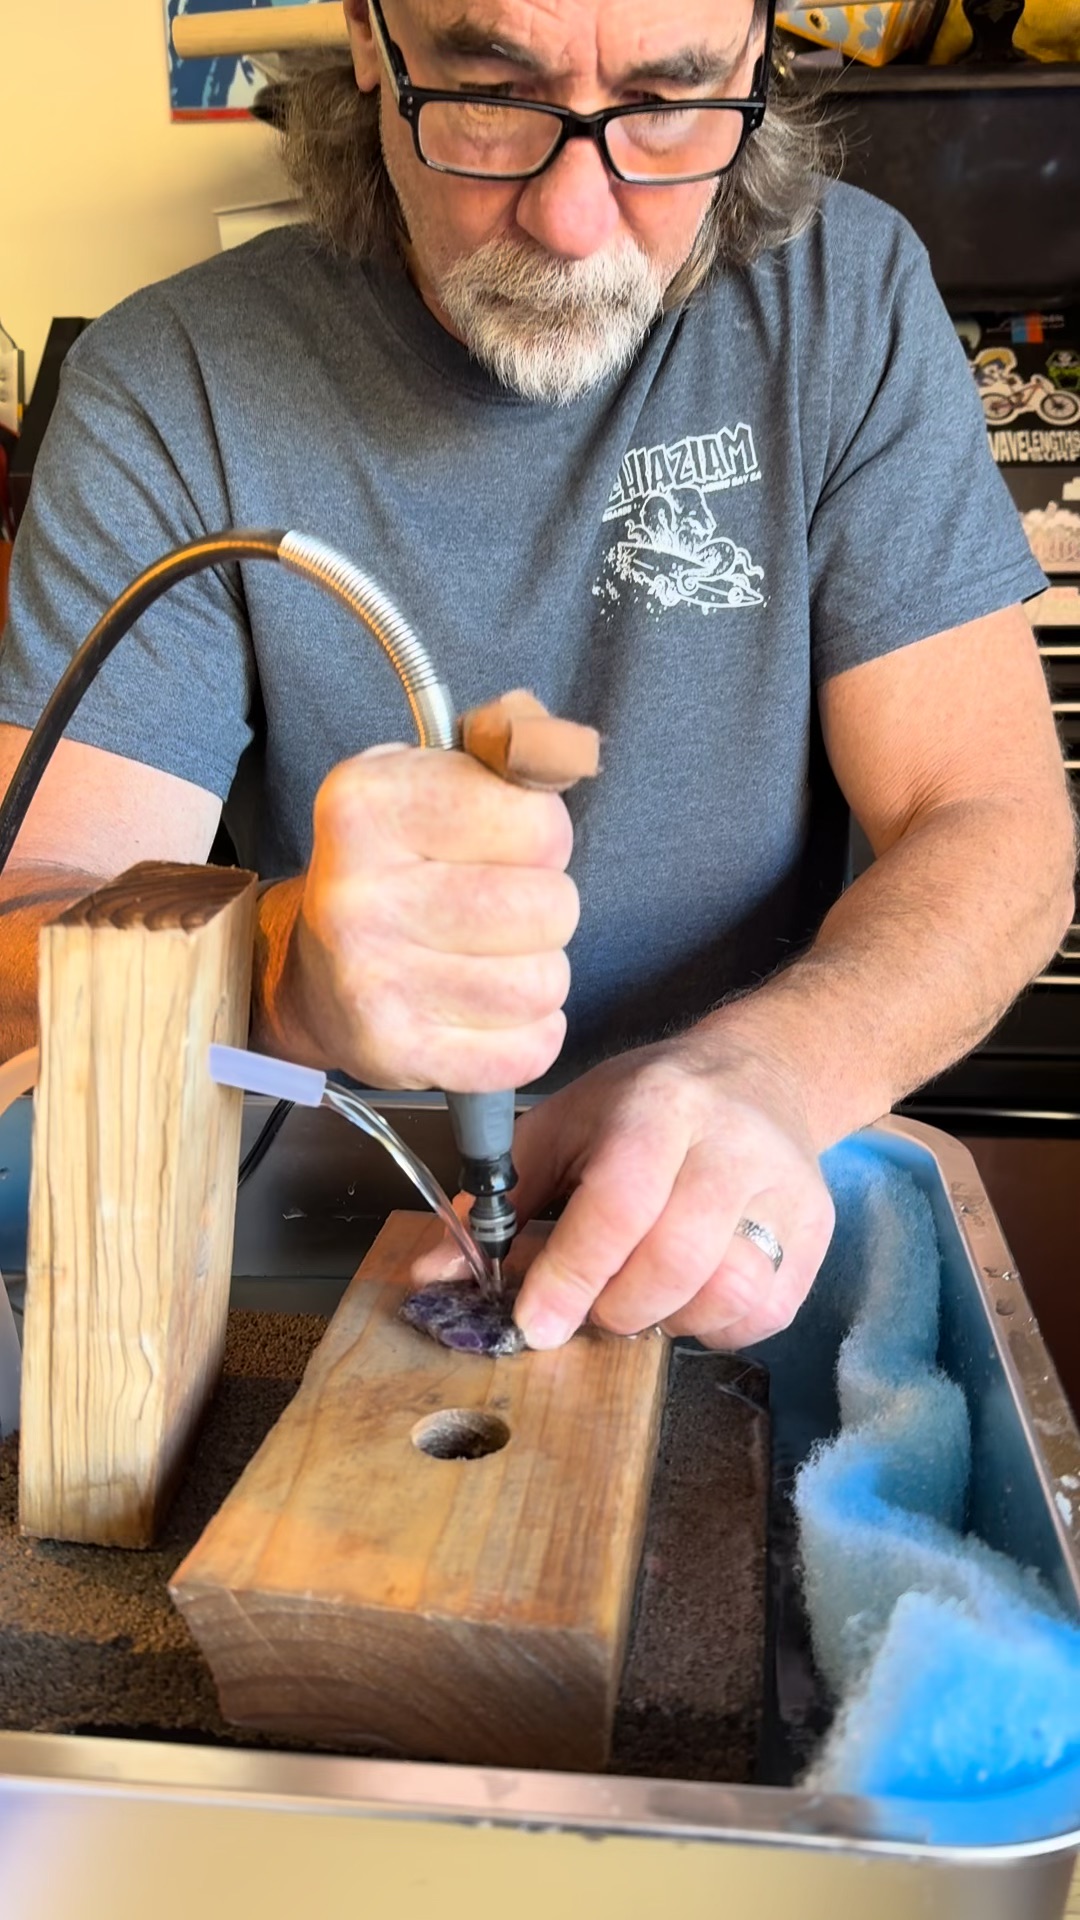
Before Melissa hand hammers the rings, I need to completely sand them. This removes all the burs and gets them shiny. I use a palm sander for outside and edges. Then I use a drill with a drum sanding bit for the inside.
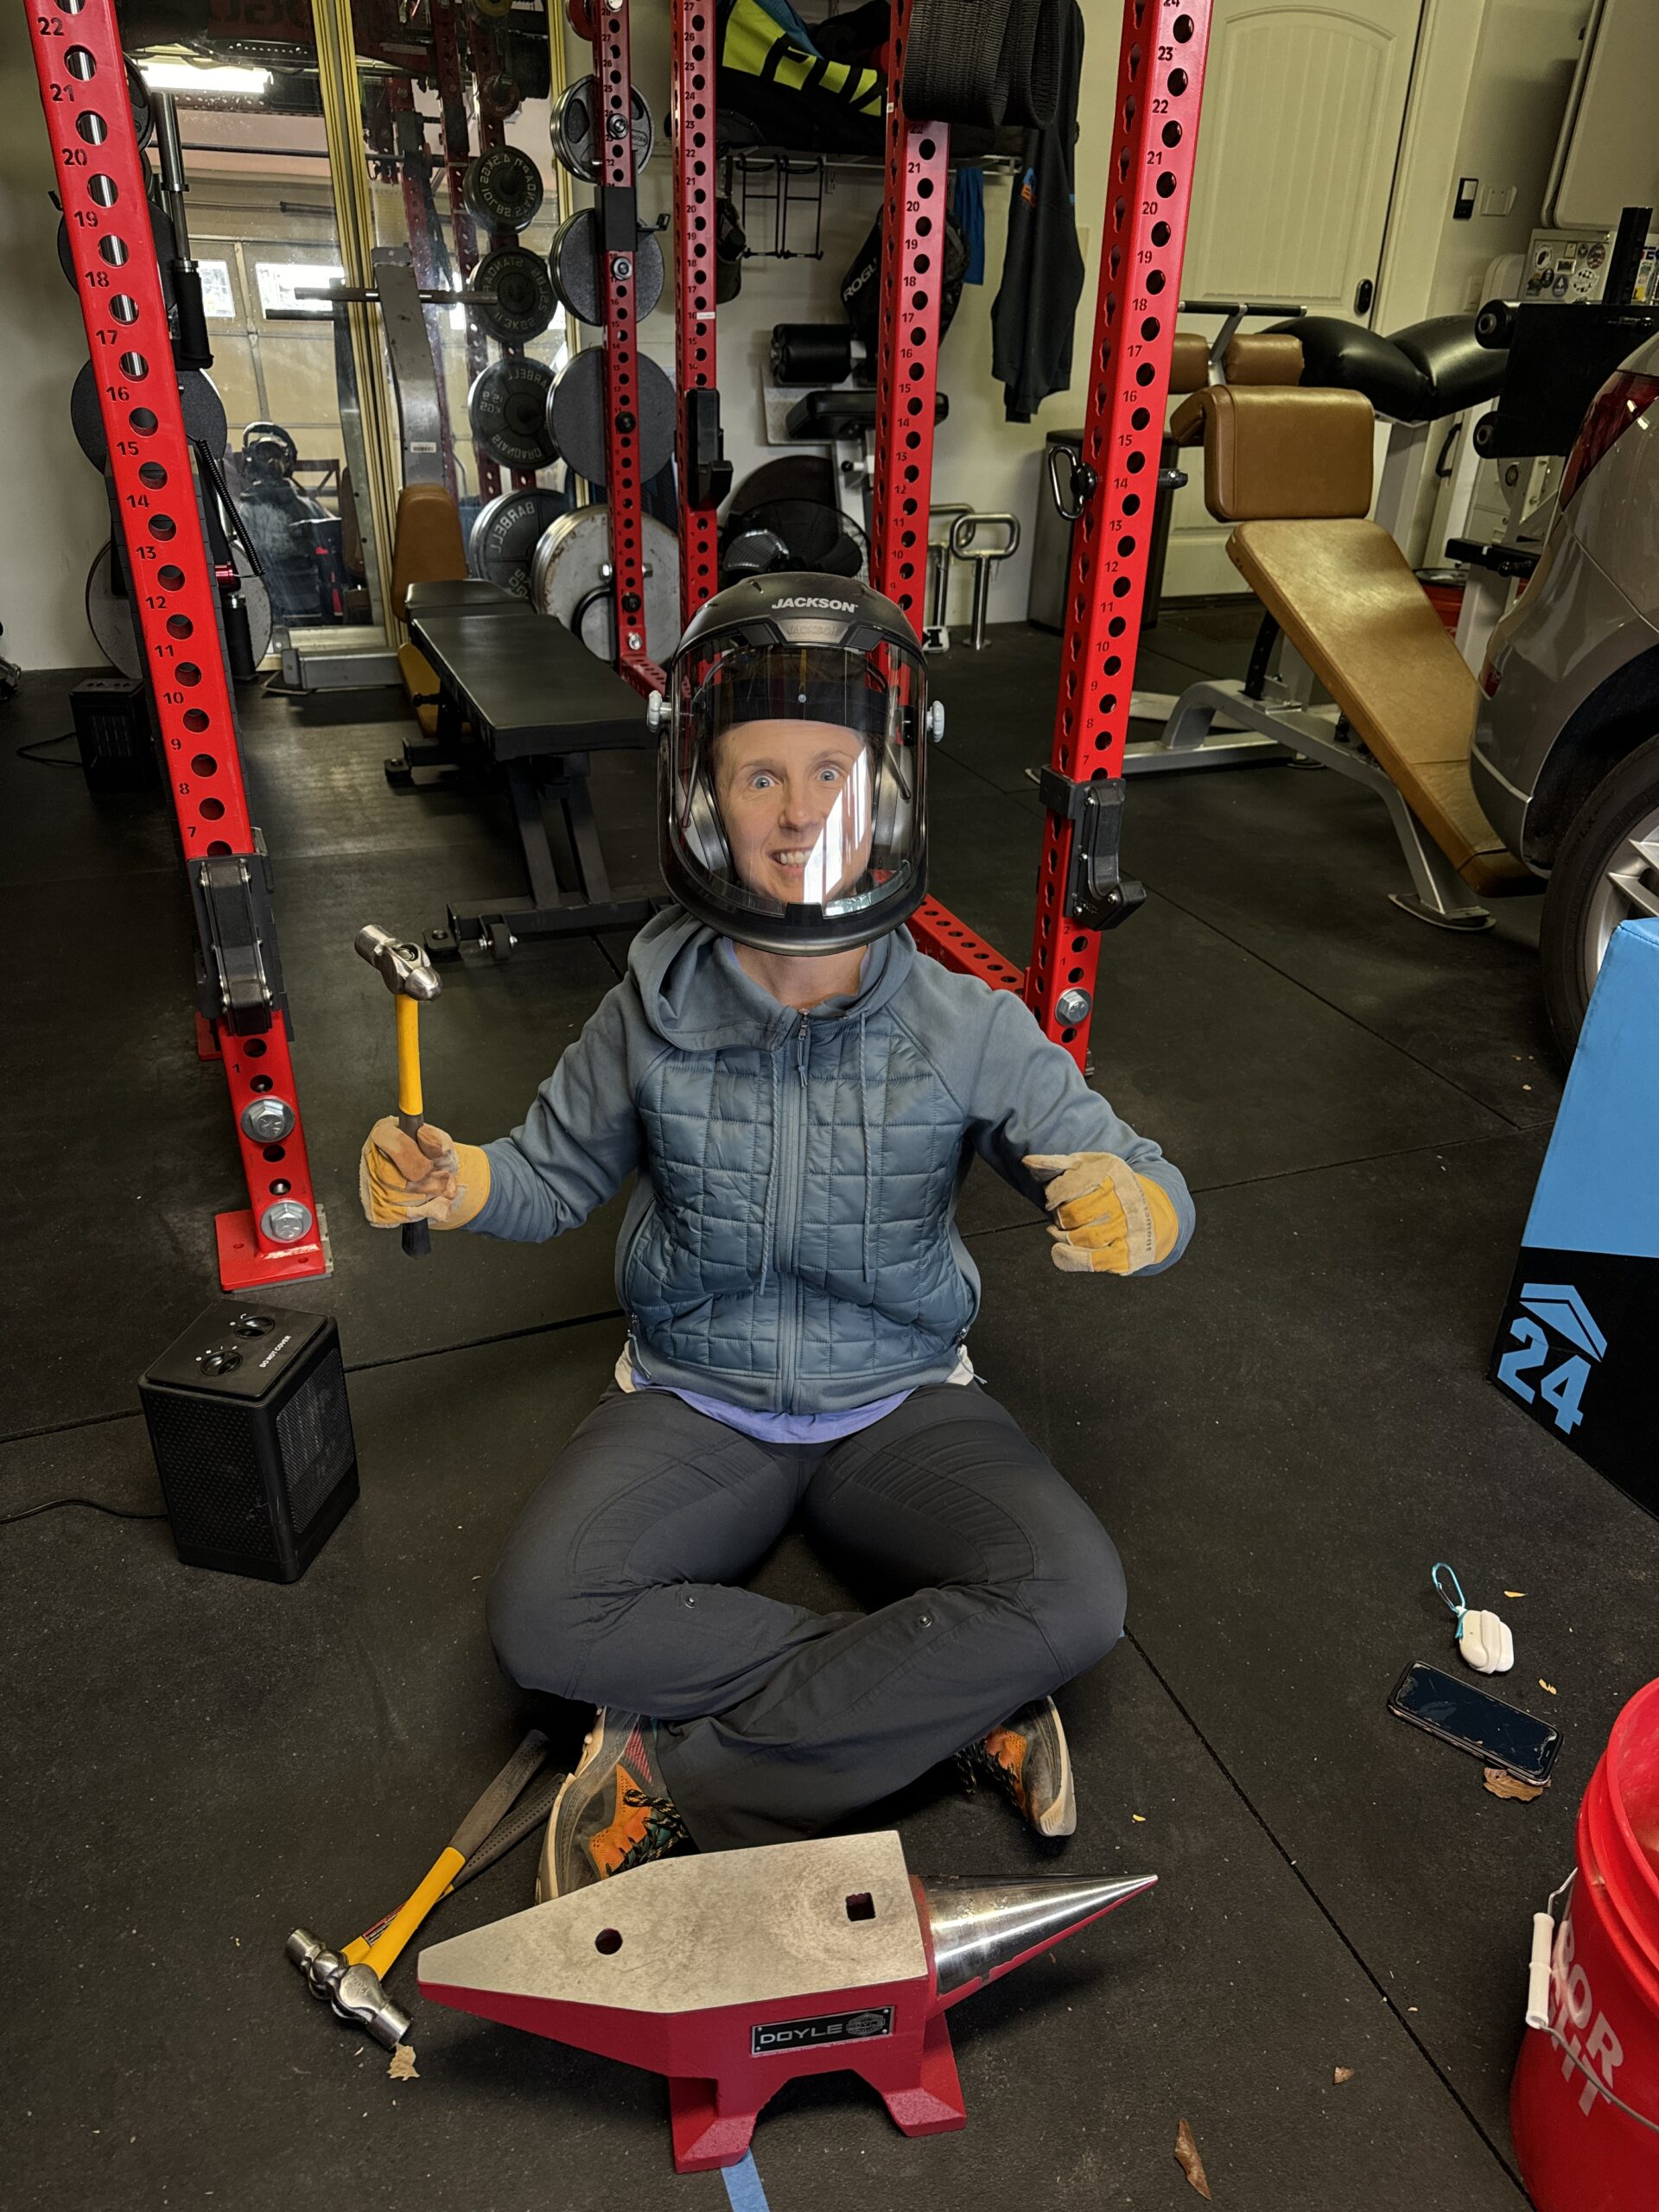
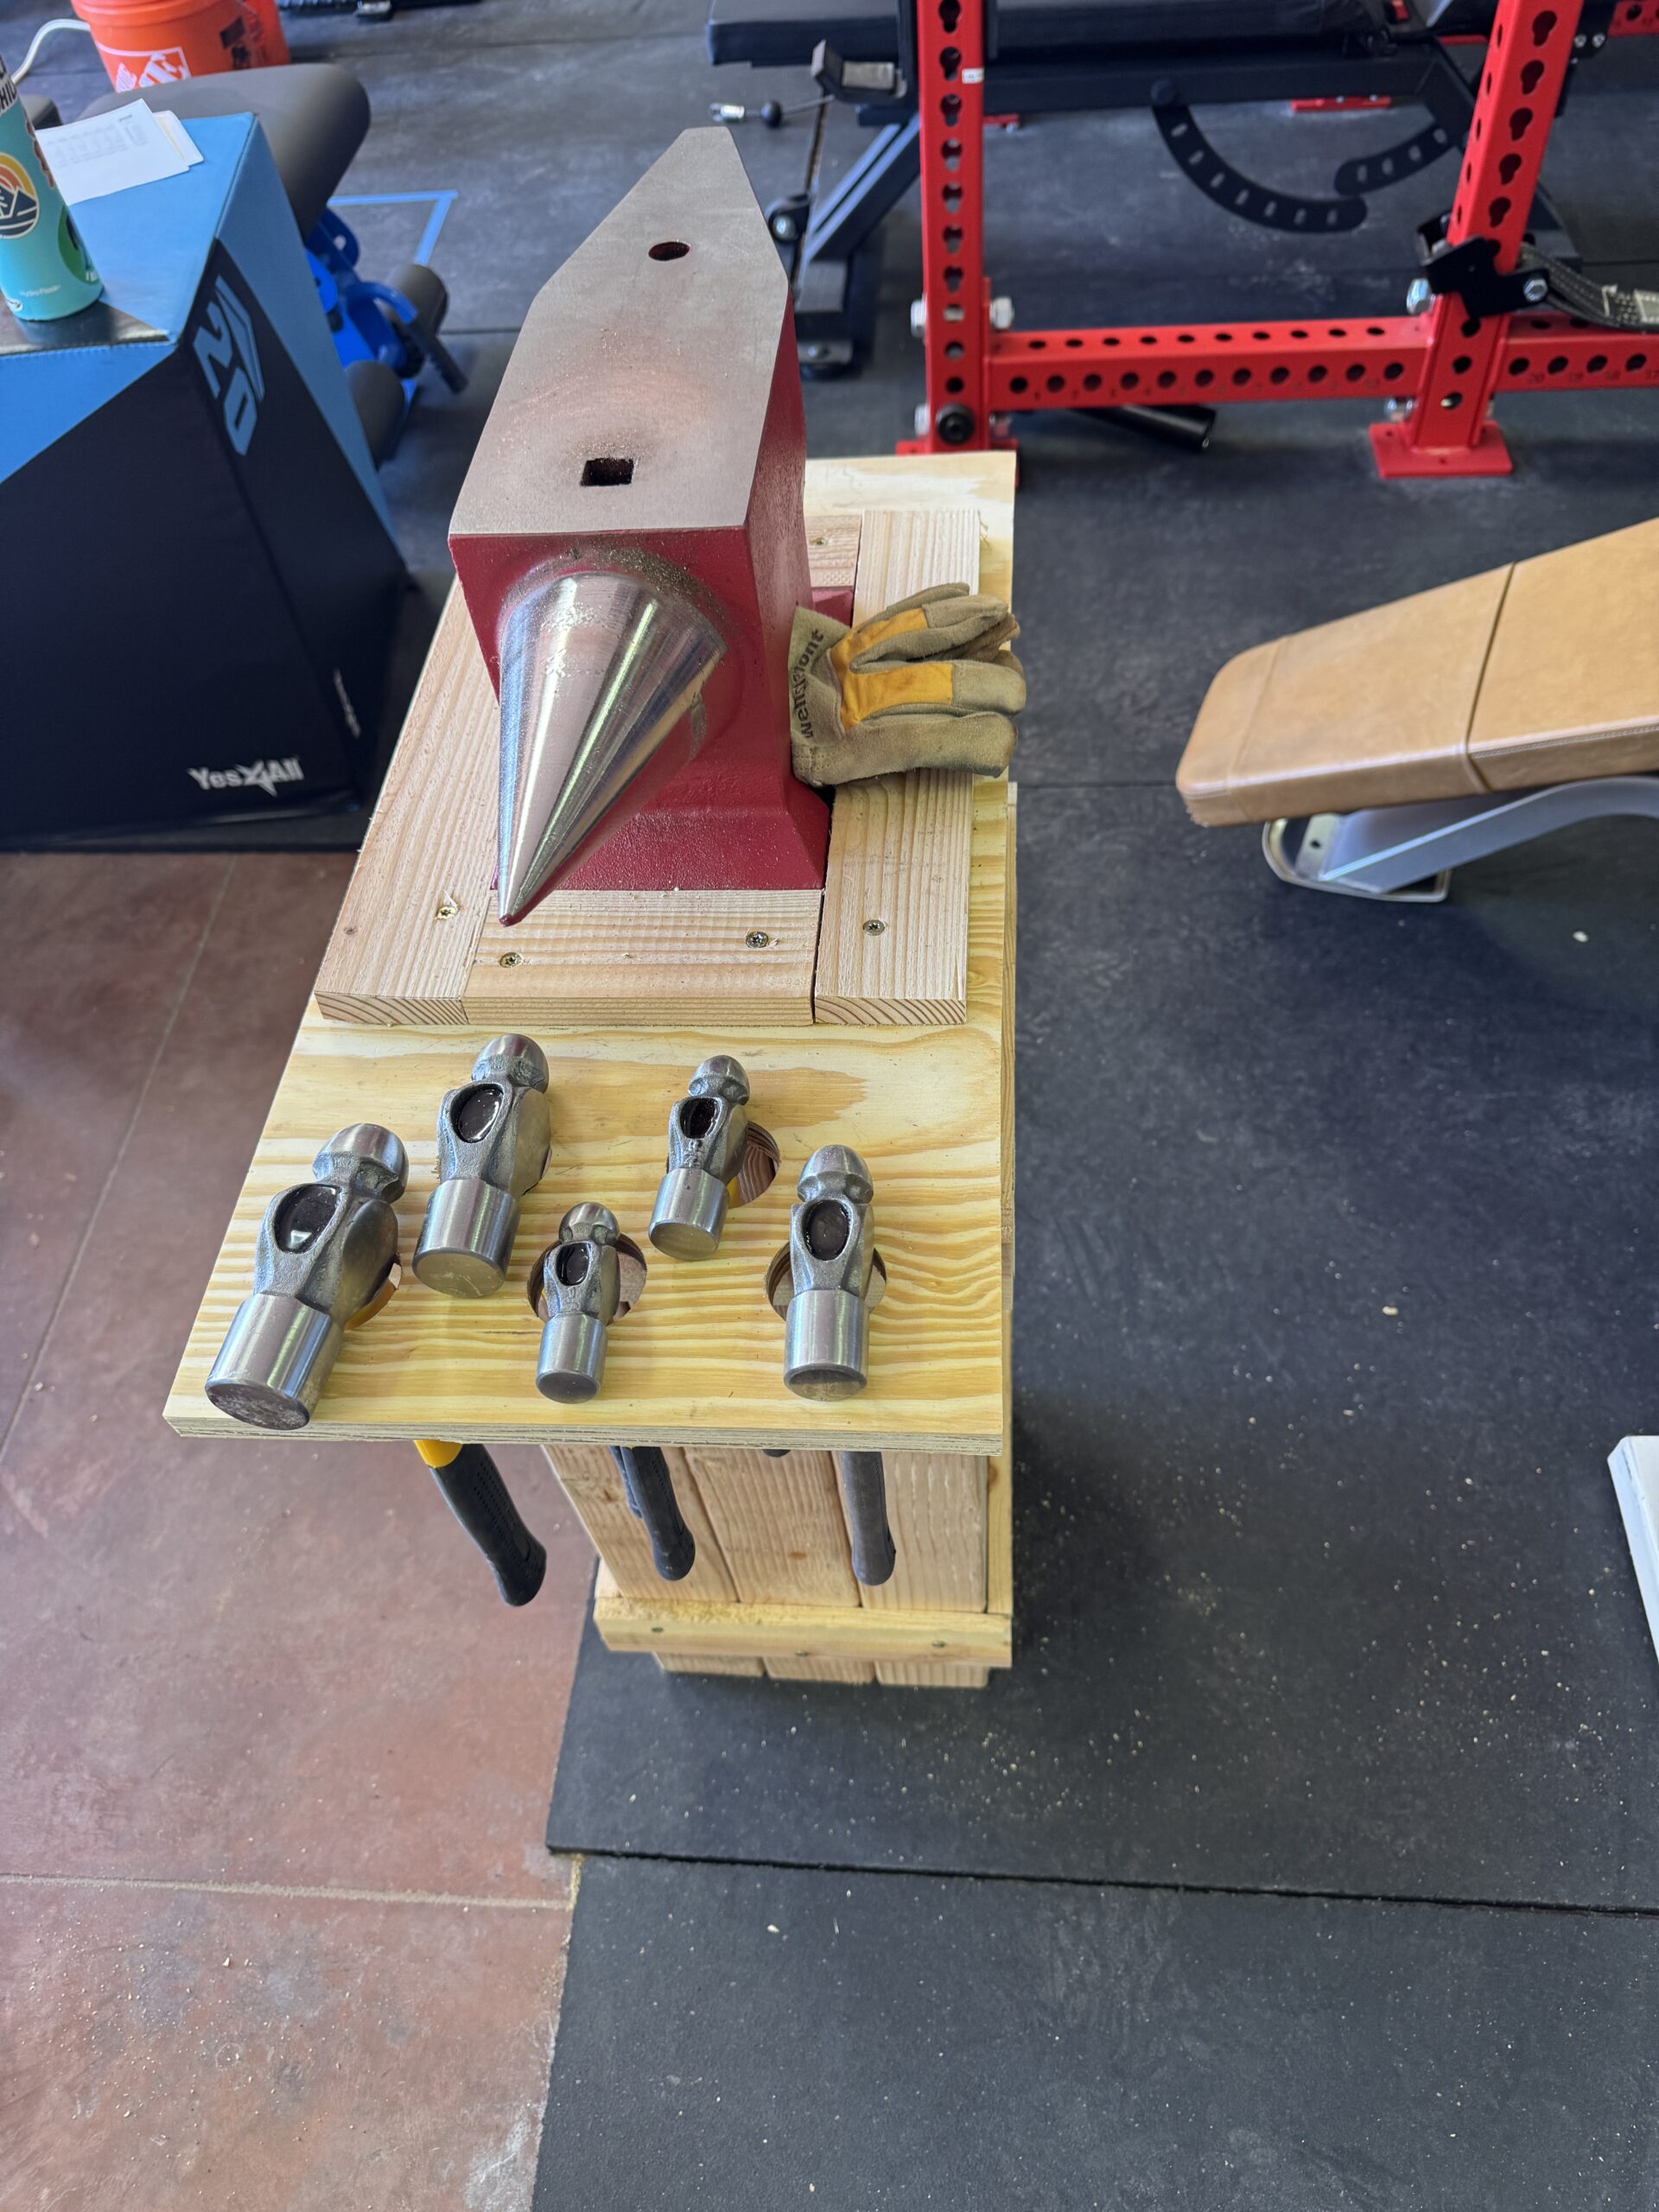
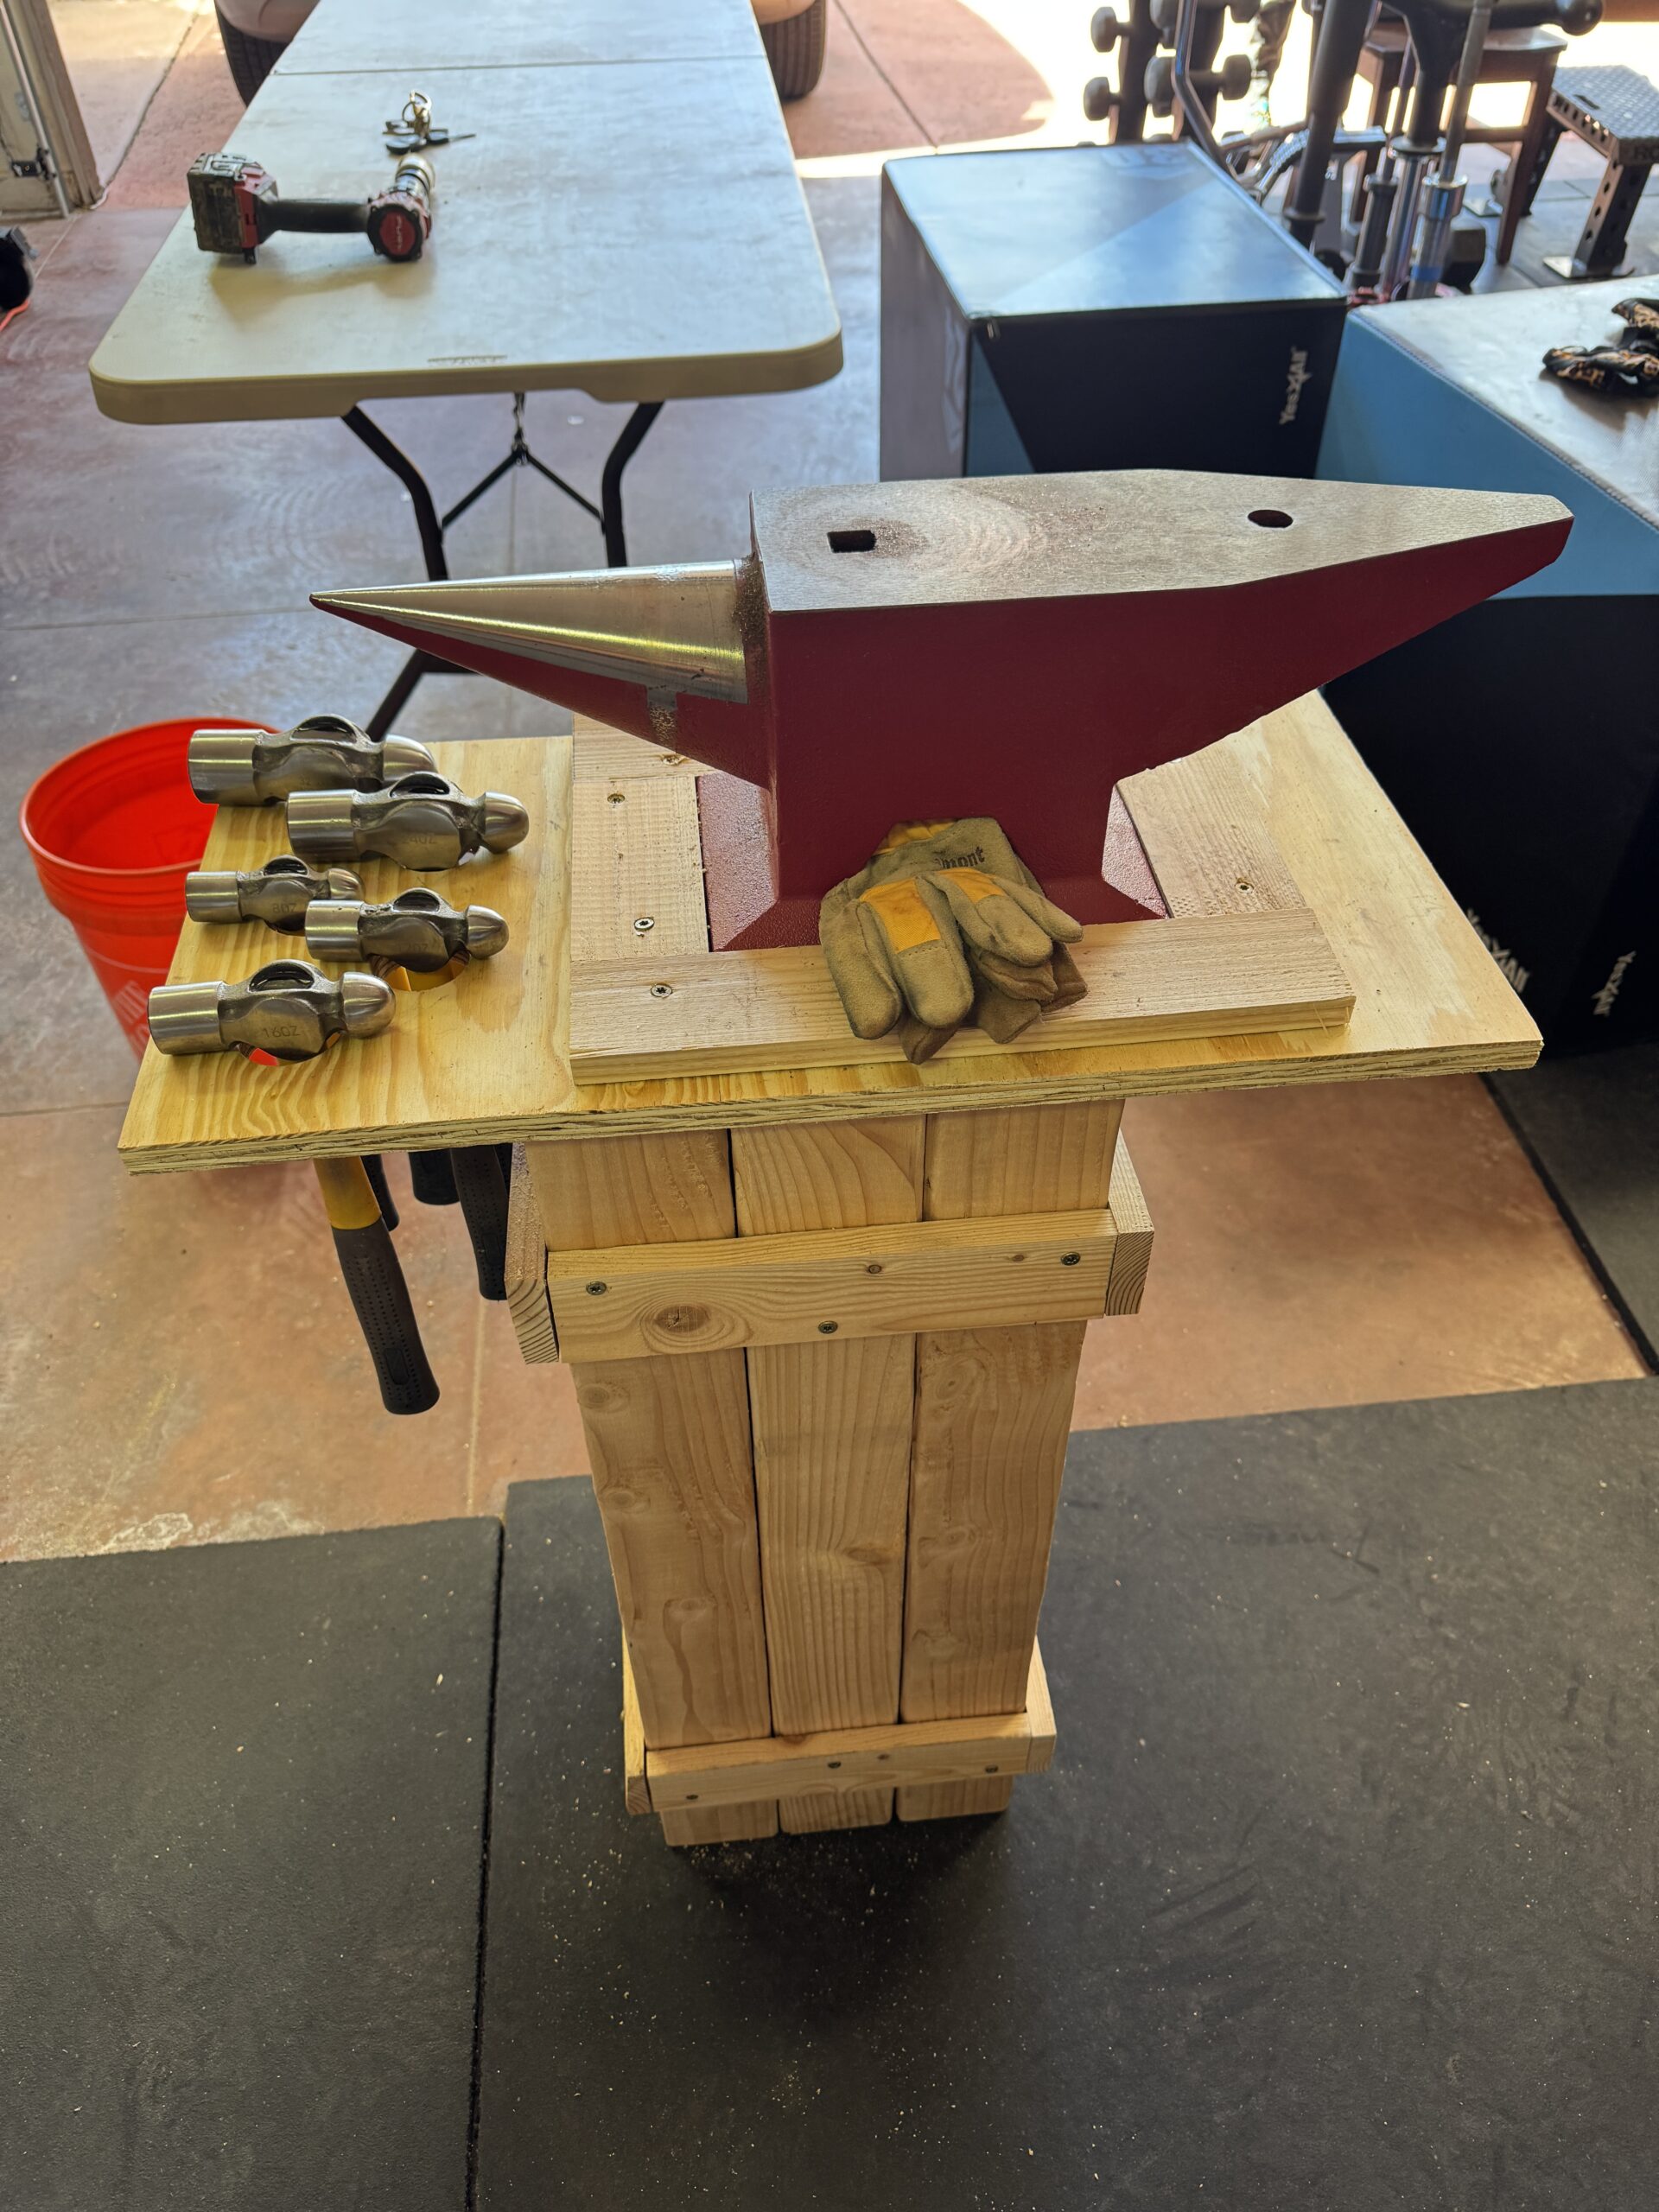
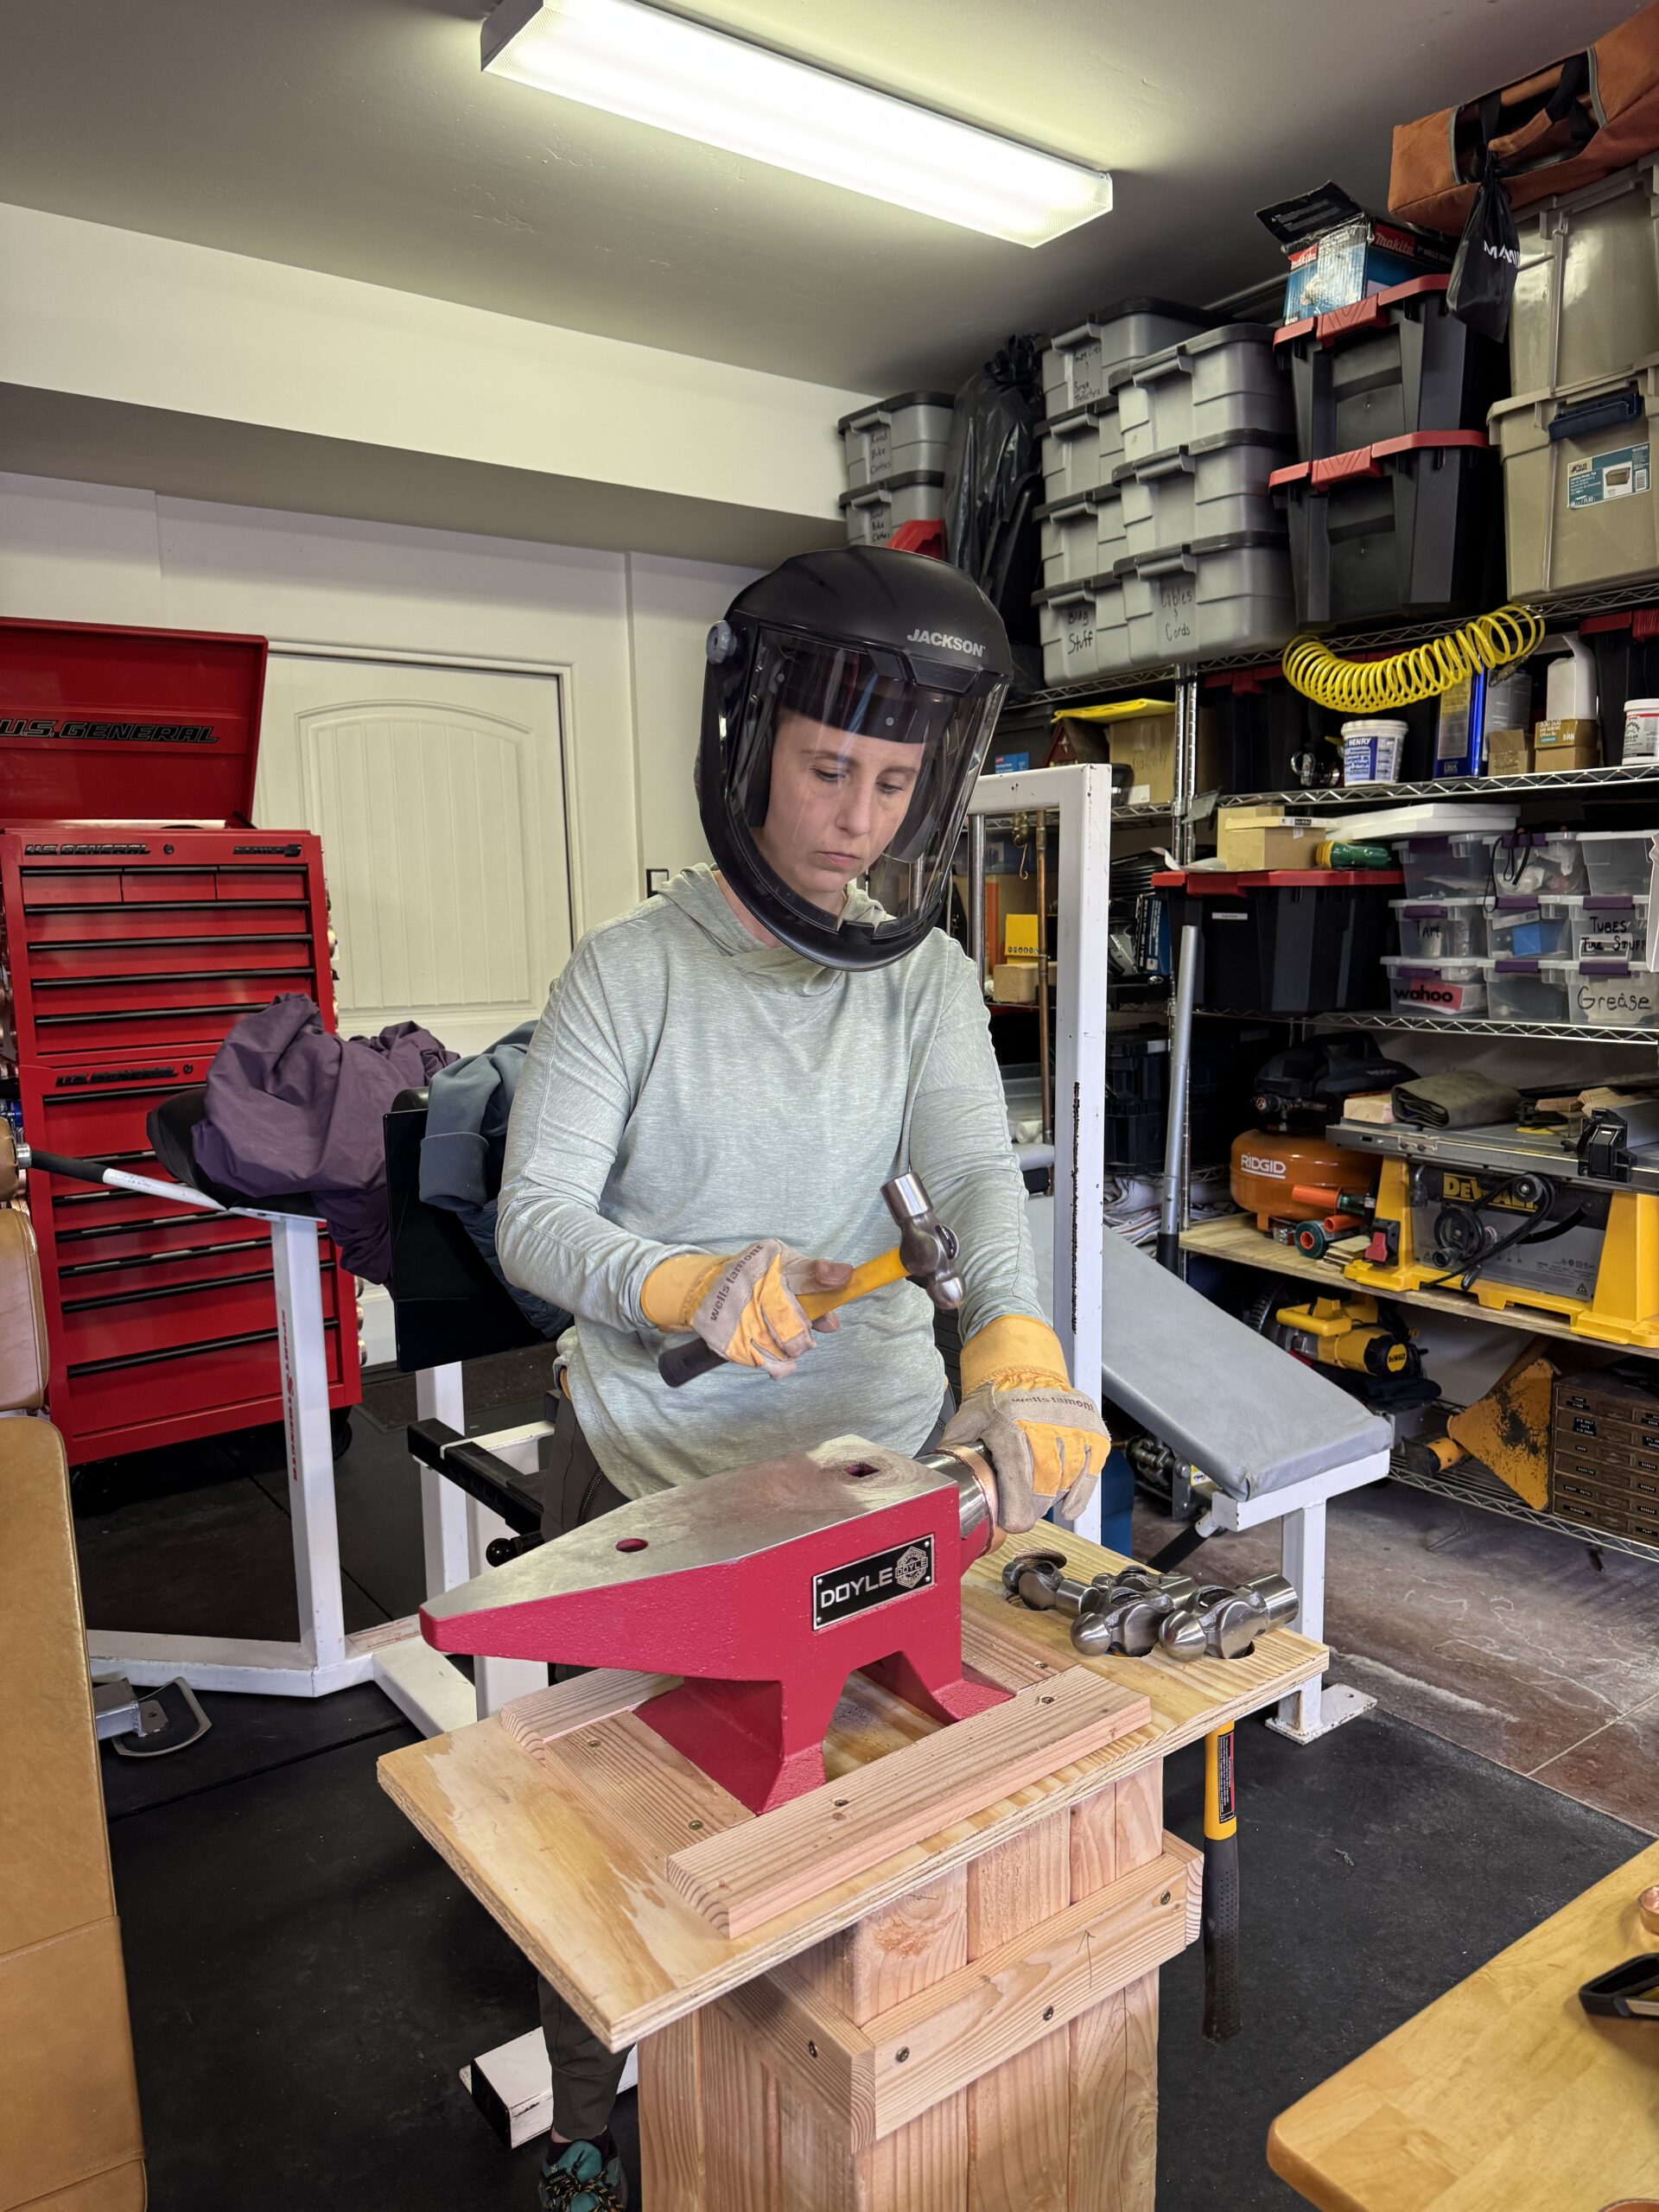
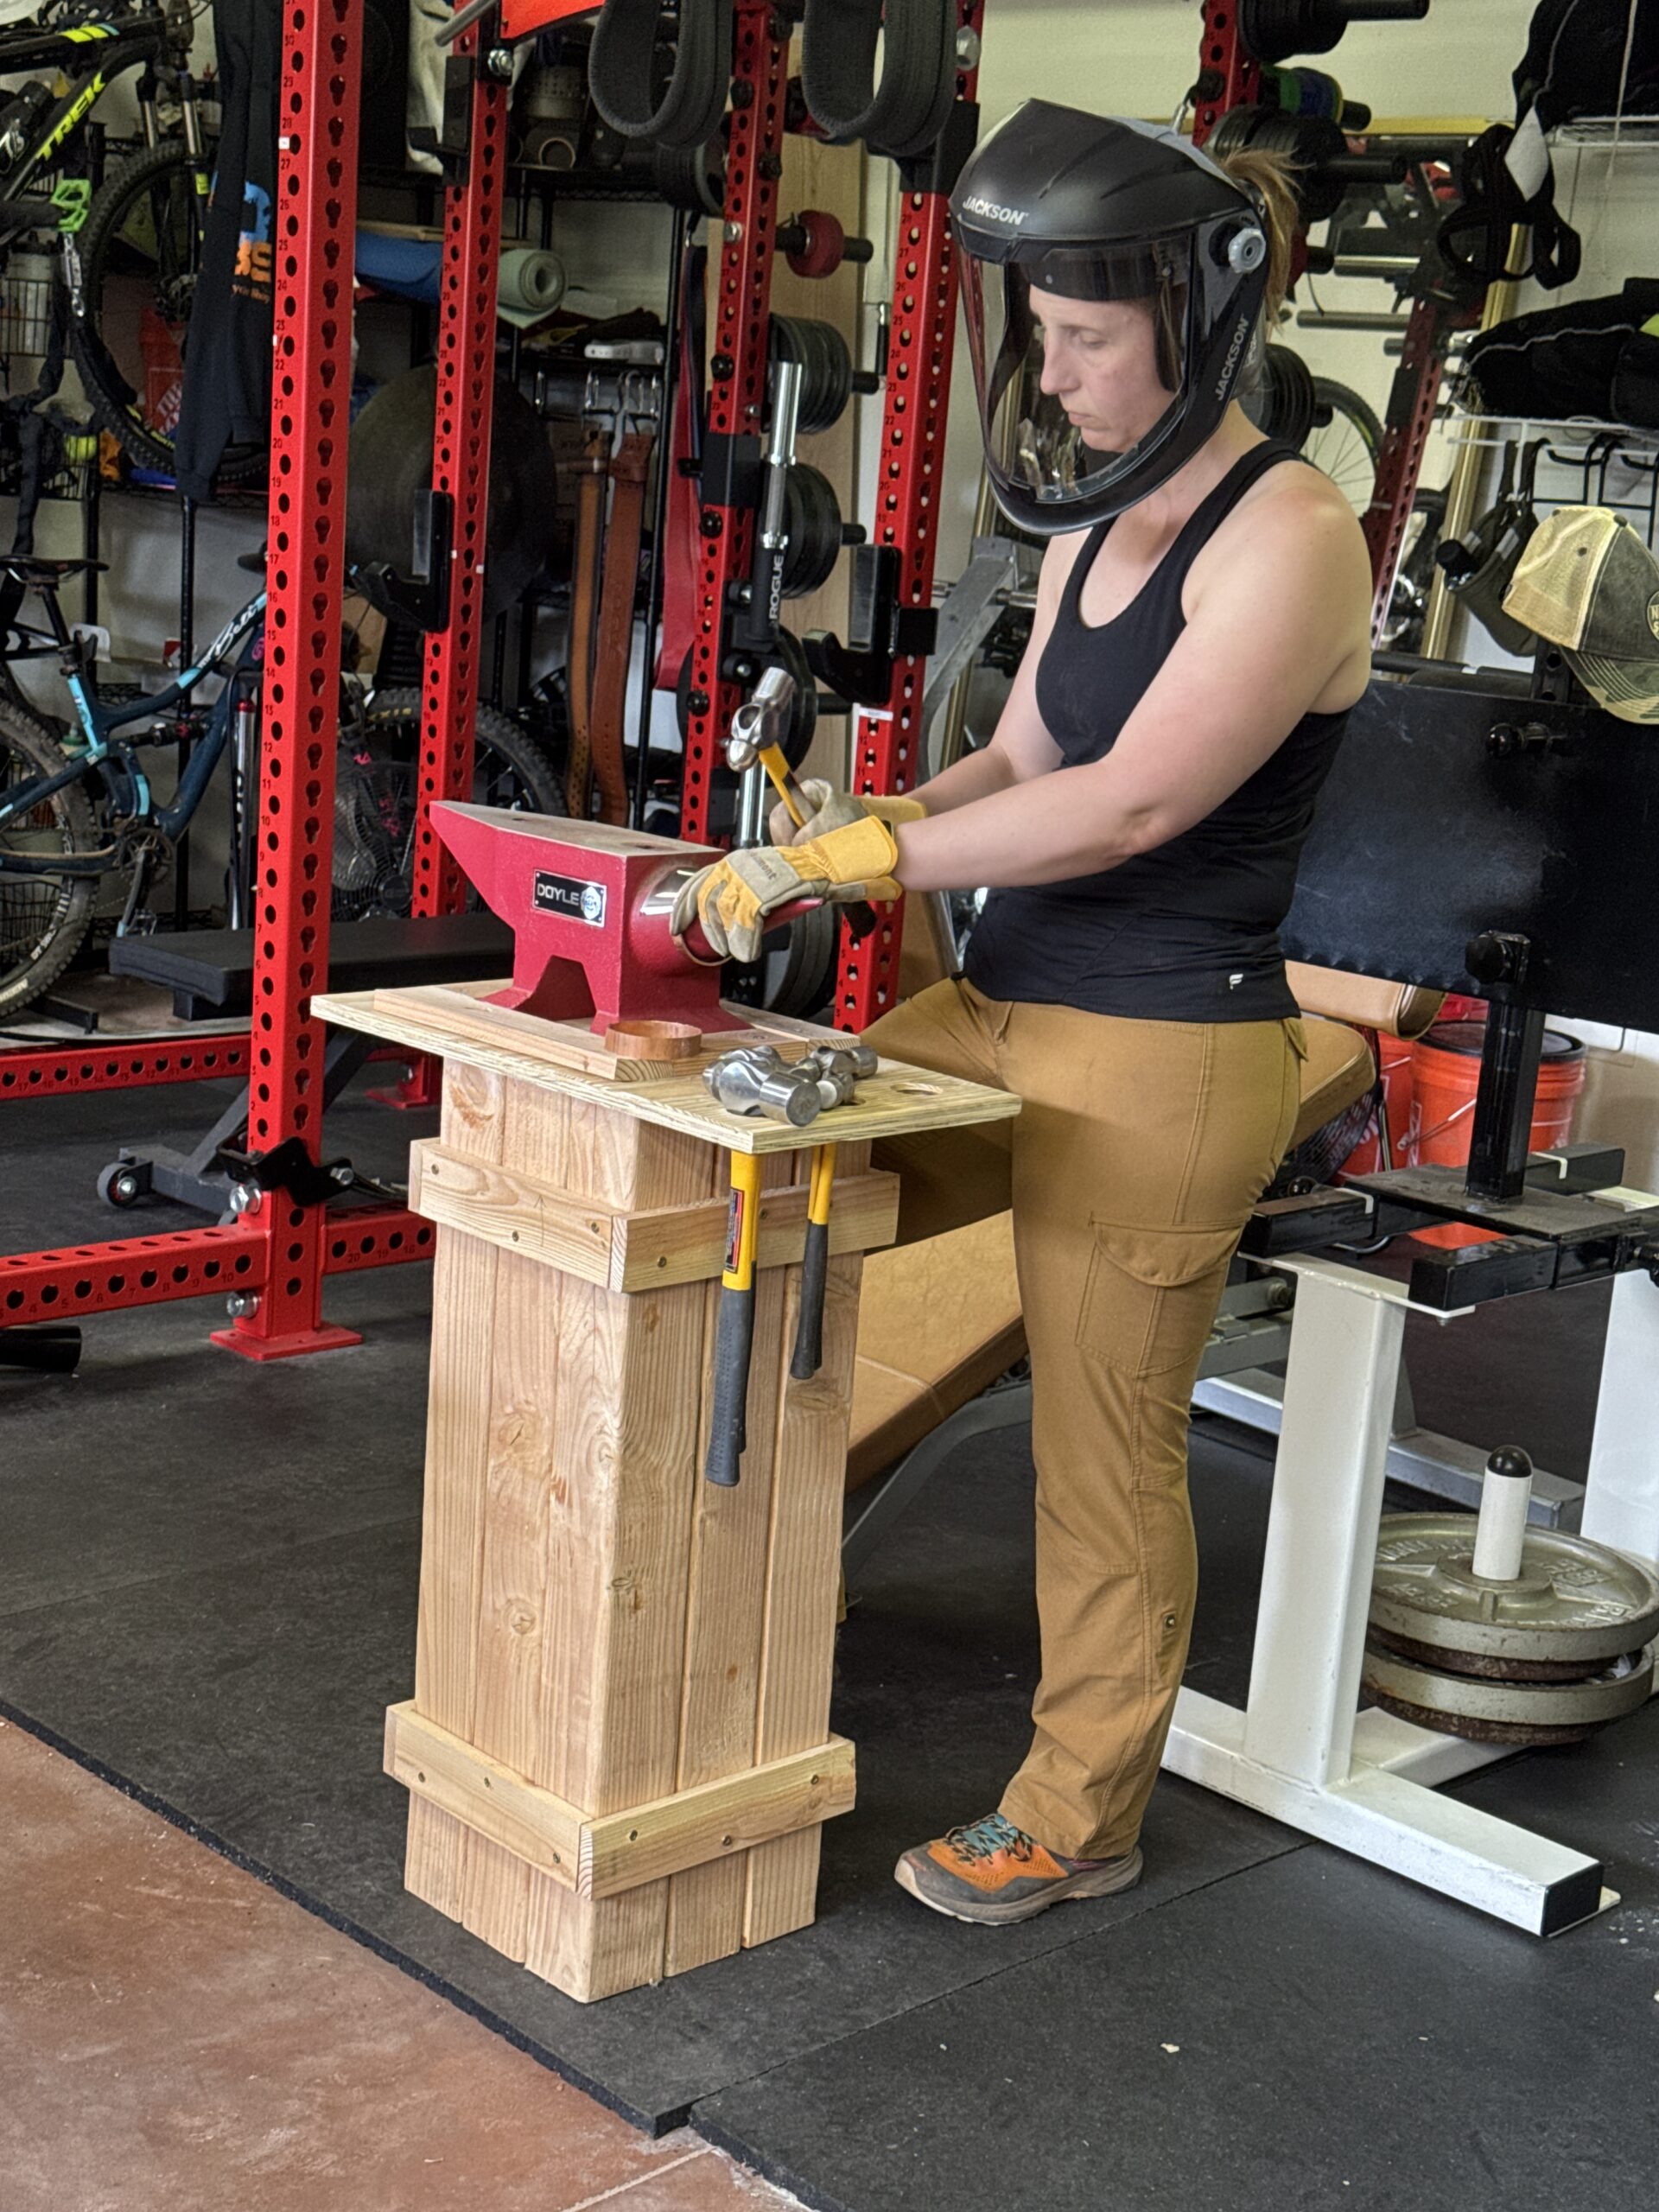
We started out with the Anvil on the ground. Wasn’t very comfortable for Melissa but she still got them done. I built her a stand for the anvil out of 4″x4″s and now she can stand while hammering. Even added storage for her hammers.